Console Management
The purpose of this article is to introduce each functional module of organization management, account settings, member rights and business account management, so that customers can quickly understand the functions of the console.
Organization Management
You can create multiple organizations with one account, and the services of different organizations are independent. You can create organizations for different services in corresponding time zones according to your business needs.
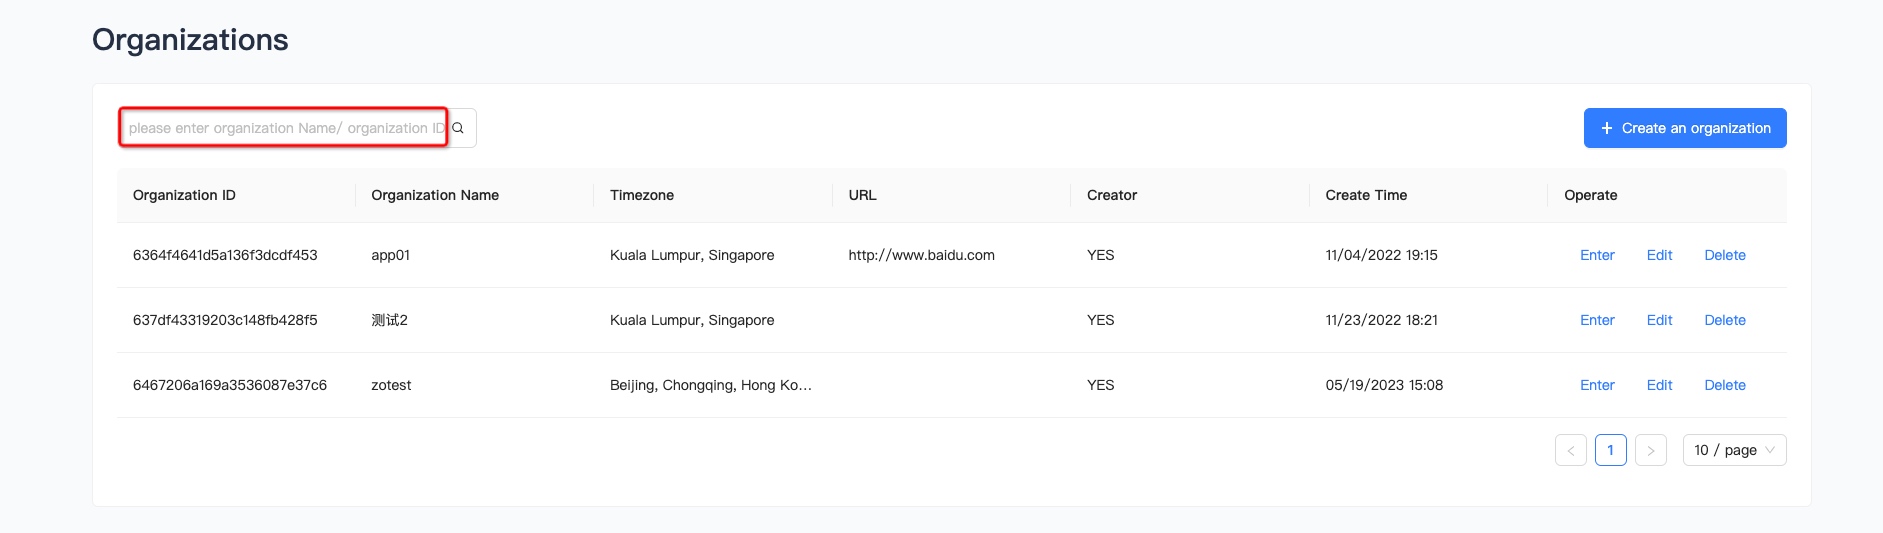
Organization list
Click [Account] - [Organization] to switch other organizations.

Click **"View all organizations"** to enter the organization list page, which supports filtering by organization name and organization ID.
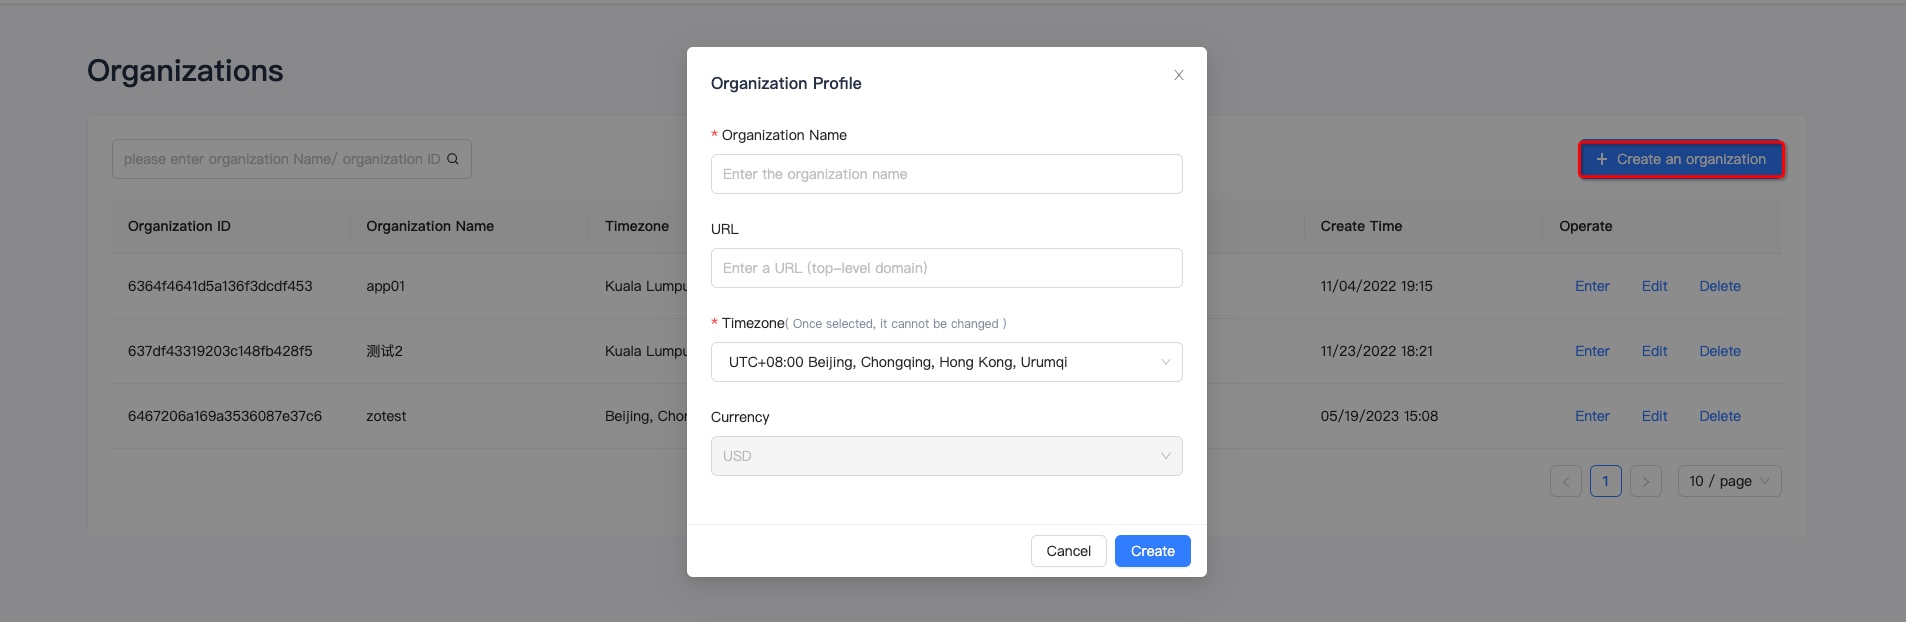
Create an organization
Click on "Create Organization", fill in the organization name and organization website, and select the time zone.
Note: Once the time zone is selected, it cannot be changed!
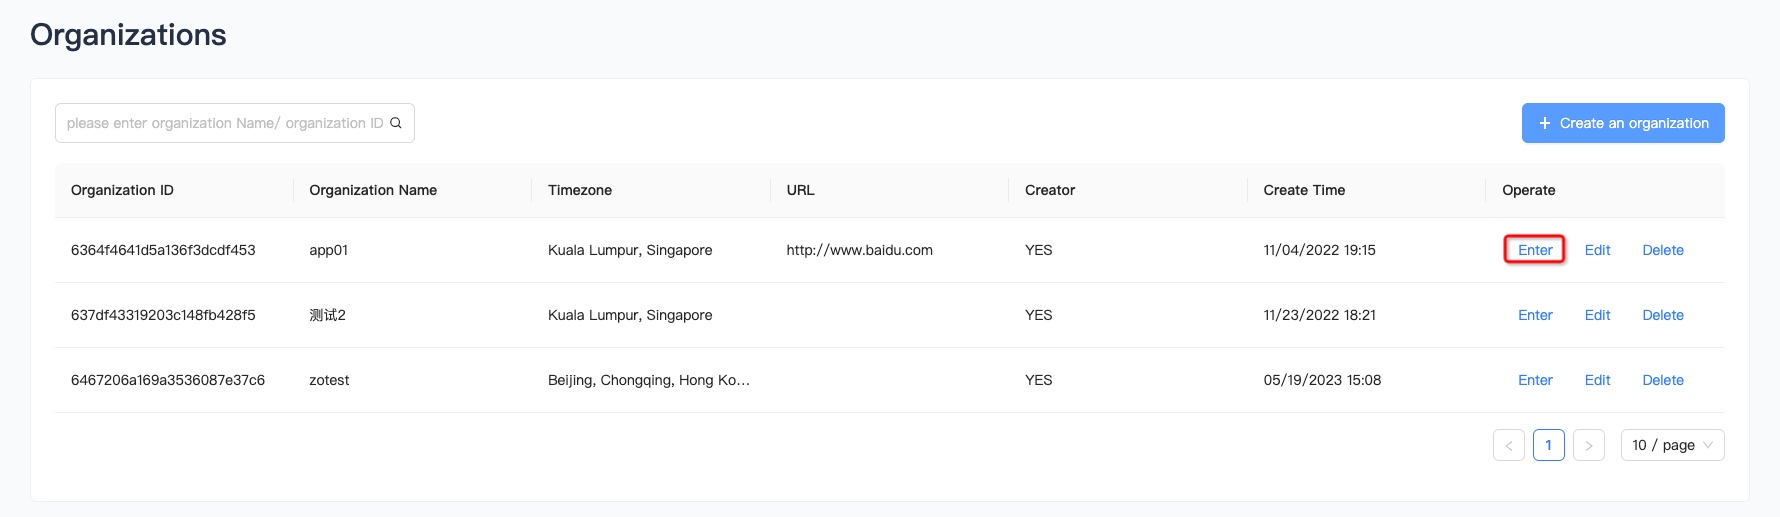
View Organizations
Click "Enter" to go to the main page of the organization.
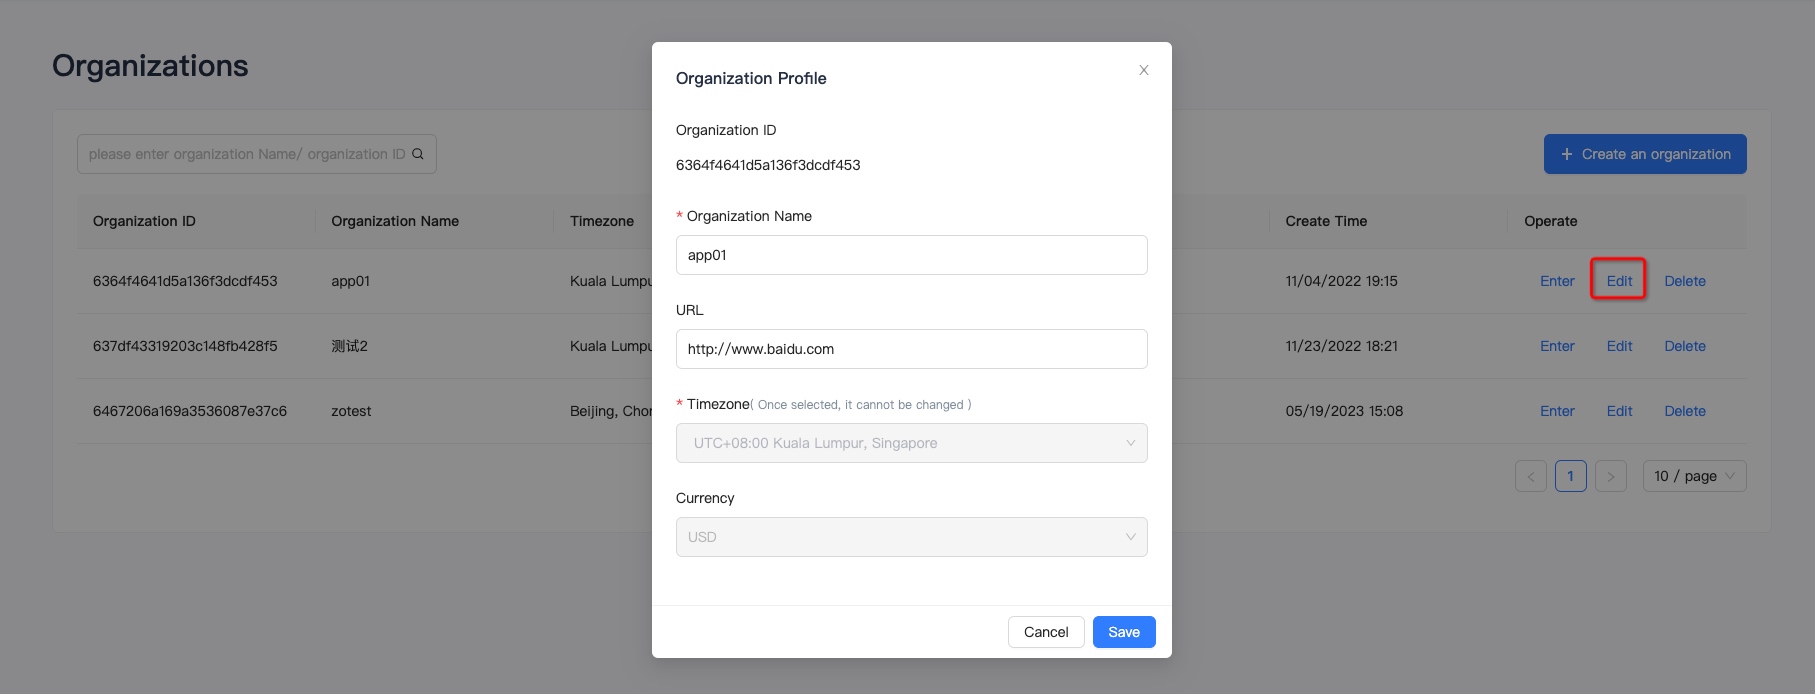
Edit Organization
Click "Edit" to change the name and website address of your organization.
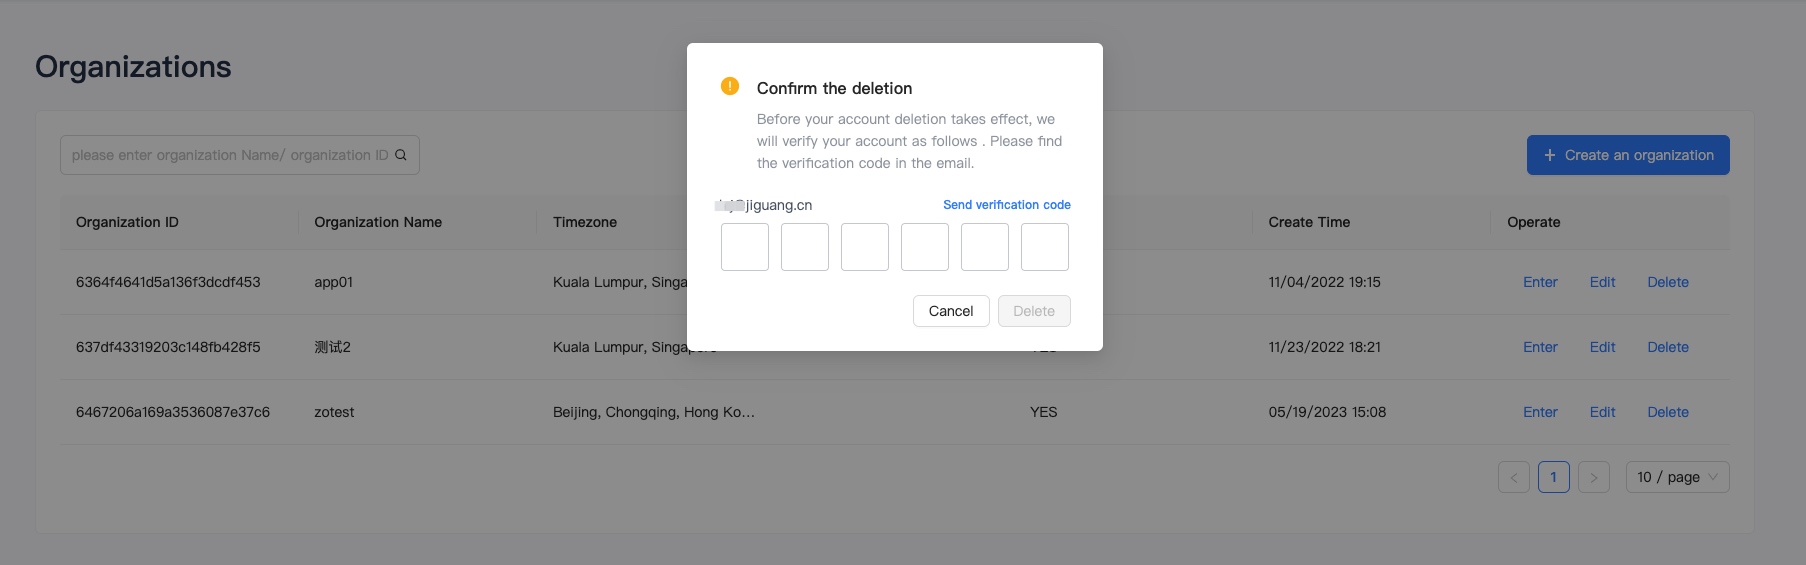
Delete organization
If you need to delete an organization, click "Delete" and fill in the email verification code before you can delete it.
Warning! Deleting an organization is irreversible and will permanently delete the user, business, balance, billing, orders and rights of the organization, and stop all related services.

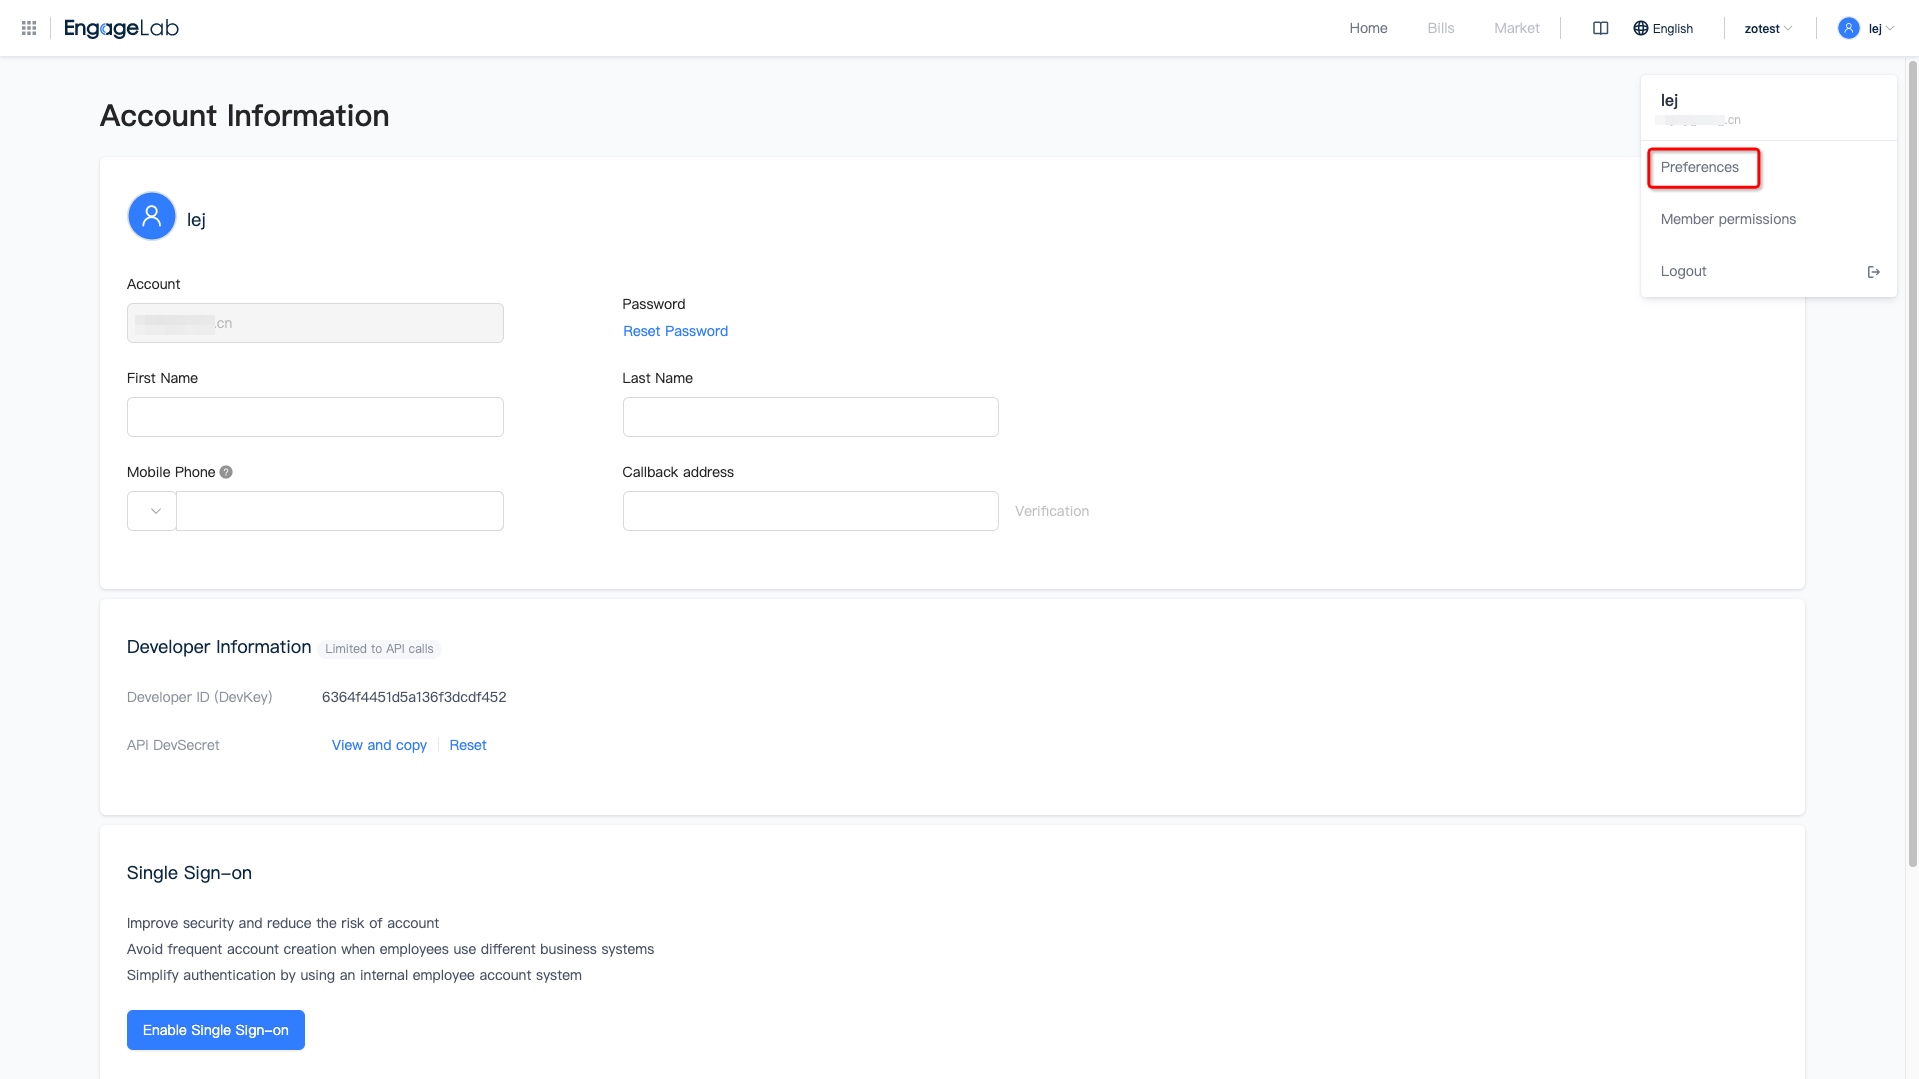
Preferences
Click [Account] to enter the AccountInformation page, which supports filling in personal information, resetting password, setting single sign-on and deleting account.
Edit personal information
We support filling in first name, last name and cell phone number and resetting password. We may use the filled-in phone number to send you information such as verification codes, billing and business alerts.
Enable single sign-on
It is recommended to enable single sign-on, which can improve security and reduce the risk of account theft; avoid enterprise employees from using different business systems and creating accounts frequently; and use the internal employee account system to simplify identity verification.

Delete account
If you need to delete your account, click "Delete my account" and fill in the email verification code before you can delete your account.
After deleting your account, EngageLab will permanently delete your account and all user information, business information and order information related to your account. Once deleted, you will not be able to recover your account and information!


Member Permissions
Member permissions are independent for each organization, and member permissions include member management and role management functions. You can assign different product permissions to each role and invite members to use a certain role, which is convenient for project staff to manage the business they are responsible for and also ensures the security isolation of data.
WhatsApp doesn't support this feature yet, so stay tuned!
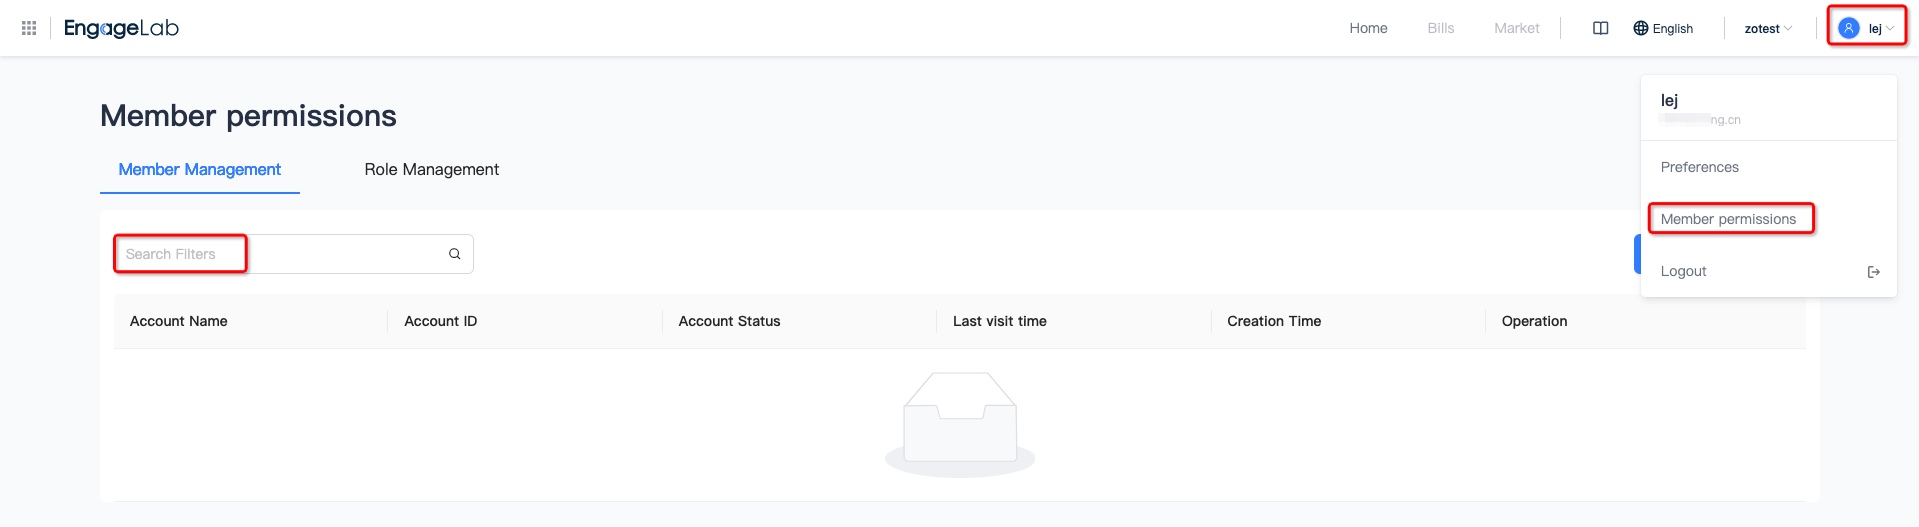
Member Management
Enter [Member Rights] - [Member Management] page, you can view all the created members, and support searching by username/account ID.
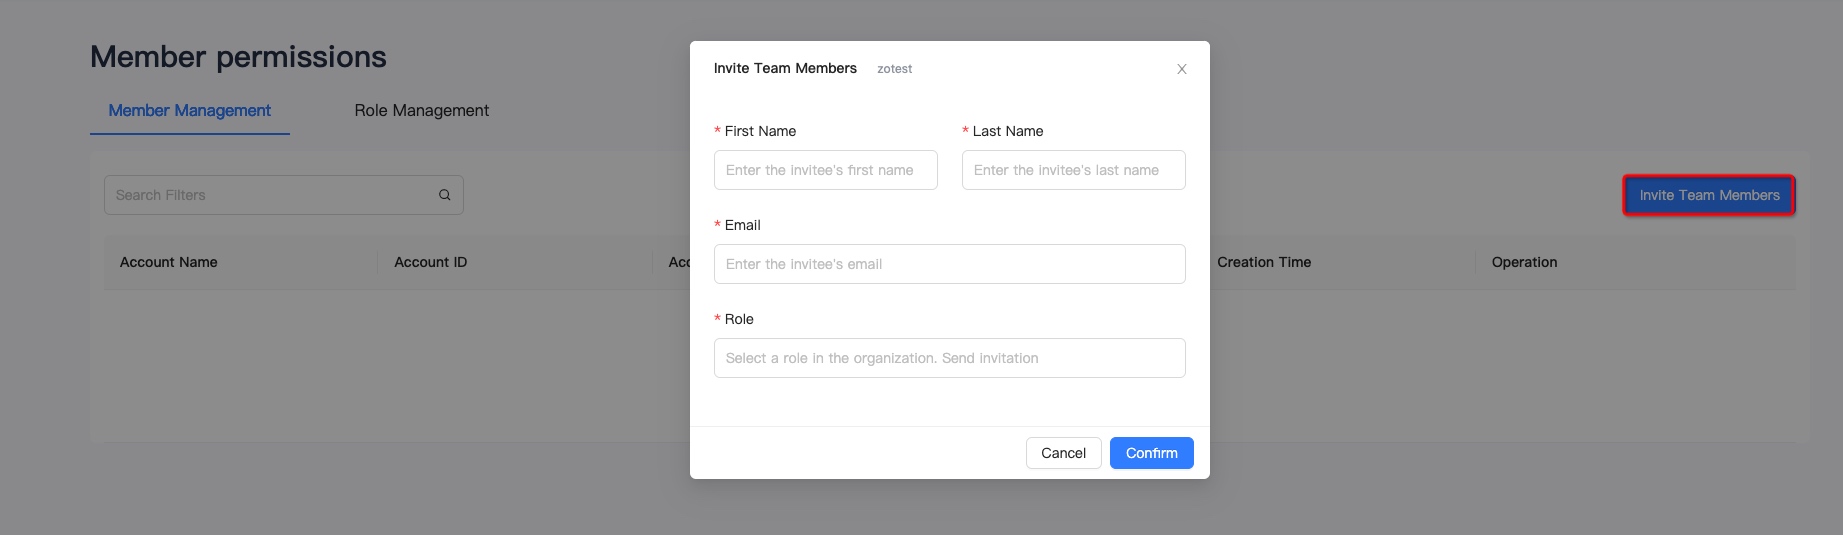
Invite team members
- Click "Invite Team Members" to go to the invite team members page.
- Fill in name , click "Confirm" to create the last name, email address, and role.
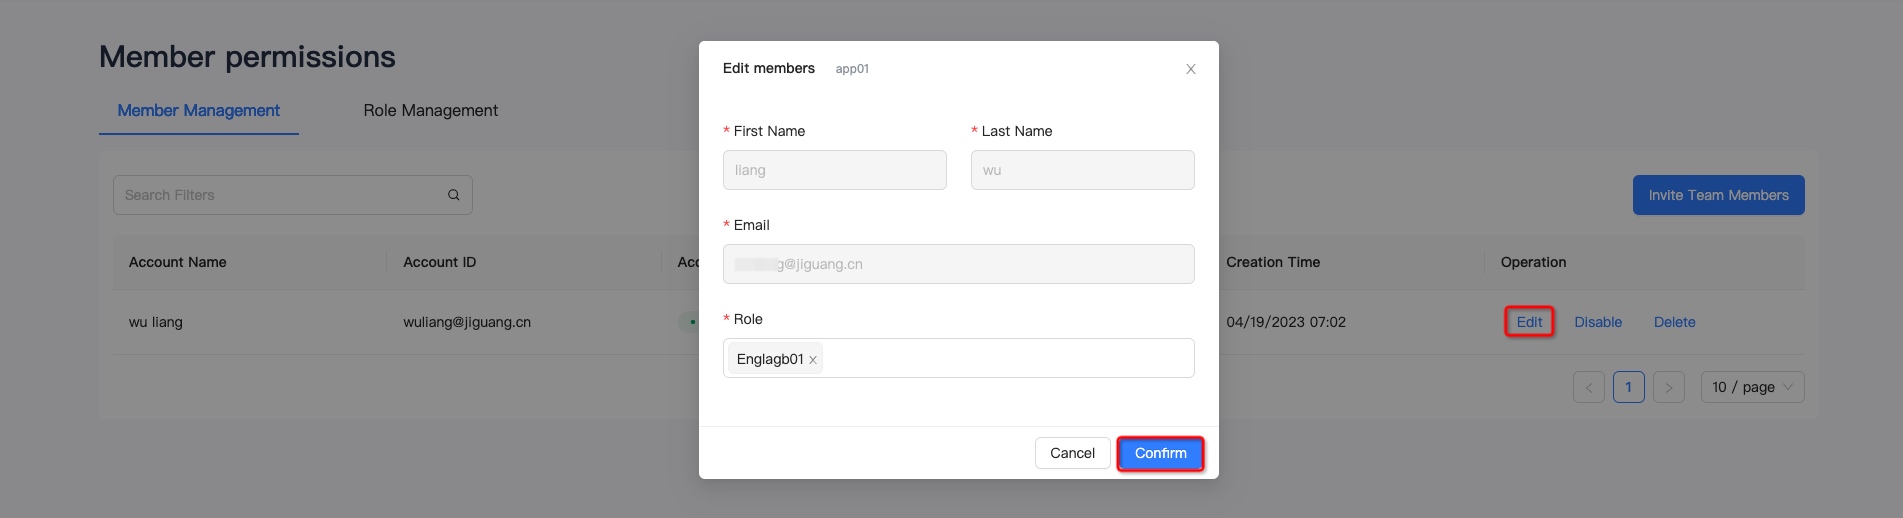
Edit member
- On the member management page, select a member and click "Edit".
- On the account editing page, you can modify the role of the account and click save to take effect.
Disabled member
If you need to prohibit the use of a member, you can click "Disable" on the right side of the member on the member management page, and the prohibition can be completed after a second confirmation.
The disabled account cannot be used to log on to the developer service platform. Use caution.

Delete member
If you need to delete a member, select the member to be deleted on the member management page, click "Delete", and the deletion can be completed after the second confirmation.
The deleted account is unavailable. , use with caution.

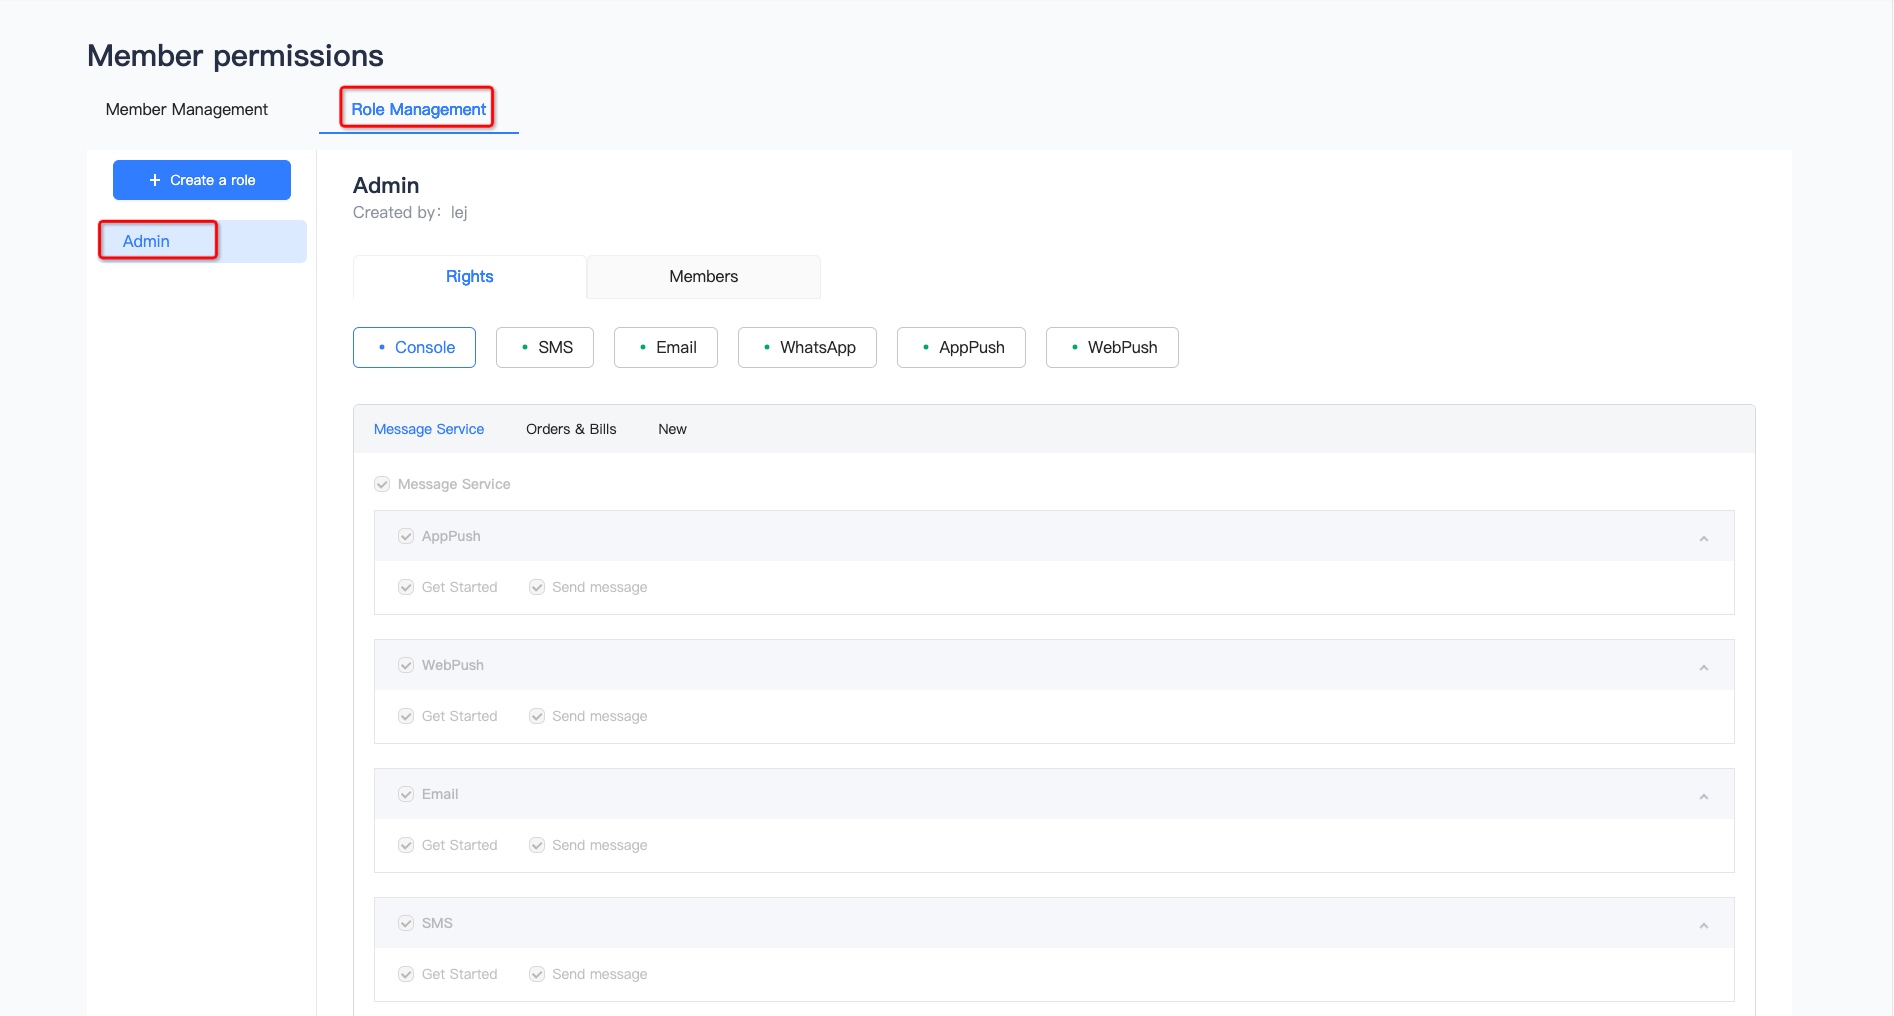
Role Management
Enter [Member Permissions] - [Role Management] page, you can view all roles, role permission details and role member list, the Admin role is generated by default, and all permissions are supported.
Create a role
- Click “Create a role” and fill in the role name
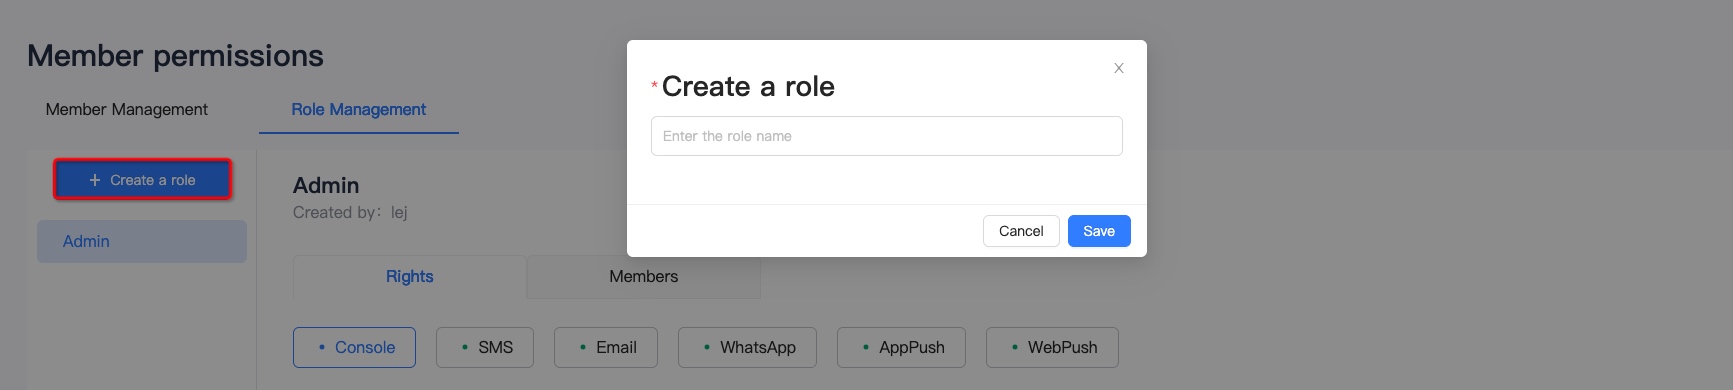
- Check the functional permissions corresponding to each product
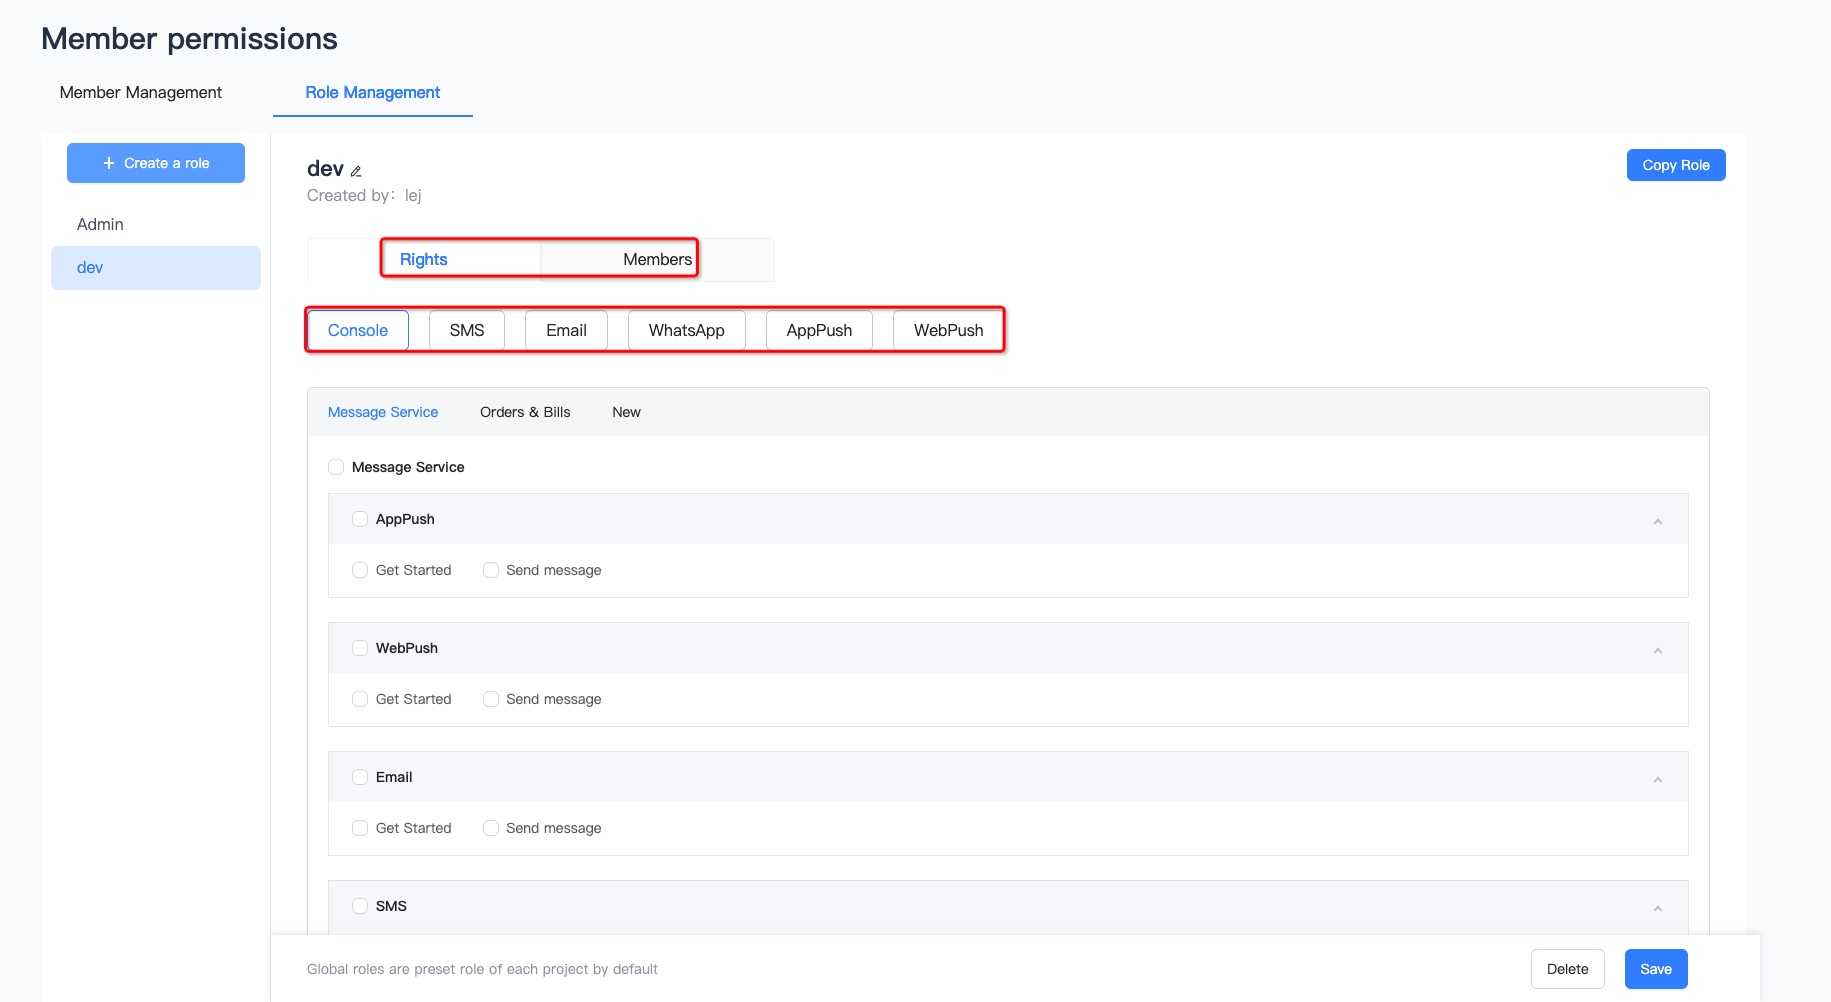
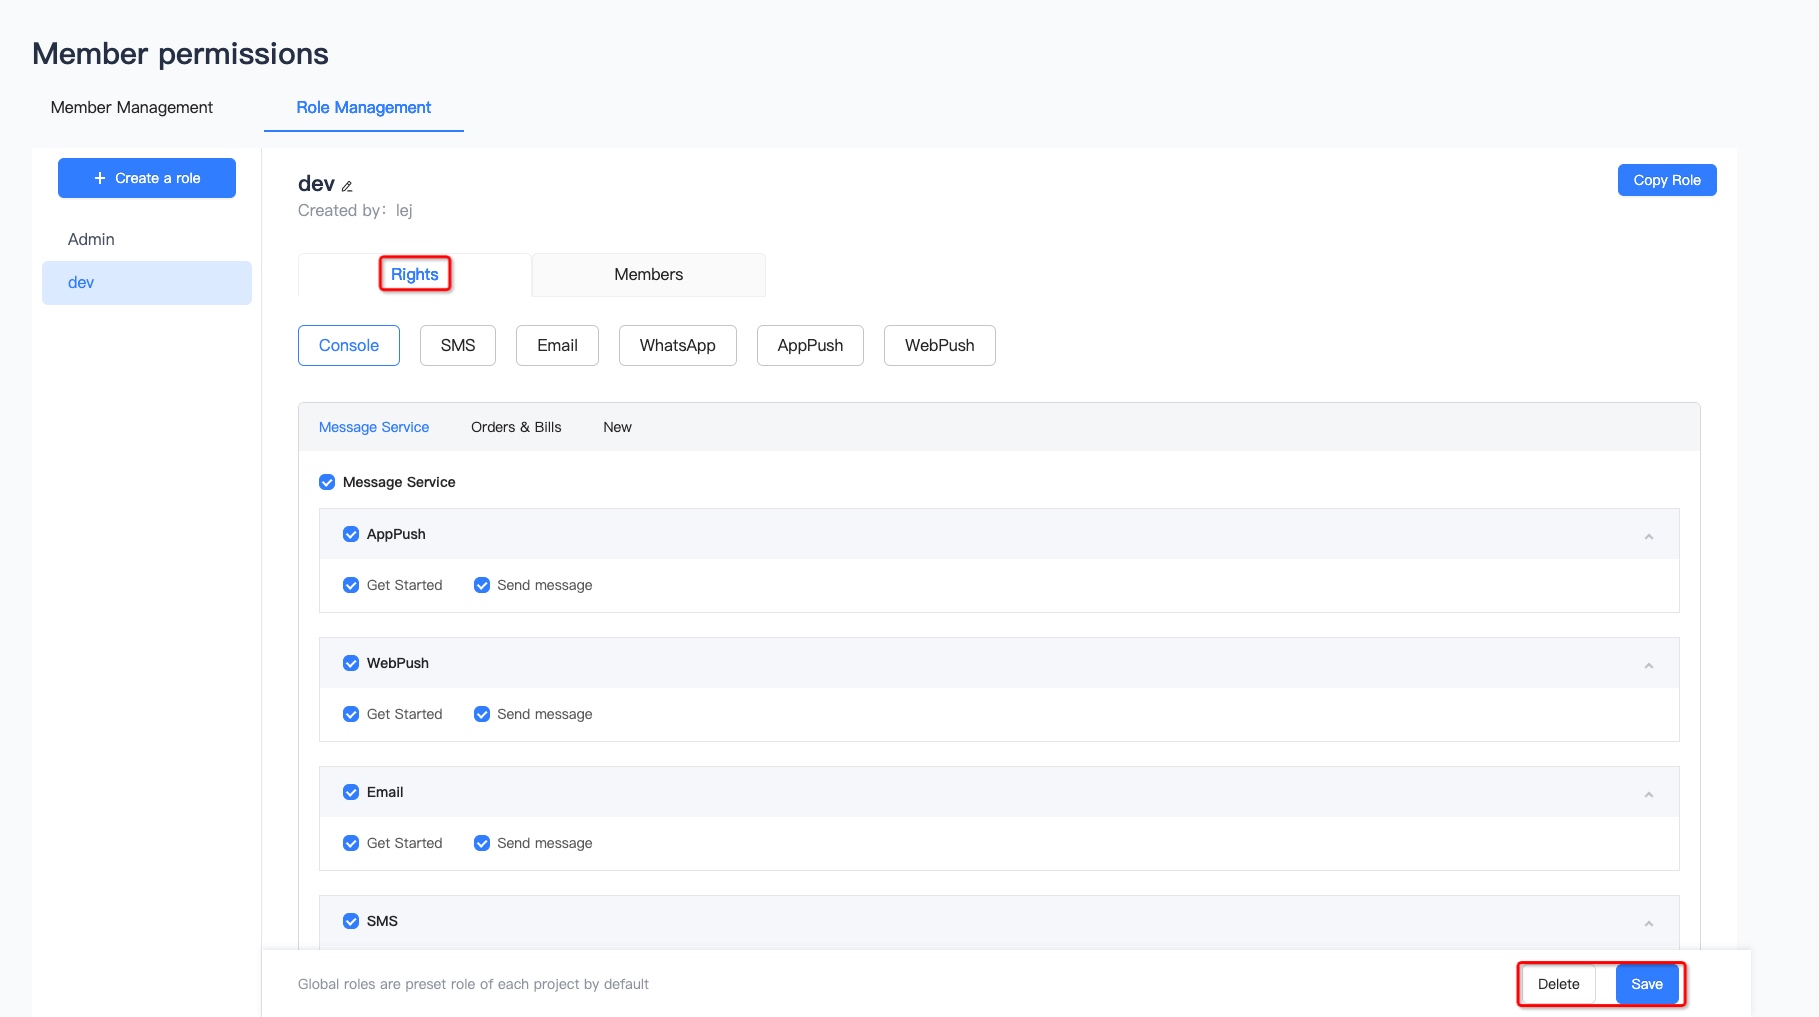
Permission details
Click any role, and you can view the permissions of each product on the permission details page.
- You can reselect the product permissions and click save to take effect.
- Click “Delete” to delete the role, and the associated members will be removed from the role after the role is deleted.
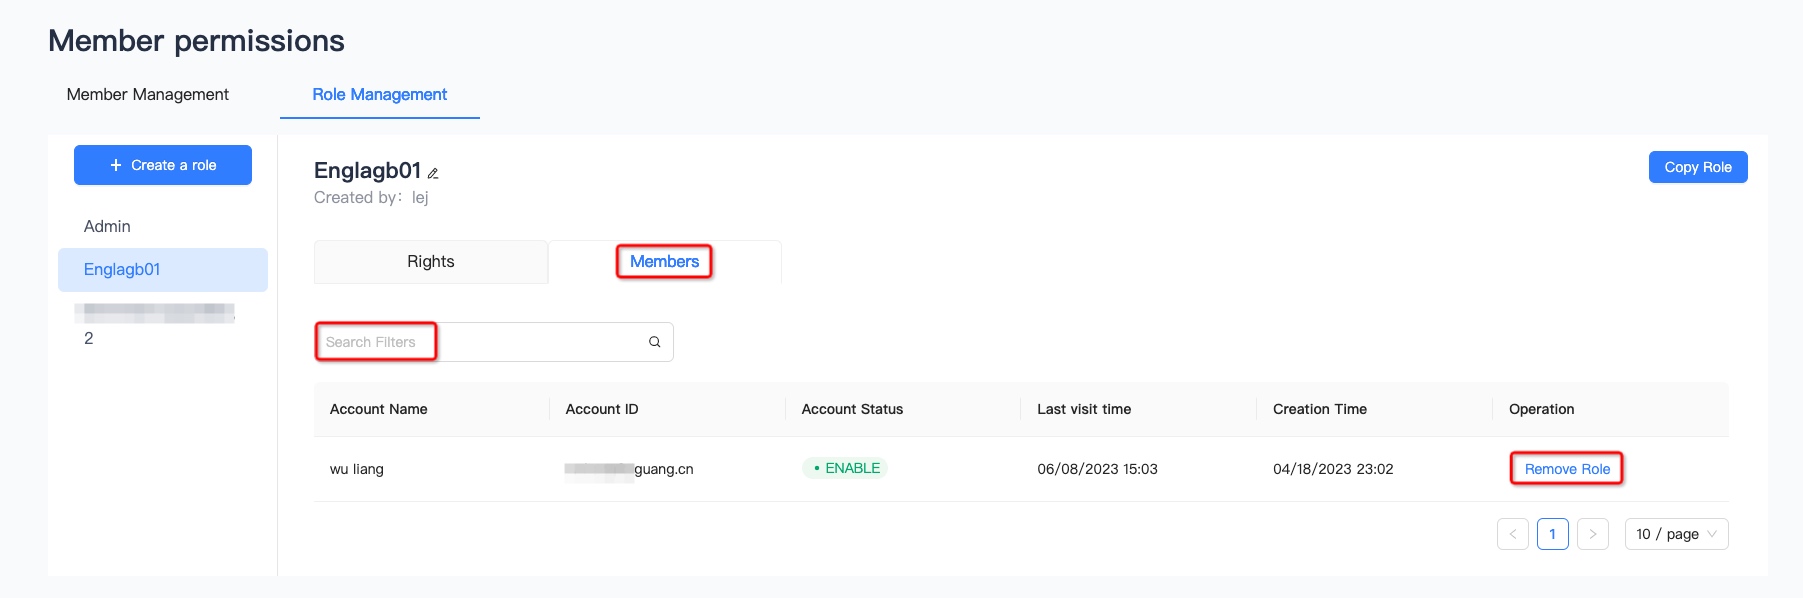
Role member
- Click any role and select the role management page to view a list of all members using this role. Filtering by username and account ID is supported.
- Click "Remove role", and the role can be removed after the second confirmation. After the role is removed, the account will no longer have the permissions of this role.