Advanced Settings
Security Management
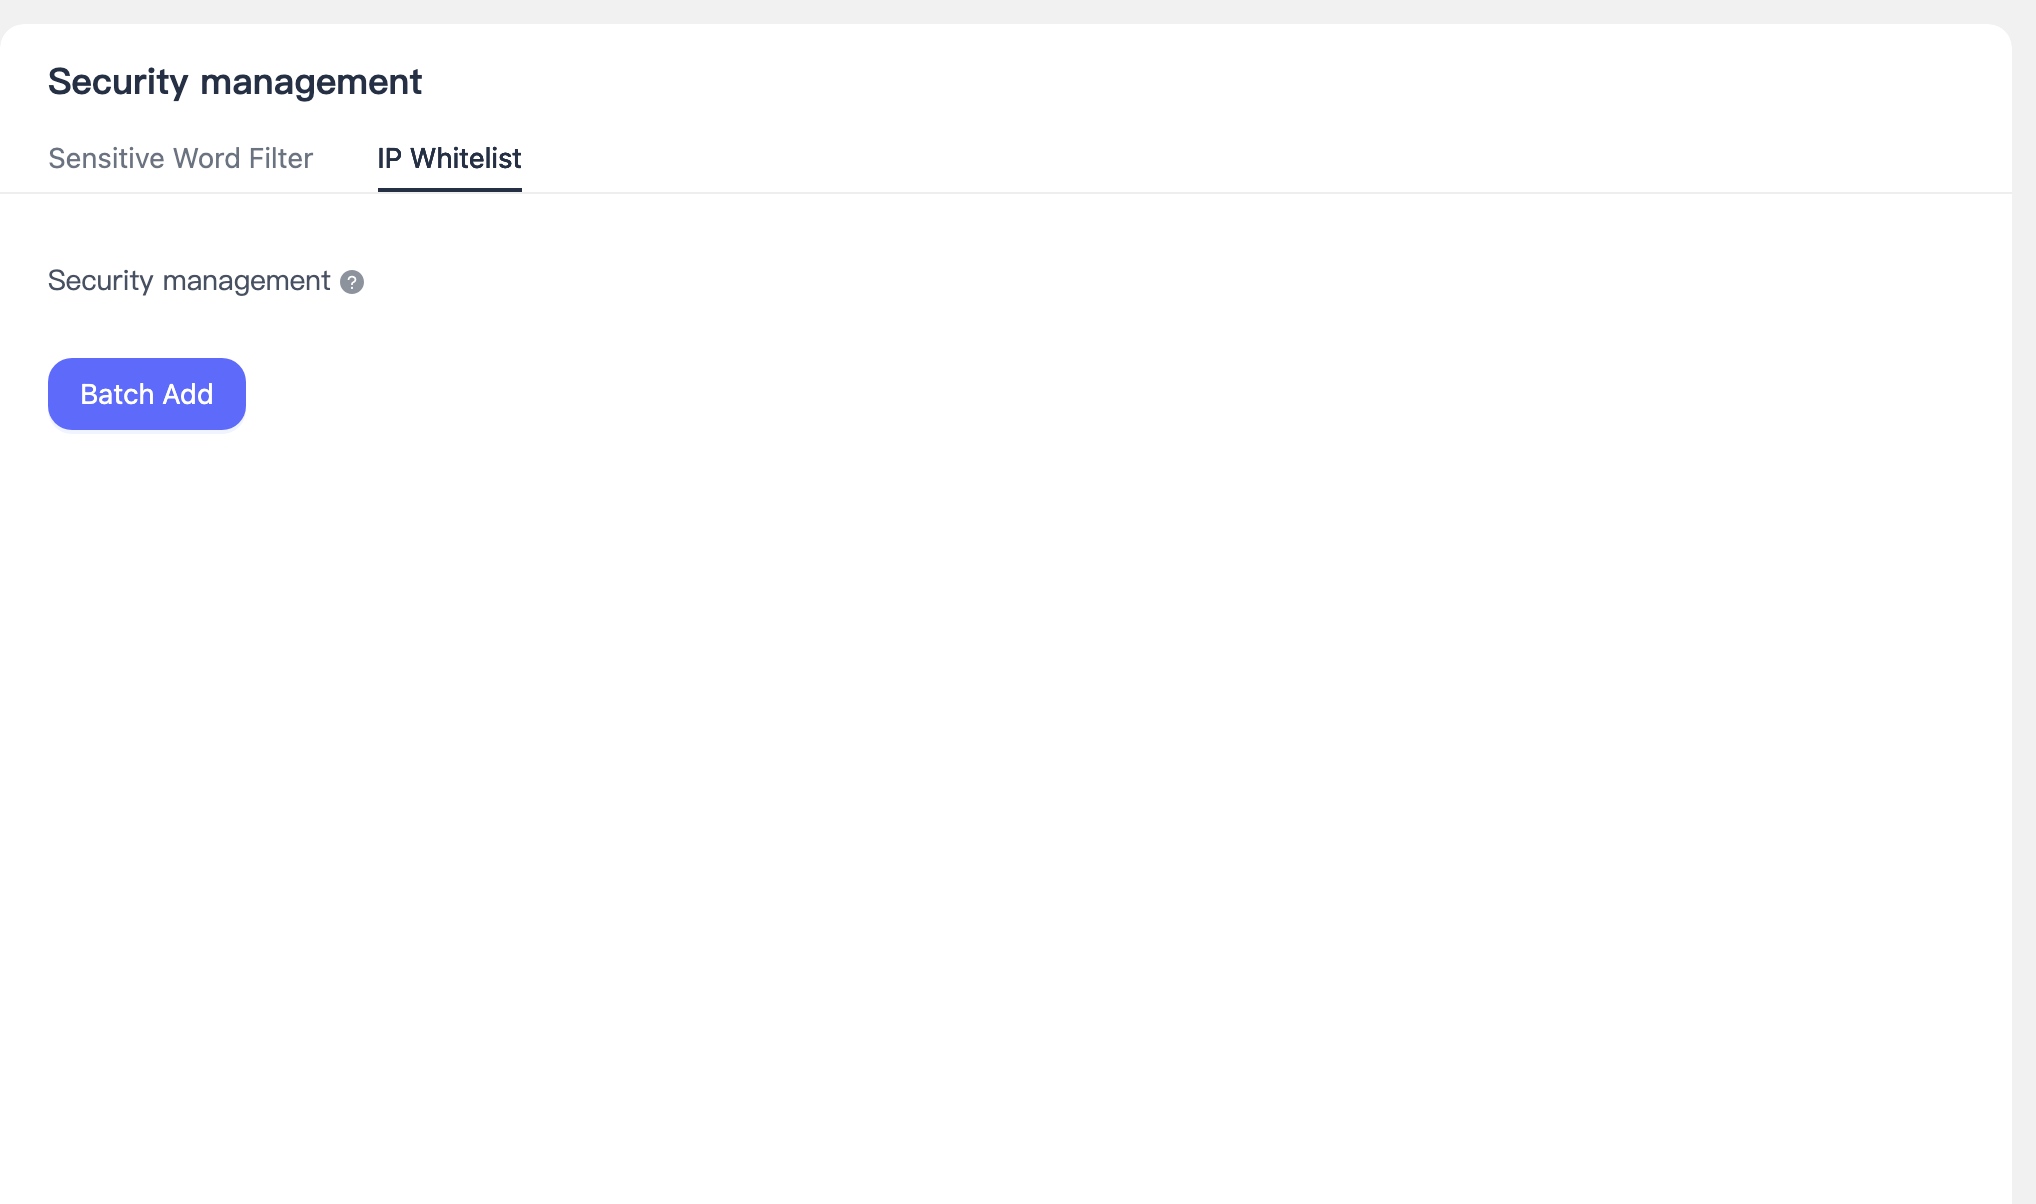
IP Whitelist
The whitelist is used to specify the request IP addresses that this appKey can accept for push notifications.
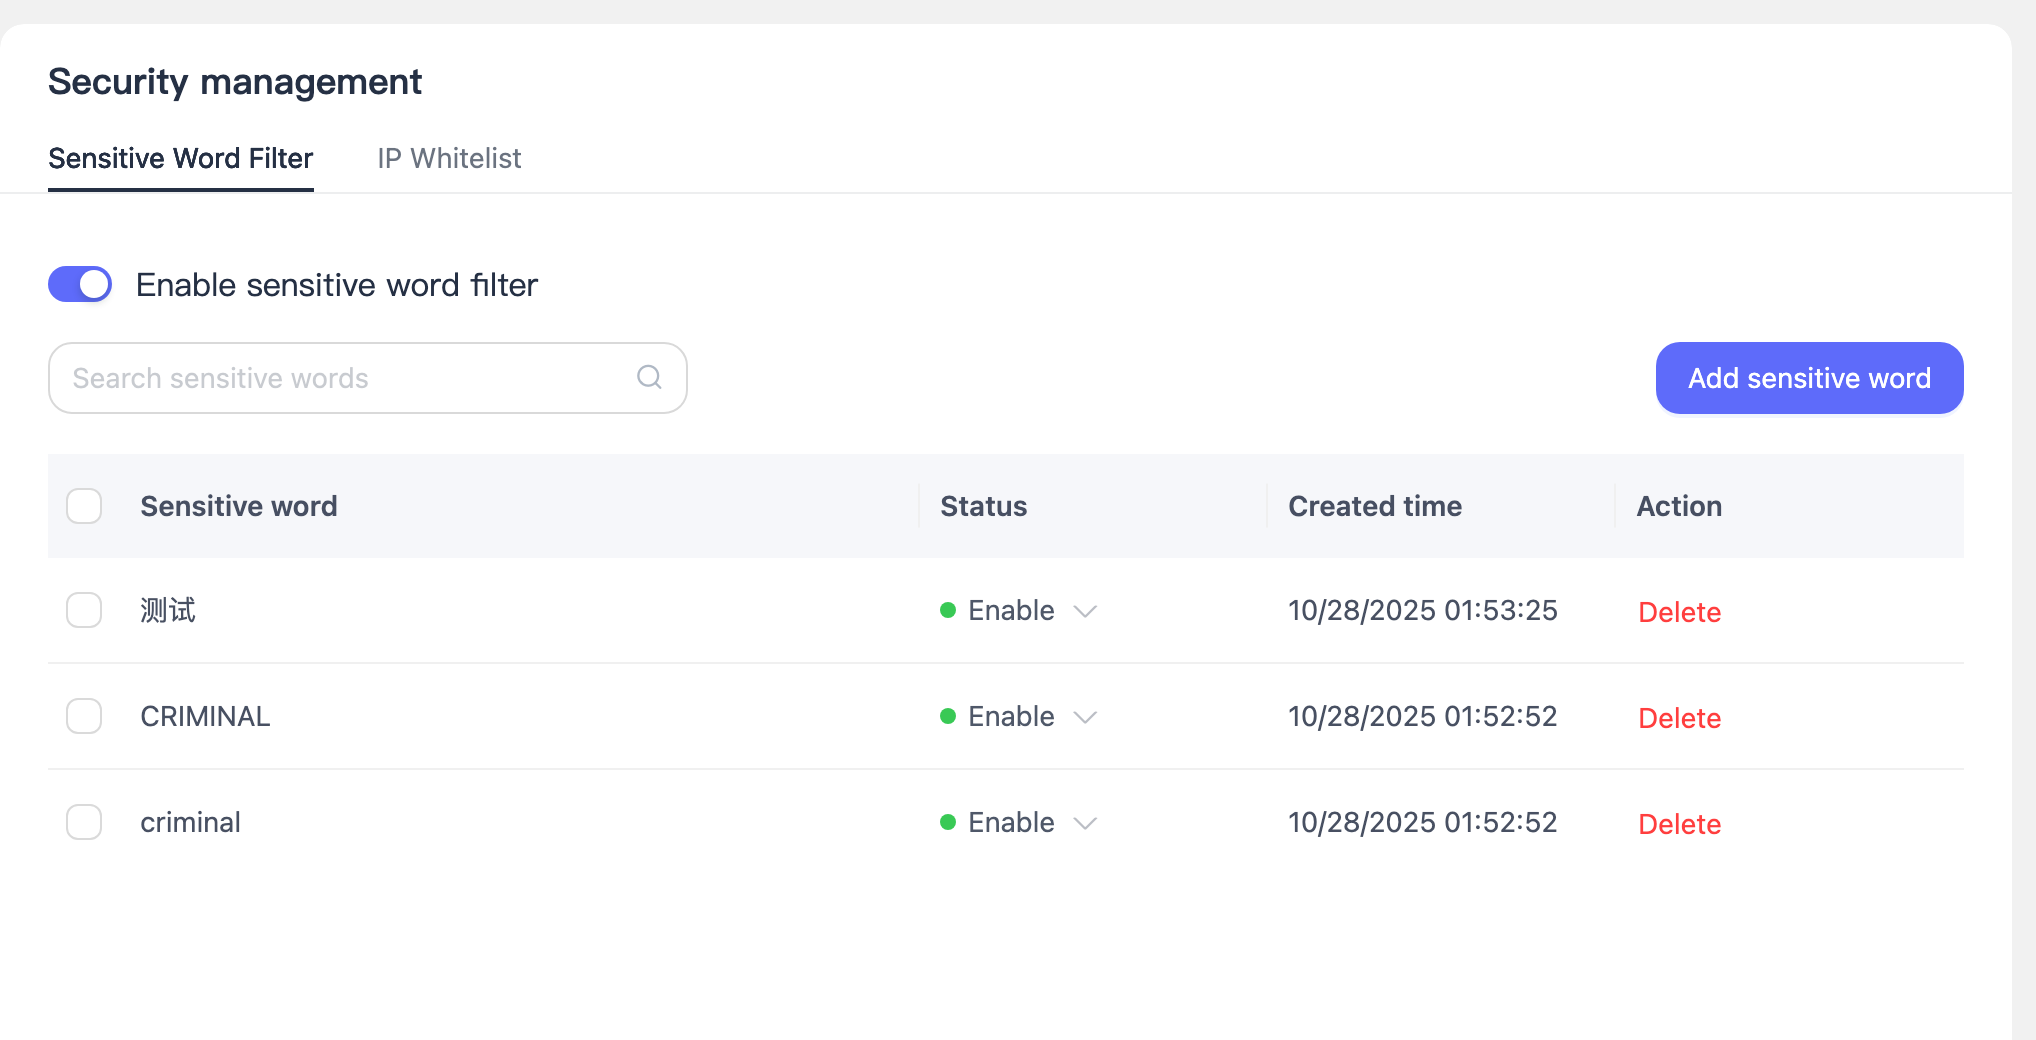
Sensitive Word Filtering
Callback Management
If a company's business system needs to obtain "message status" information, a callback address needs to be configured here. Message Status: After sending a message, the status of the message being sent, delivered, read, etc.
Navigate to the Advanced Settings > Callback Management page to configure callbacks, then click on "Configure Callback".
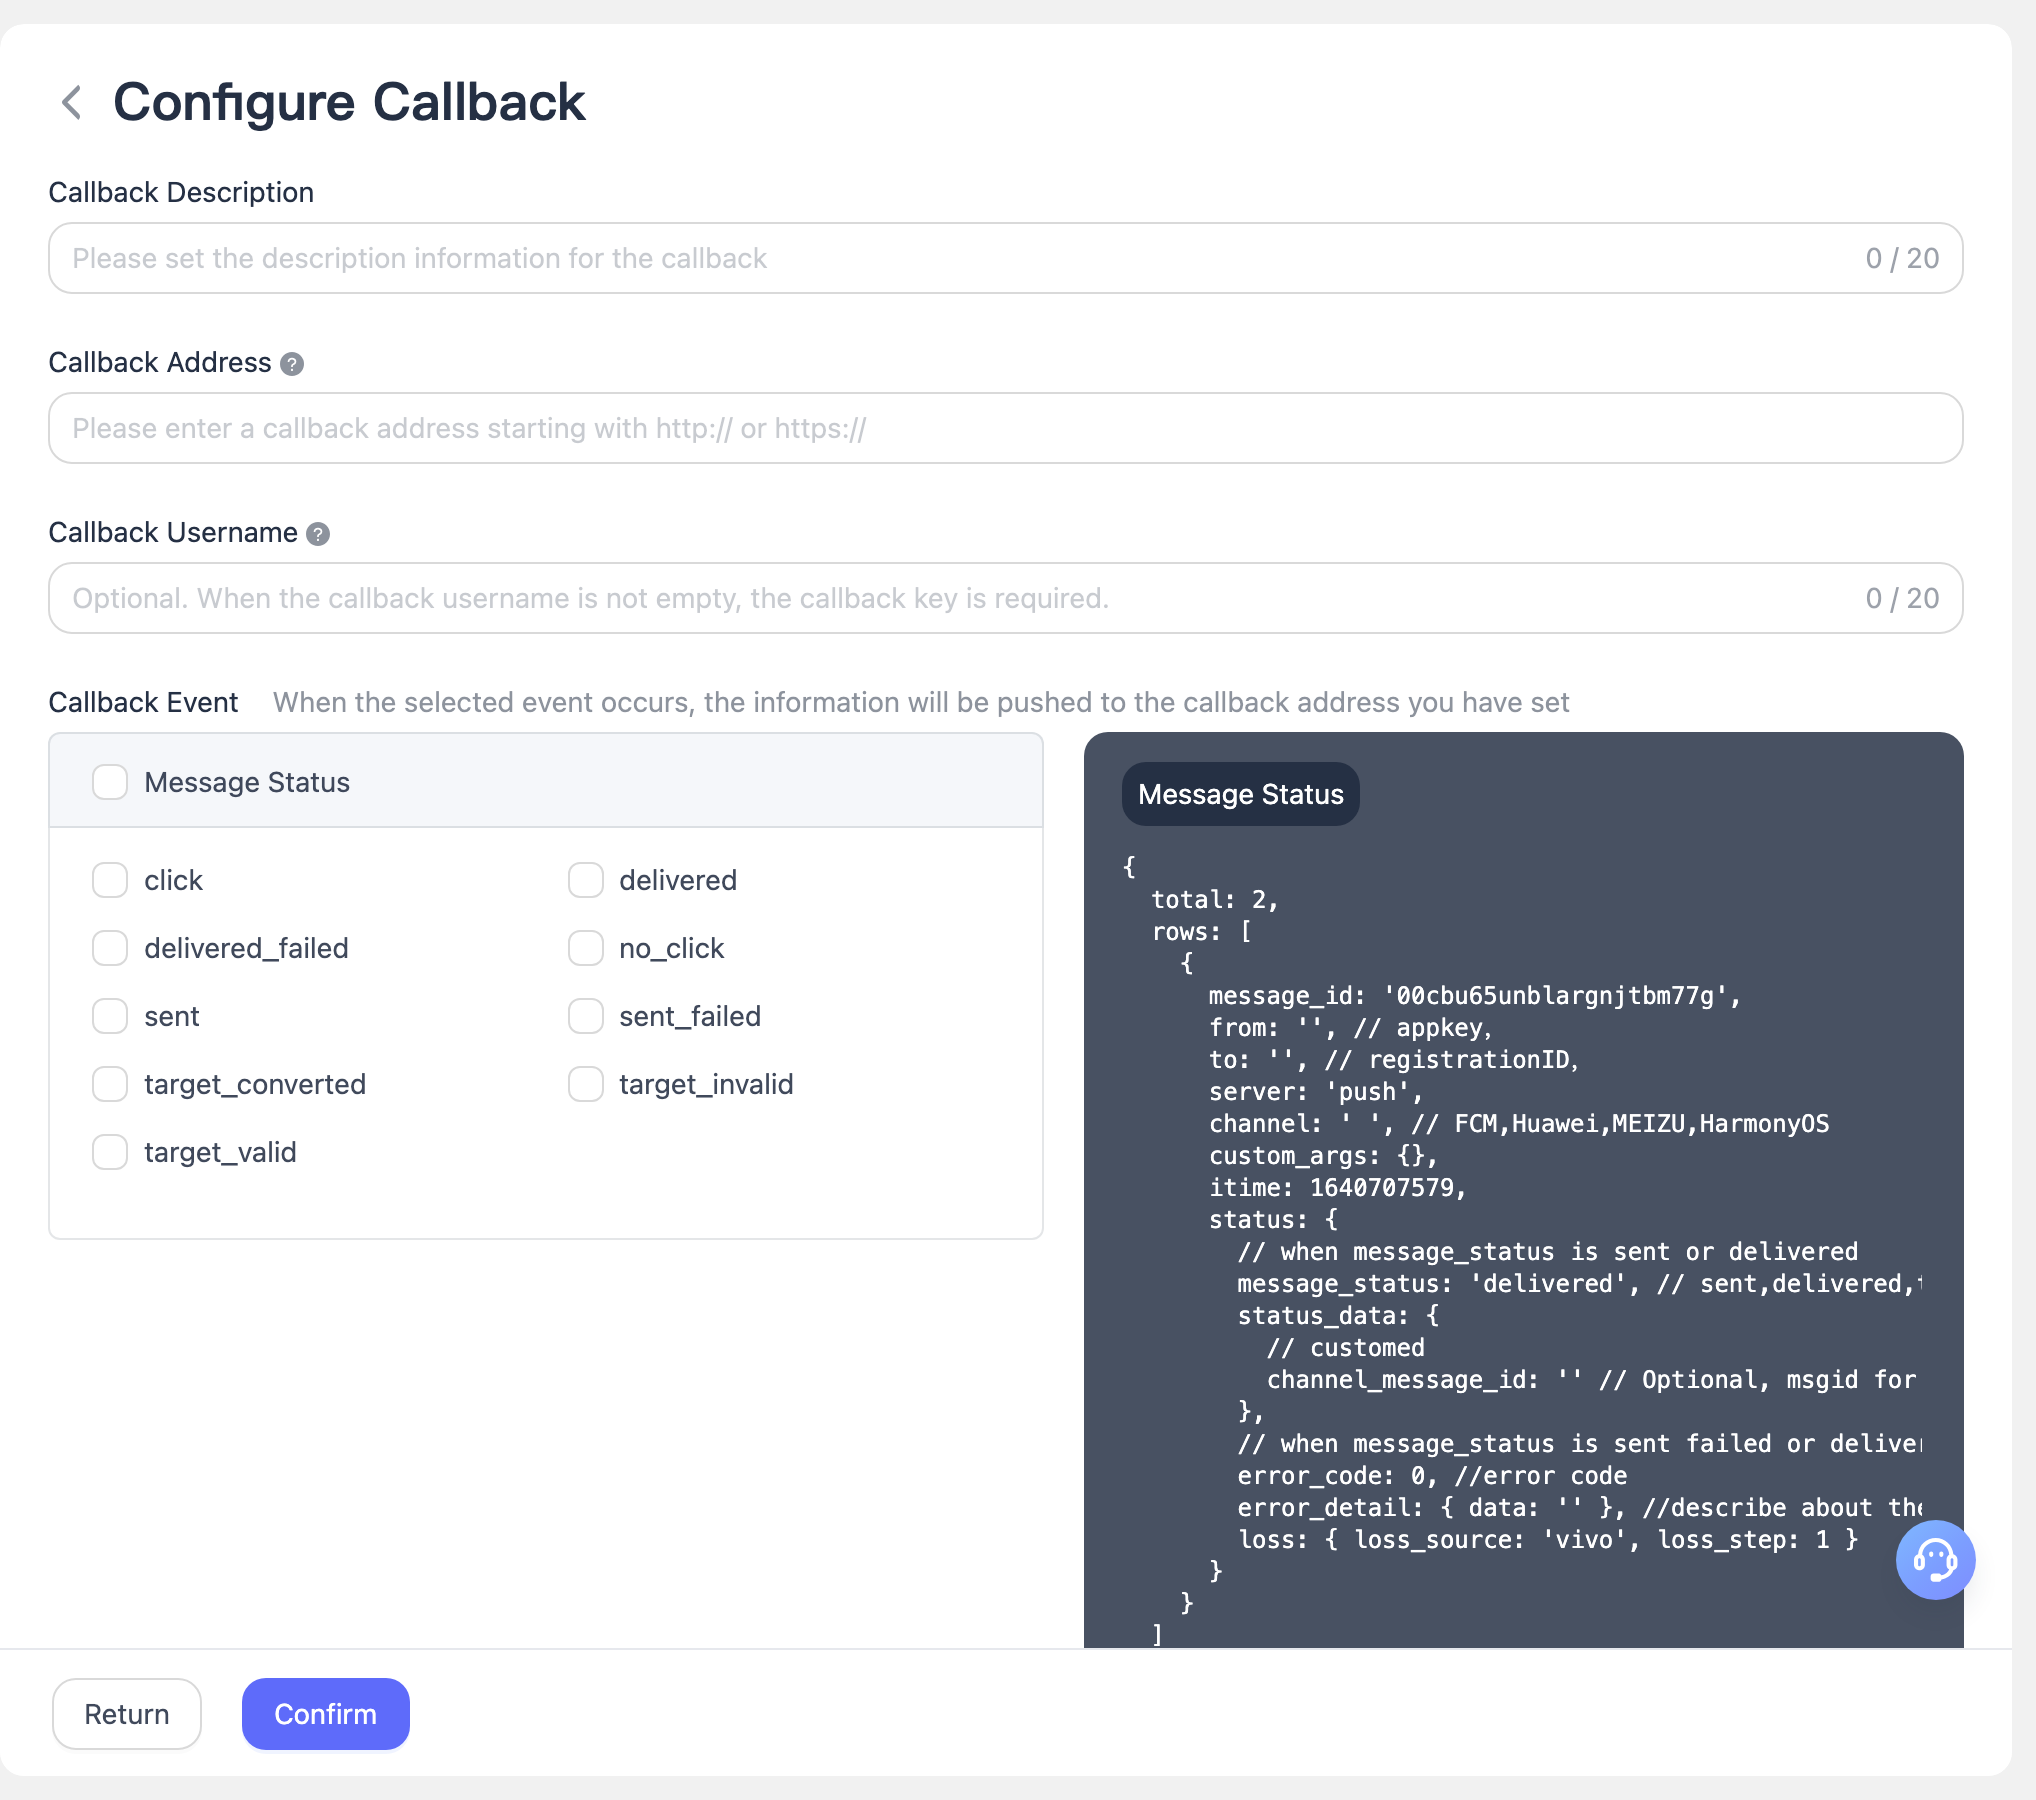
- Fill in the callback description and callback address.
- Check the callback events. After the selected event occurs, the information will be pushed to the callback address you have set.
- Click on the right side of the message status and message response to view corresponding examples.
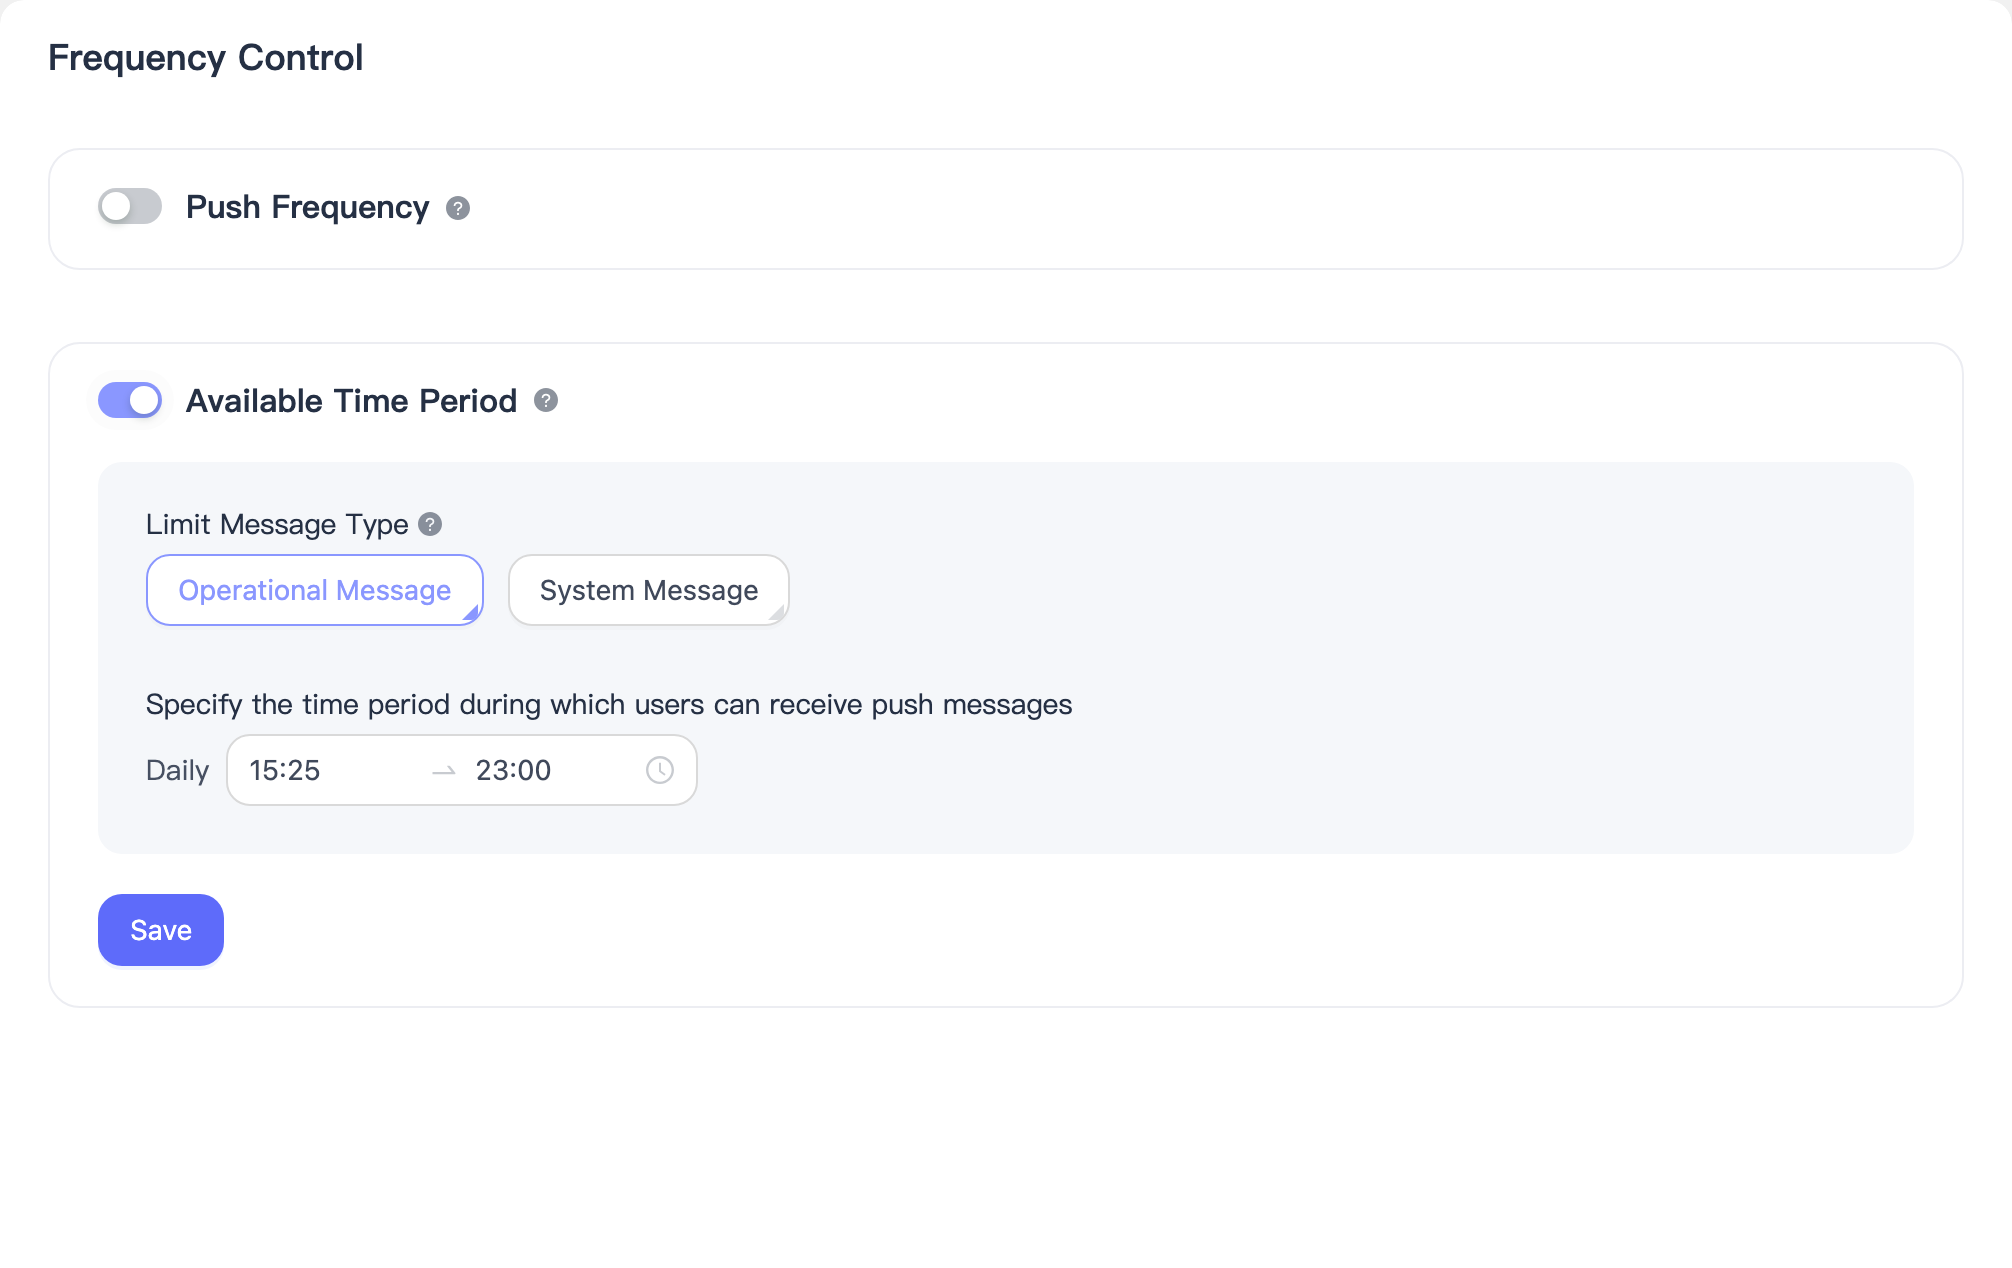
Frequency Control Management
The frequency control setting function supports setting a limit on the number of push notifications a single device can receive per day to prevent excessive harassment of users. It also supports setting time periods during which users can receive push notifications to avoid disturbing users late at night. Additionally, to facilitate differentiation of operations based on various business scenarios, it allows distinguishing whether system-type messages are not subject to restrictions.
Push Frequency
Click the "Enable" button, and fill in the limit for the number of push notifications to be sent to a single device. You can set the maximum number of messages allowed to be sent to each user per hour/day/week. Messages exceeding the limit will be discarded directly.
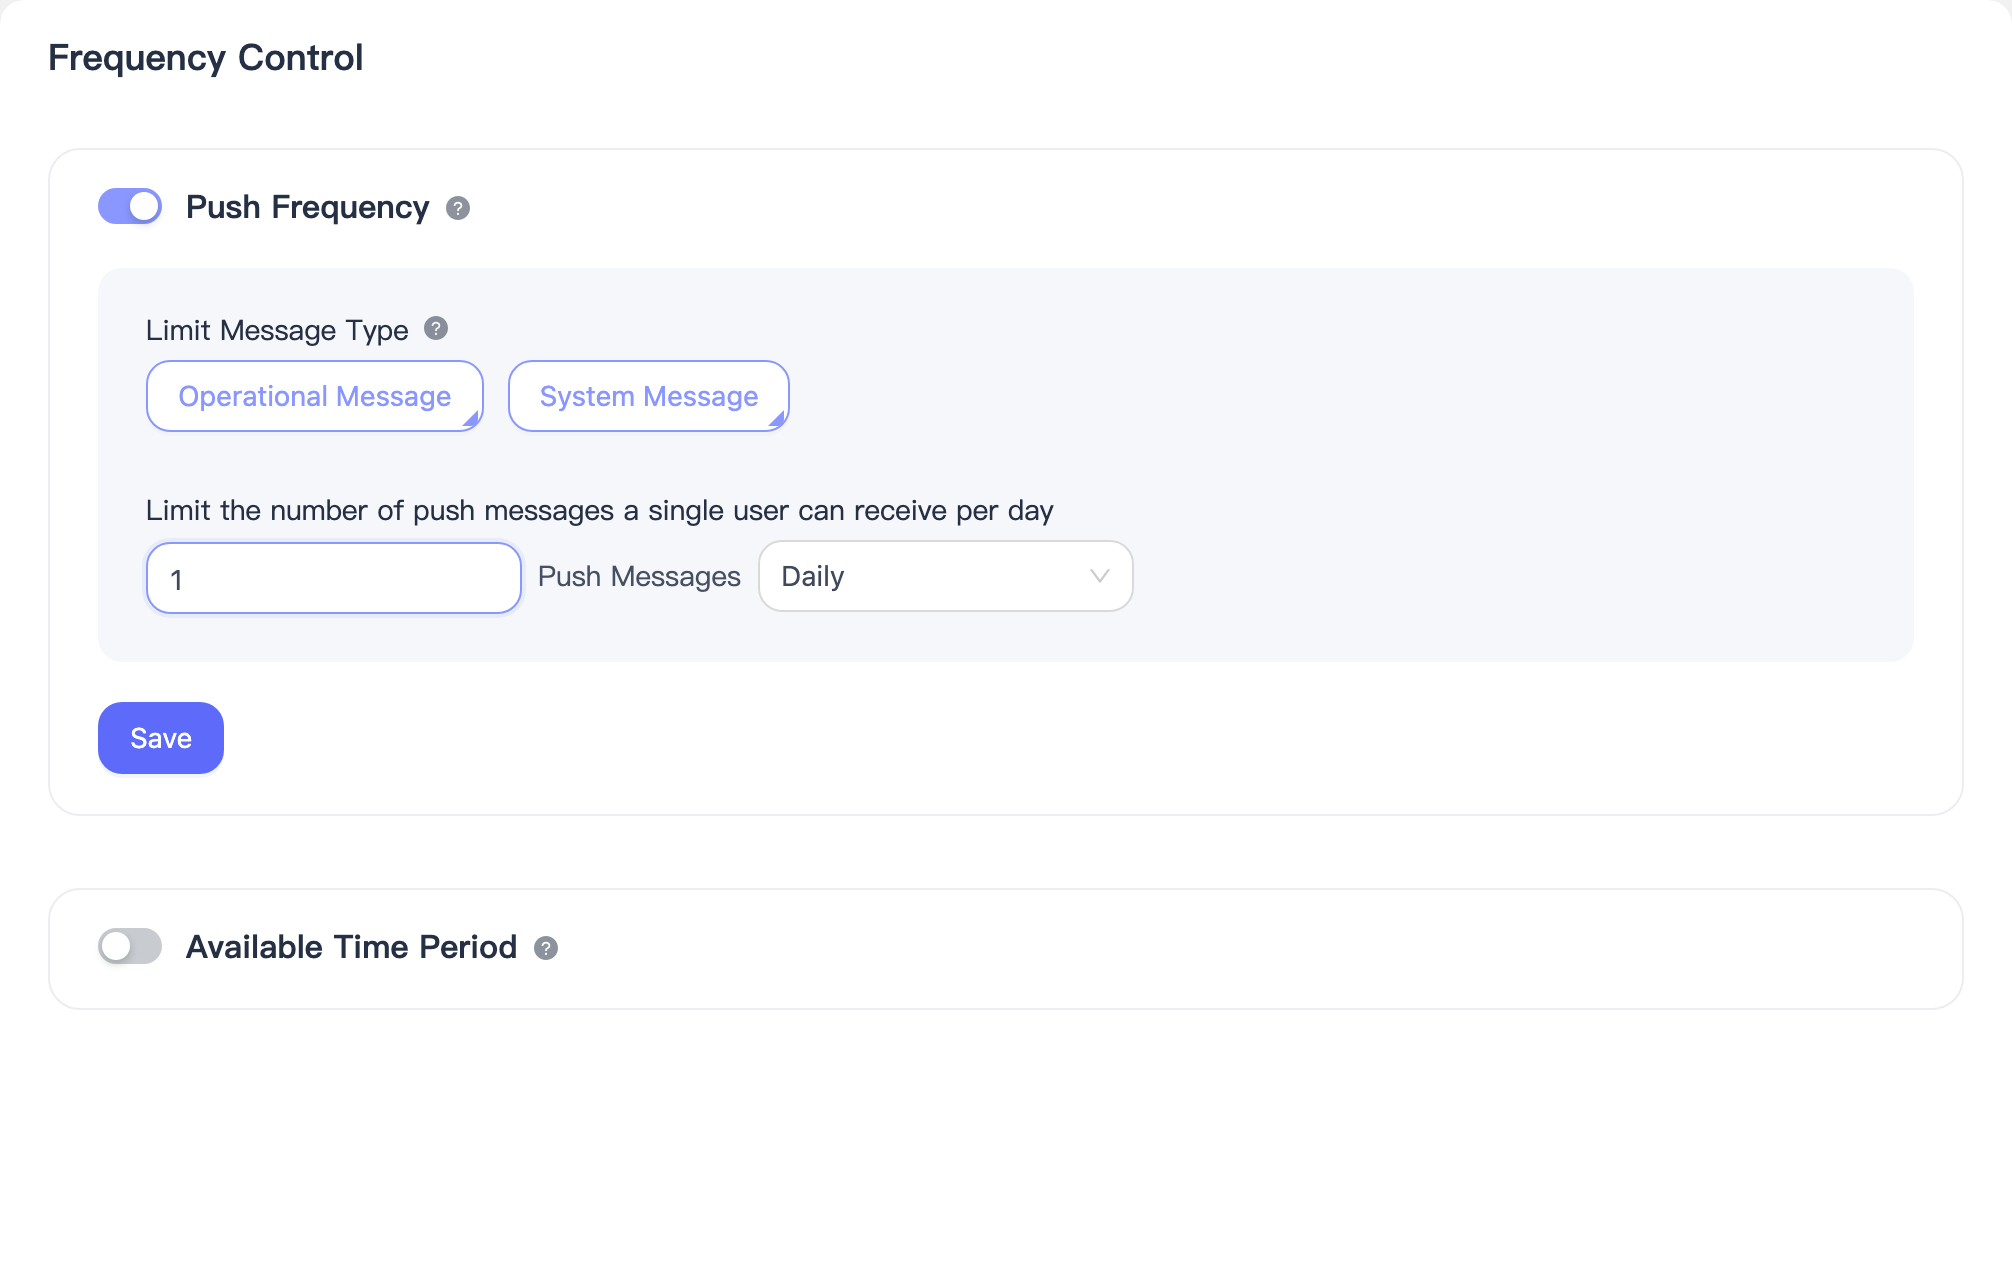
Permissible Push Time Period
Click the "Enable" button and select the acceptable push time period. Messages will be discarded if they are sent outside the specified time range.
Alarm Settings
The push alarm function is used to promptly notify developers via email or SMS in case of push task anomalies (e.g., task backlog), helping to quickly identify and address potential risks.
Function Entry and Permissions
Entry Location
Console → Advanced Settings → Alarm Settings
Alarm Metric Description
Large Target Push Task Backlog
Metric Meaning The number of large target push tasks that have not been completed at the current time.
Completed tasks are not included in the backlog count.
Definition of Large Target The number of registration IDs for a single push task ≥ the threshold configured by the system for the current AppKey. (This threshold is automatically retrieved by the system and may vary for different AppKeys.)
Alarm Rule Description
1. Alarm Threshold
- Represents the maximum allowable task backlog.
- Supports user customization.
- Minimum value: 5
- When the real-time backlog ≥ alarm threshold, an alarm is triggered.
2. Alarm Frequency
Statistical period: 00:00:00 – 23:59:59 daily
Alarm trigger logic:
- When the backlog first reaches or exceeds the threshold, an alarm is immediately sent.
- Subsequently, the system checks every 5 minutes.
- If the alarm condition is still met, alarm notifications continue to be sent.
3. Alarm Recovery Rules
- When the task backlog drops to 50% of the alarm threshold, the system will automatically send a recovery alarm notification to indicate that the current abnormal state has been alleviated.
Basic Settings Description
1. Alarm Time
Used to restrict the time range during which alarms are effective.
| Option | Description |
|---|---|
| Any Time | Alarms are effective at any time. |
| Custom Time | Effective only during the specified time range. Alarms occurring outside this range will be discarded. |
2. Alarm Methods
The following alarm methods are supported (multiple selections allowed):
- 📱 SMS
- 🤖 DingTalk Bot
- 🤖 WeCom Bot
- 🤖 Telegram Bot
| Alarm Method | Receiving Information |
|---|---|
| Email address list | |
| SMS | Mobile number list |
| DingTalk Bot | Webhook address |
| WeCom Bot | Webhook address |
| Telegram Bot | Bot Token + Chat ID |
If multiple alarm methods are selected, the receiving information for each method must be configured separately.
Note:
EngageLab internal unified account is used for sending.
No requirements for:
- Email addresses to be registered with EngageLab accounts.
- Mobile numbers to be registered with EngageLab accounts.
Usage Instructions and Notes
- Once the alarm switch is turned on, it indicates acceptance of alarms for this metric.
- If no alarm method or receiving list is configured, no notifications will be sent even if alarms are enabled.
- Alarms occurring outside the custom alarm time will be directly discarded and will not be resent.
- Recovery alarms will only be triggered after an abnormal alarm has occurred.
FAQ: How to Obtain the Bot Token and Chat ID for Telegram Bots?
Before using Telegram Bot Alarms, you need to obtain the following two pieces of information:
- Bot Token: Used to identify and authorize your bot.
- Chat ID: Used to specify the recipient of the alarm message (individual or group chat).
1. How to Obtain the Bot Token?
- Search for and open @BotFather in Telegram.
- Send
/start. - Send
/newbotand follow the prompts to create a bot. - Set the bot's name and username (the username must end with
bot). - After creation, BotFather will return a Bot Token.
Example:
123456789:AAxxxxxxxxxxxxxxxx
⚠️ Please keep the Bot Token secure, as leakage may result in the bot being controlled by others.
2. How to Obtain the Chat ID?
Method 1: Use a Tool Bot (Recommended)
- Search for @userinfobot or @get_id_bot in Telegram.
- Send any message to the bot.
- Check the Chat ID in the returned information.
- Personal Chat ID is usually a positive integer.
- Group Chat ID is usually a negative integer (e.g.,
-100xxxxxxxxxx).
Method 2: Obtain via Group Chat (For Group Alarms)
Add your Telegram bot to the target group chat.
Send a message in the group chat or type:
/start@YourBotUsername/start@YourBotUsernameThis code block in the floating windowAccess the following URL (replace
<BOT_TOKEN>with your Token):https://api.telegram.org/bot<BOT_TOKEN>/getUpdateshttps://api.telegram.org/bot<BOT_TOKEN>/getUpdatesThis code block in the floating windowCheck the
chat.idfield in the returned results.