Message Templates
Template list
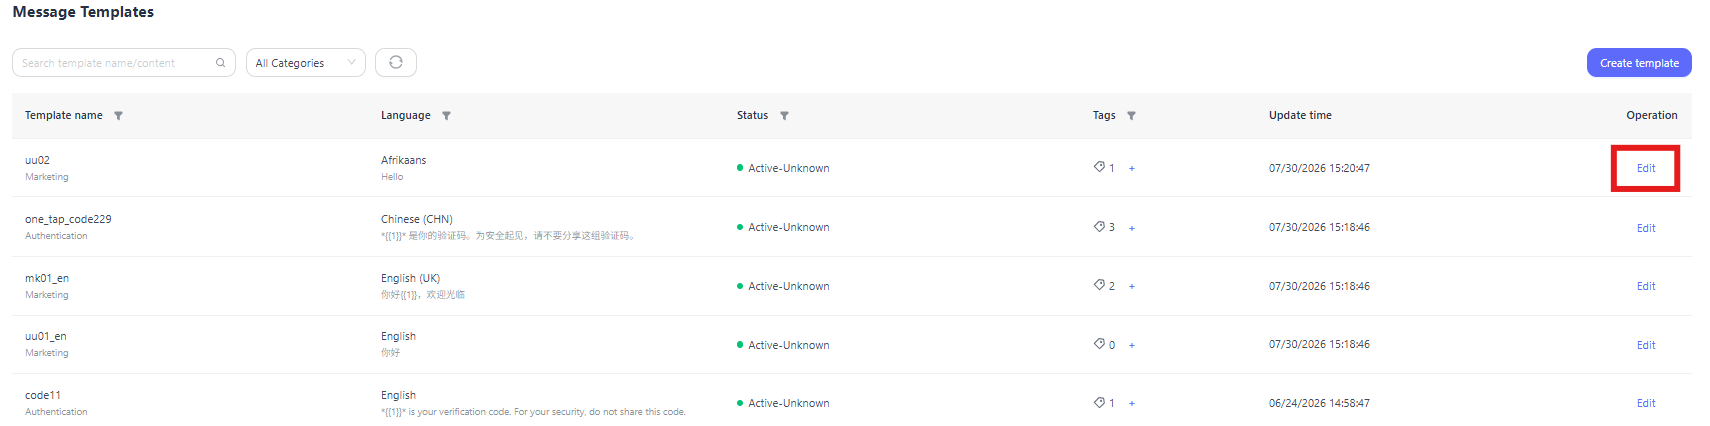
Enter [Message Center] - [Message Templates] page, you can view all message templates and support filtering by template name/content, category, language, status and tags. Refresh the page or click the Refresh button to get the latest template information.
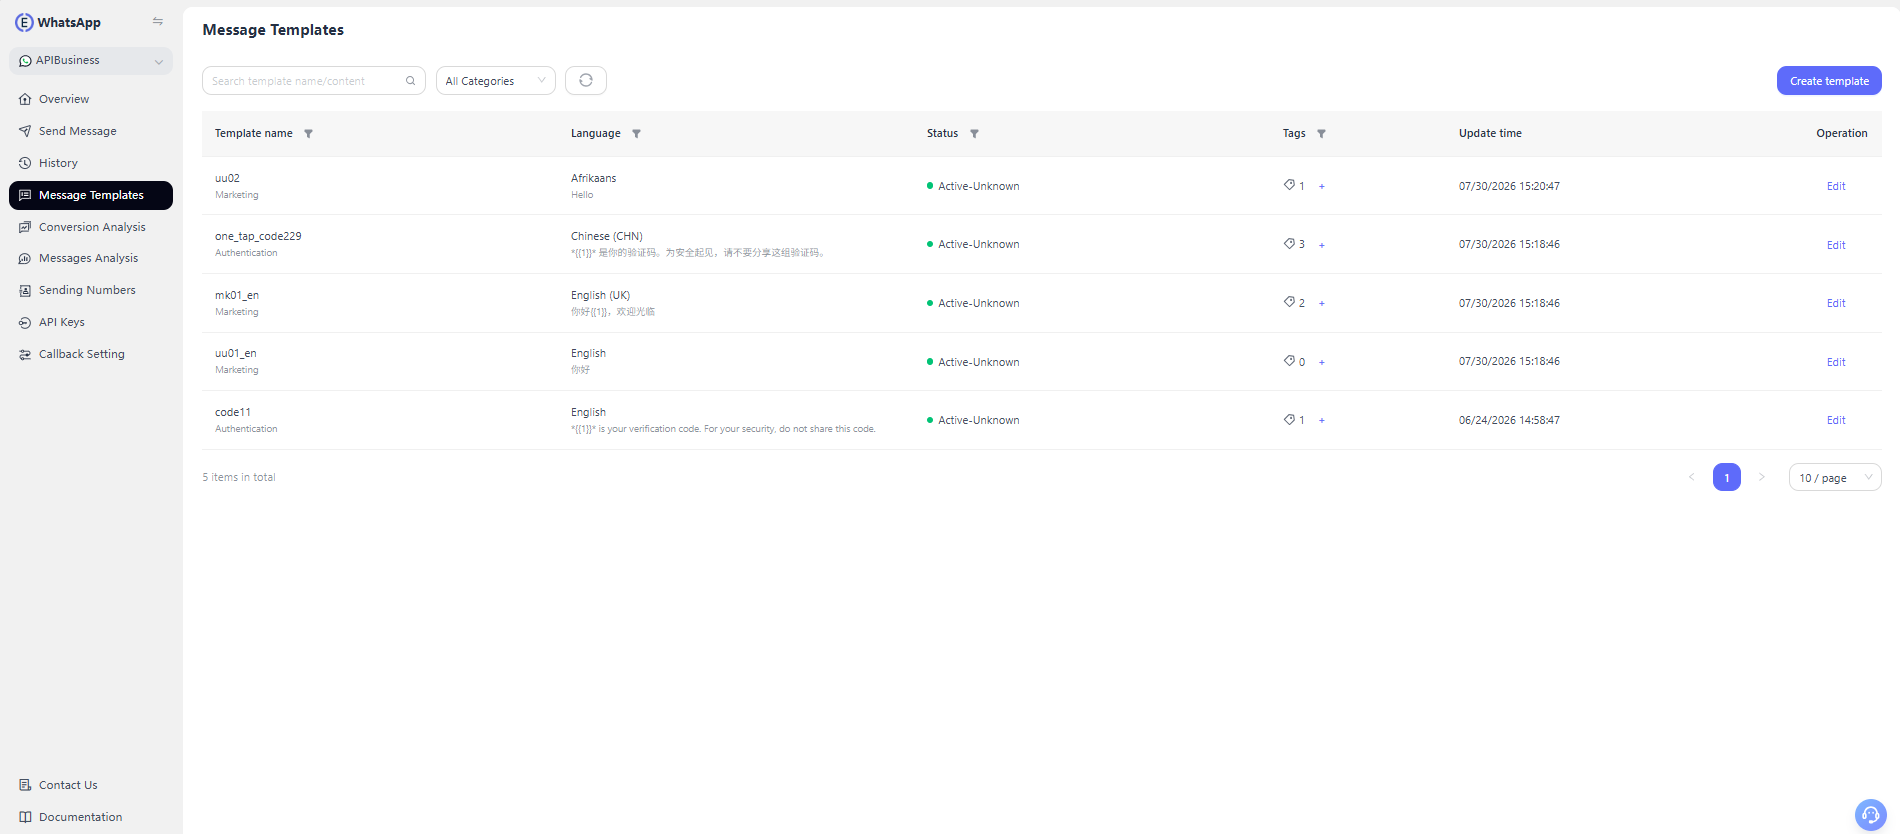
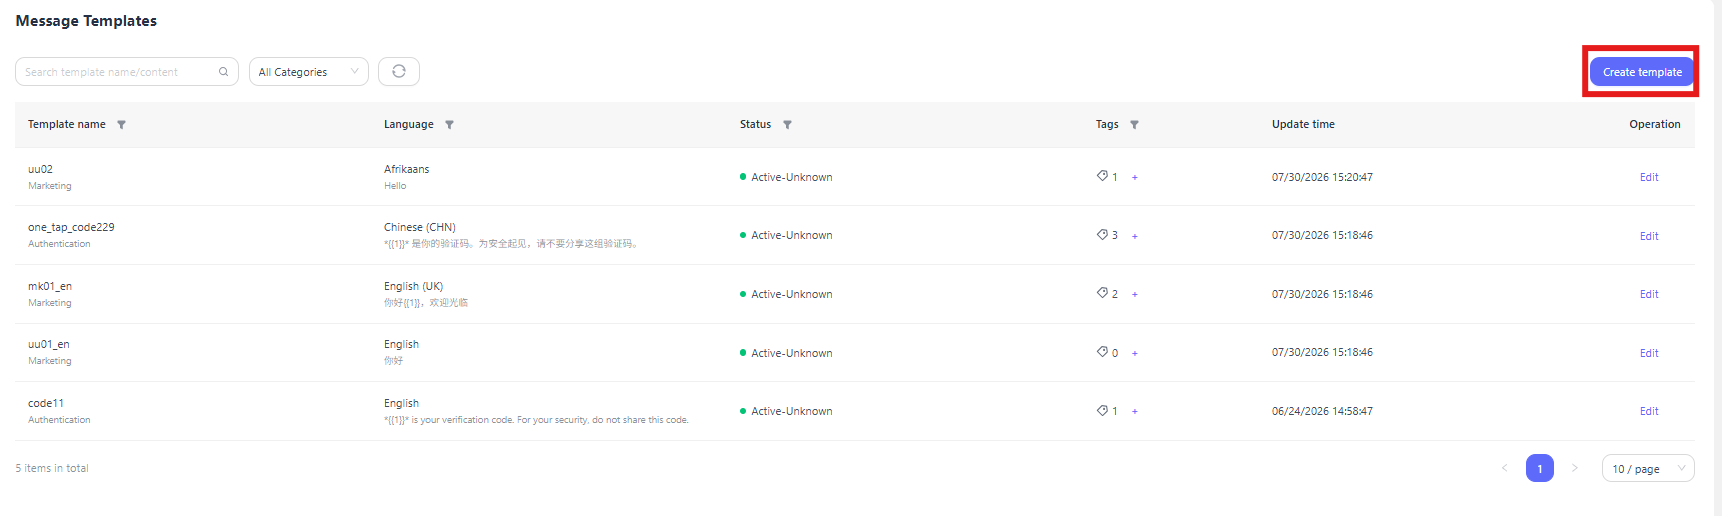
Create Template
Click "Create Template" to enter the template creation page.
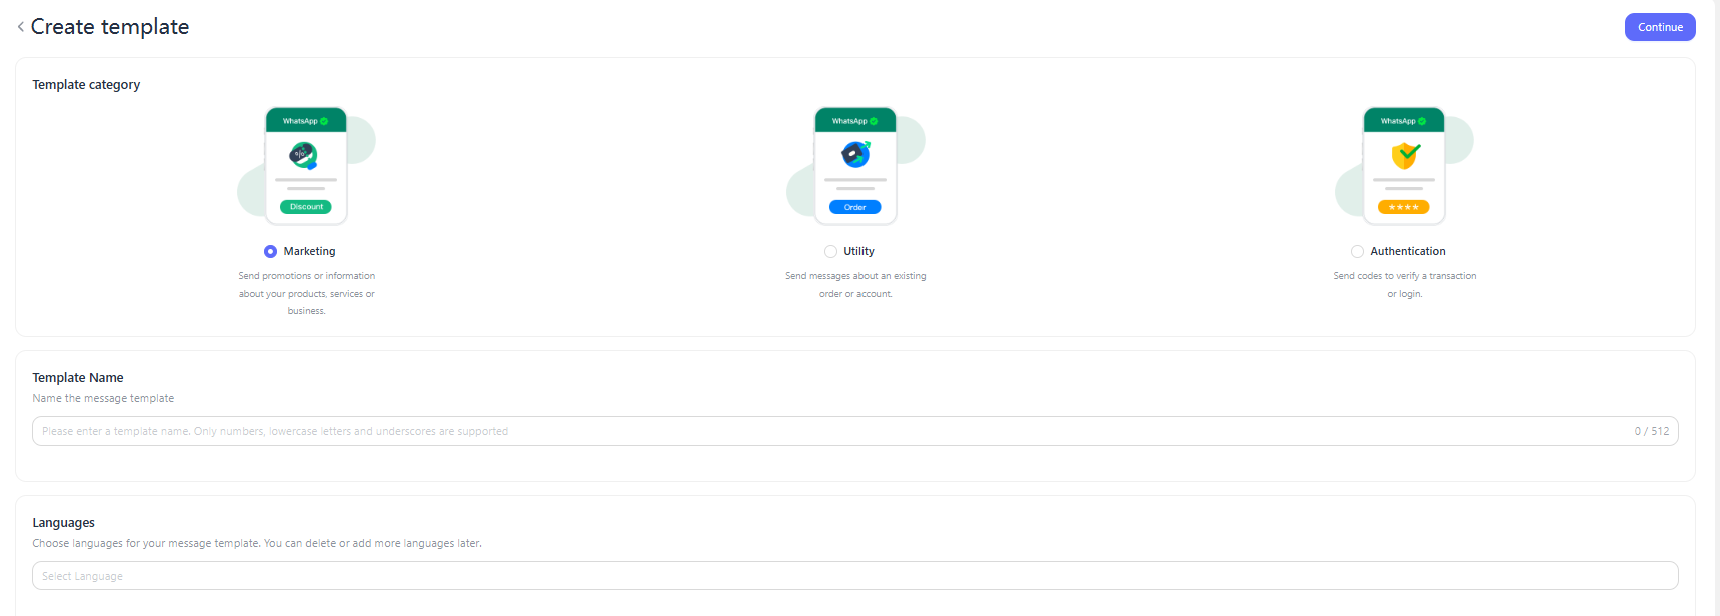
Select the template category and language according to the business requirements, fill in the template name, and click "Continue" to enter the template editing preview page.
- Template category: Three categories are supported: Marketing, Utility, and Authentication.
- Template name: Only numbers, lowercase letters and underscores are supported.
- Language: Support adding multiple languages.
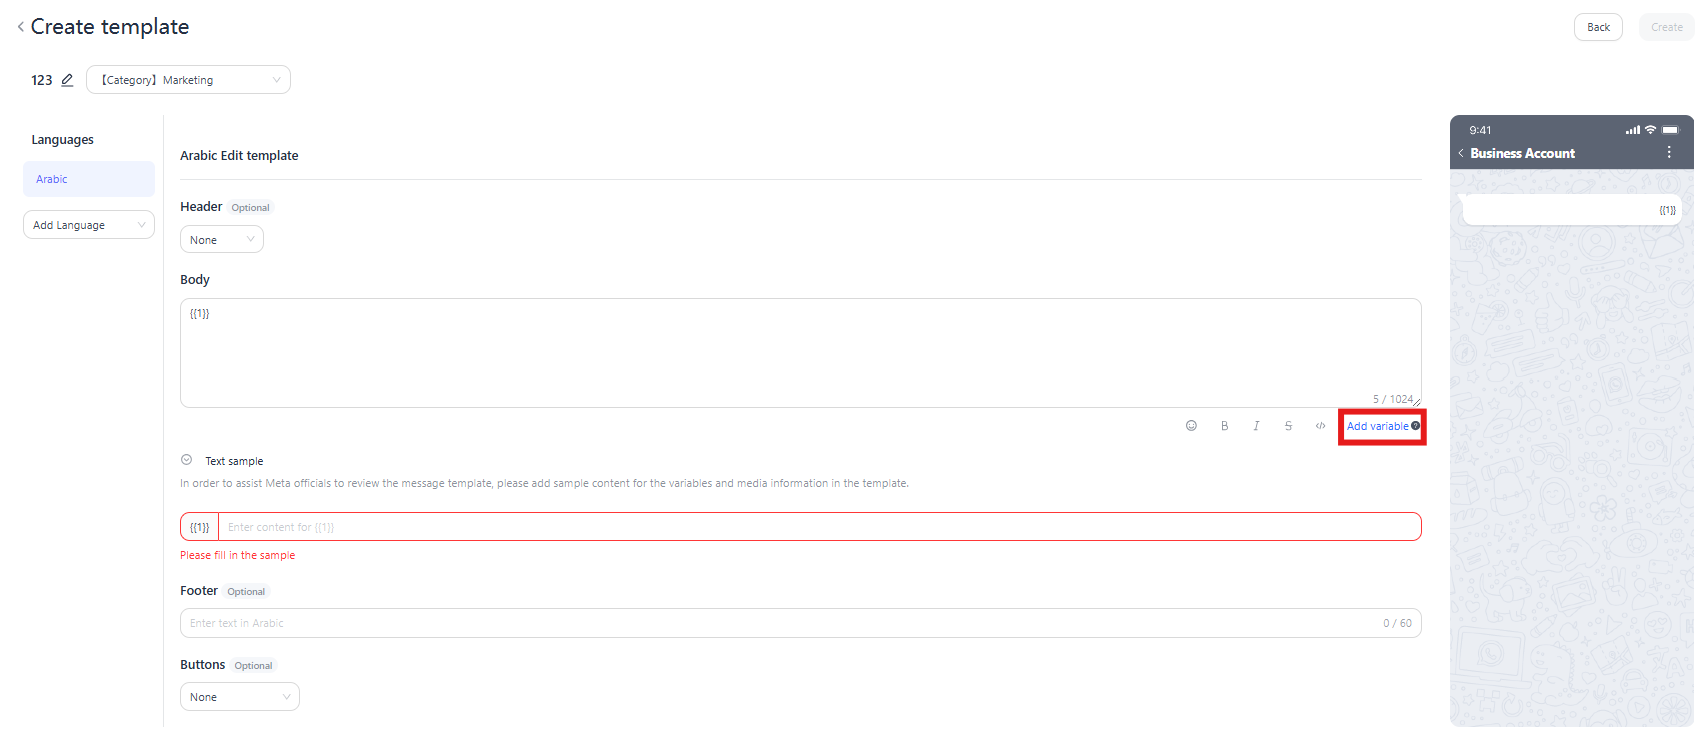
You must fill in the body text in the selected language to complete the template creation; headers, footers, and buttons are not required.
- If your text needs to be personalized for a customer, such as the customer's name or statement number, click "Add Variable" to add multiple variables.
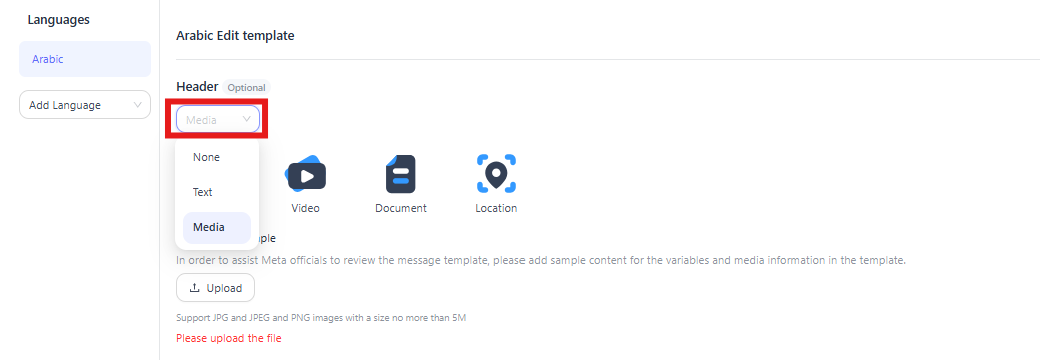
- Header: You can select none, text, or material, and the material includes four types of images, videos, documents, and locations.
- When you select a material, you need to add an example for Meta reviewers to see. When you send a message, you also need to provide the corresponding material.
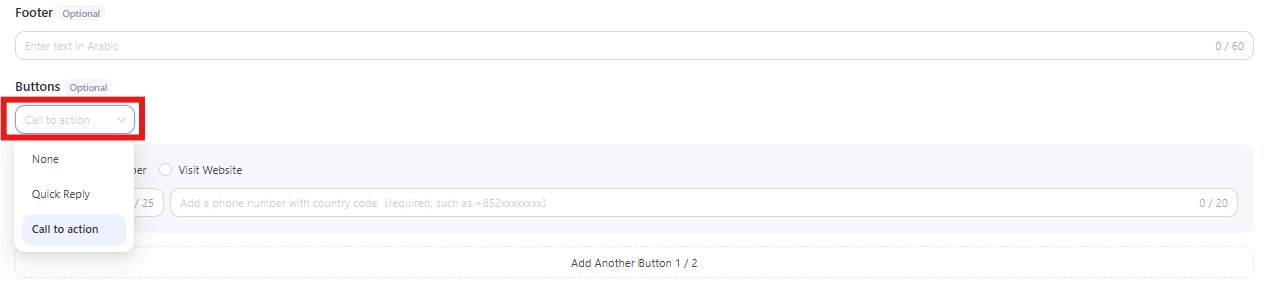
- Footer: Fill in the text of the corresponding language.
- Buttons: Supports selecting None, Quick Reply, and Call to Action.
- When you select Quick Reply, you can add up to 3 buttons.
- Call to action: Call and visit the website, and visit the website with static and dynamic URLs.
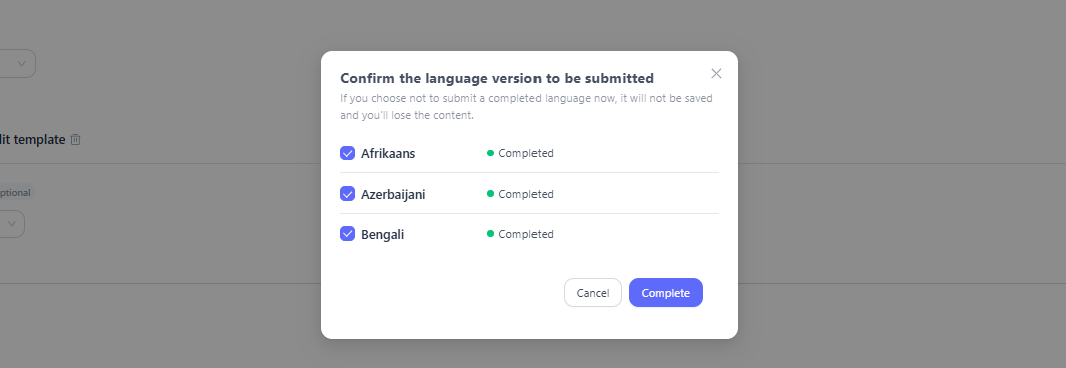
Once you have filled in all the language versions you have selected, click "Create" to submit.
When the status is changed to "Active" after the review, you can refer to the template when sending messages.
Edit Template
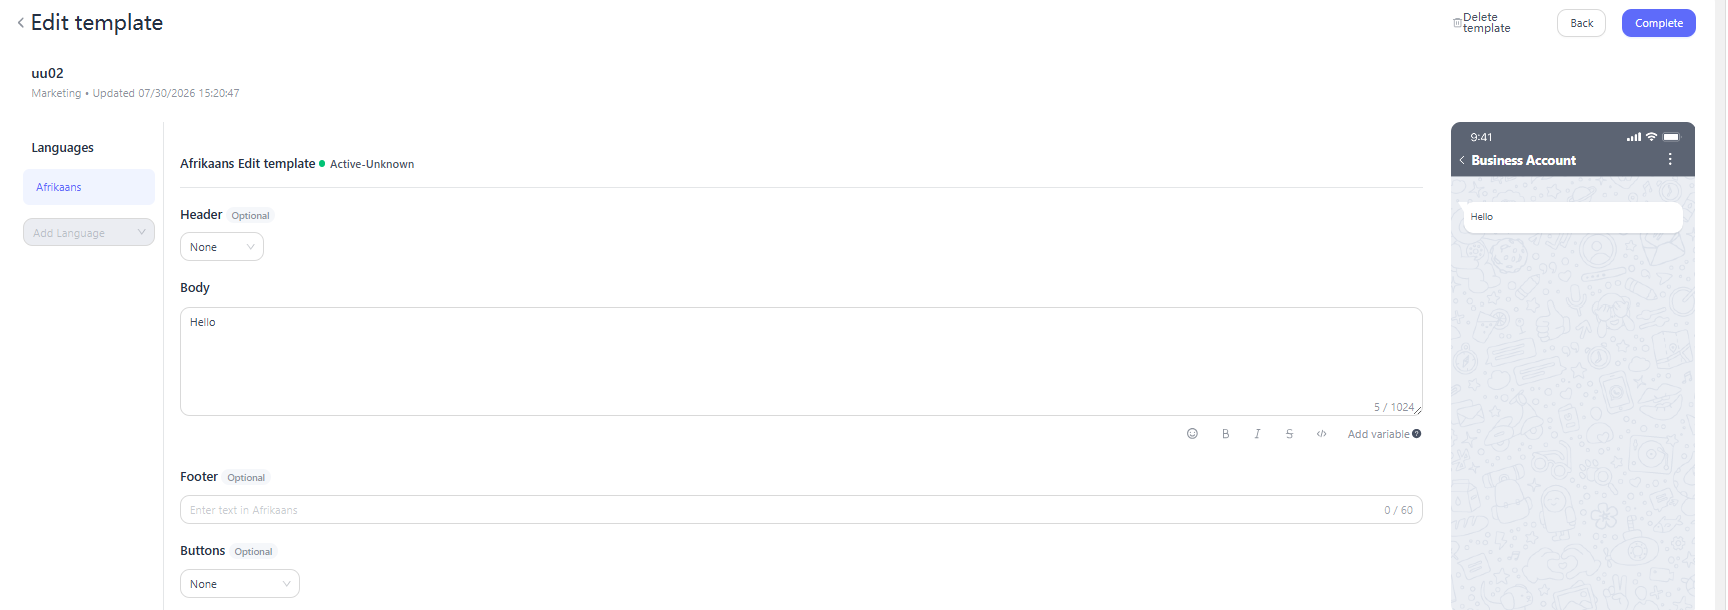
Edit is only allowed when the status of the template is "Active", "Rejected" or "Paused", click "Edit" to enter the template editing page.
After editing the content, click "Finish" and the template status will change to "In review".
Deleting Templates
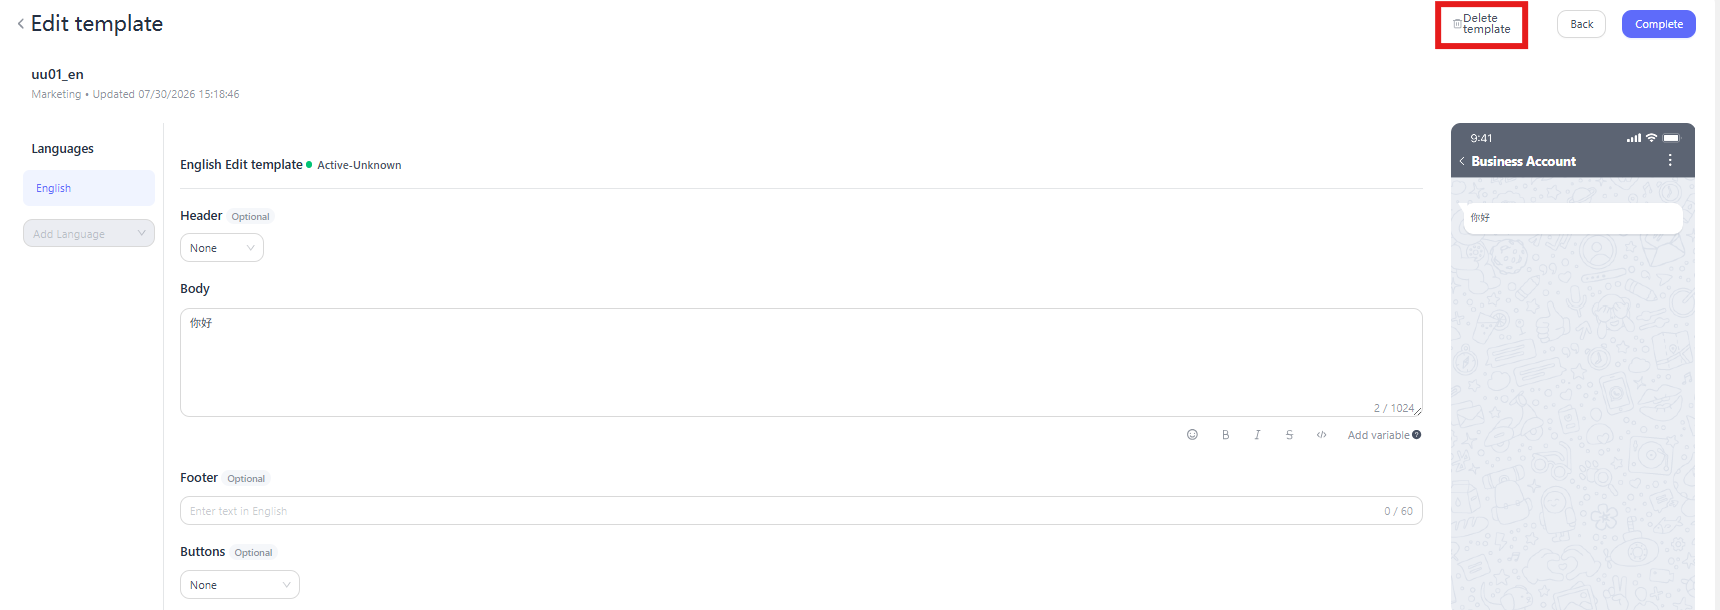
To delete a template, click "Delete Template" on the template editing page and confirm twice to delete it.
The deletion operation will delete all language content under the name of the template, so please use caution!
Custom Tags
You can add custom tags to templates to group and filter them more easily.
In the Tags column of the template list, click the "+" next to the tag count to open the "Select Tags" dialog.
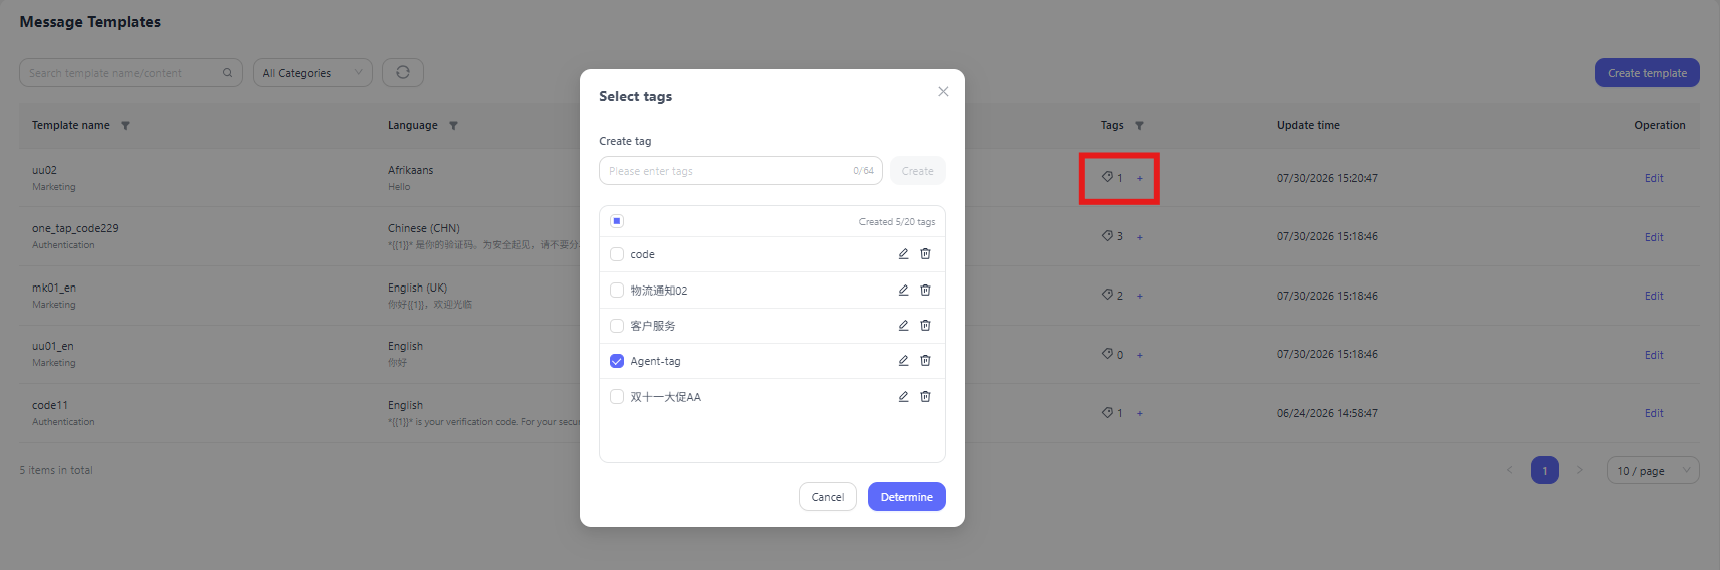
- Create a tag: Enter a tag name (up to 64 characters) and click "Create". Up to 20 tags can be created.
- Assign tags: Select the tags you want to assign and click "Confirm". A template can be assigned multiple tags.
- Edit a tag: Click the edit icon to the right of a tag to rename it.
- Delete a tag: Click the delete icon to the right of a tag, and the tag will be removed from all templates it is assigned to.
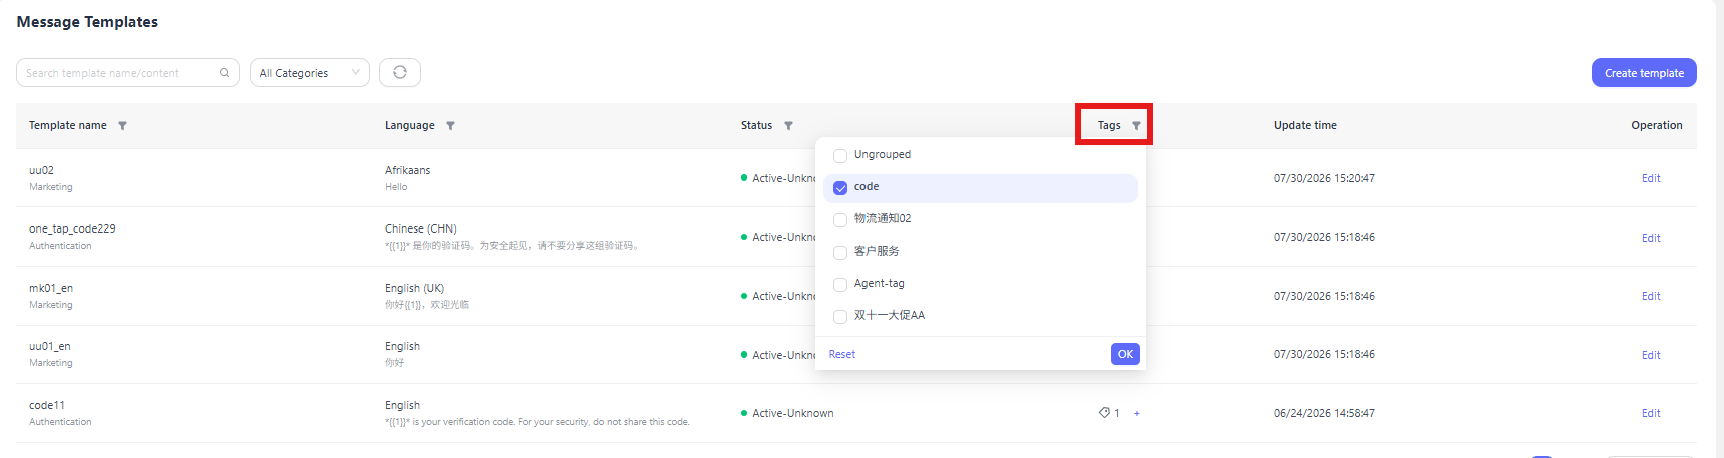
Click the filter icon in the Tags column to filter templates by tag, where "Ungrouped" refers to templates that have no tags assigned.