

How to Configure System Permissions for Different Employees?
EngageLab MA supports a granular permission management system, allowing you to assign different levels of access (View, Edit, Delete) for specific projects and menus.
Configuration Process:
1. Login
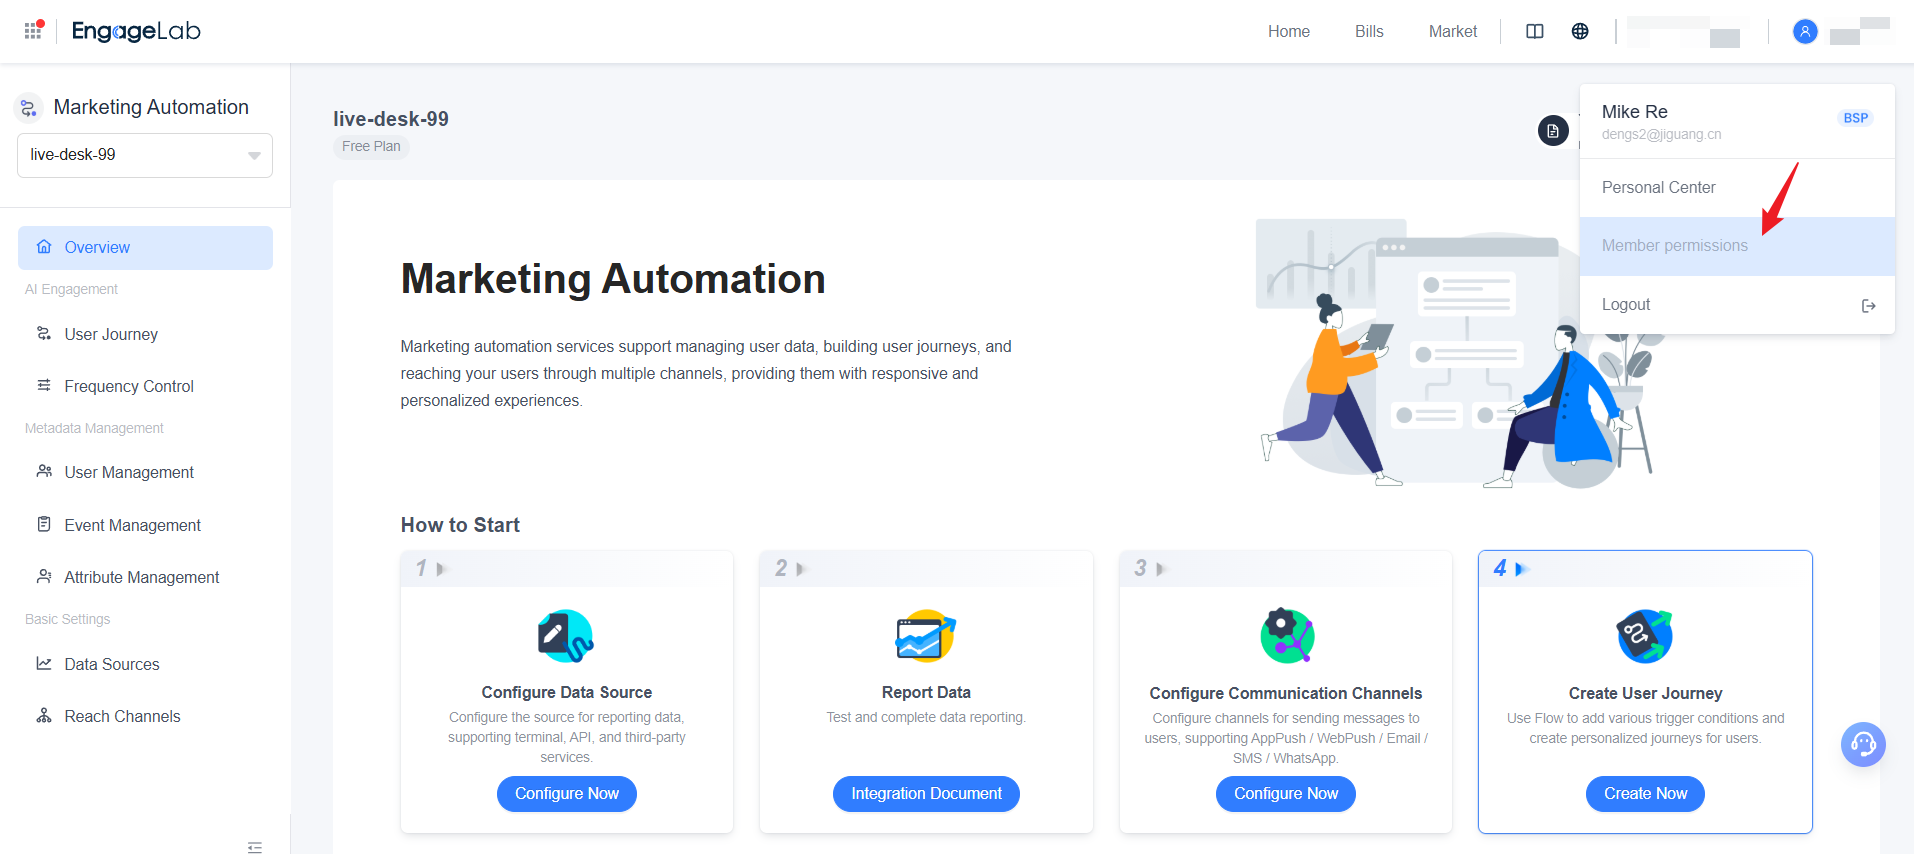
After logging into the MA dashboard, click your profile icon in the top-right and select Member Permissions.
2. Click Create Role and name the role.
3. Configure the role by
- Selecting the MA project
- Checking available menus
- Setting specific operation permissions
Note: Only the organization creator can invite members, create roles, and manage permissions. Invited members can only access features based on their assigned roles.
4. Invitation Workflow
- Select Role: Choose an appropriate role from the existing list.
- Enter Emails: Input email addresses (up to 100 per batch).
- Email Confirmation: Invitees receive an email with a link. Clicking the link and logging in (or registering) grants them access to the organization with the assigned role permissions.
This system enables clear permission separation across teams and roles, ensuring data security and operational compliance.

Still Have Questions?
Can't find what you're looking for? Our experts are here to provide personalized assistance. Ask your question now and get a timely response.

