


Activate LiveDesk Service
If you are using LiveDesk for the first time, you must create an EngageLab account before entering a project.
Create an EngageLab Account
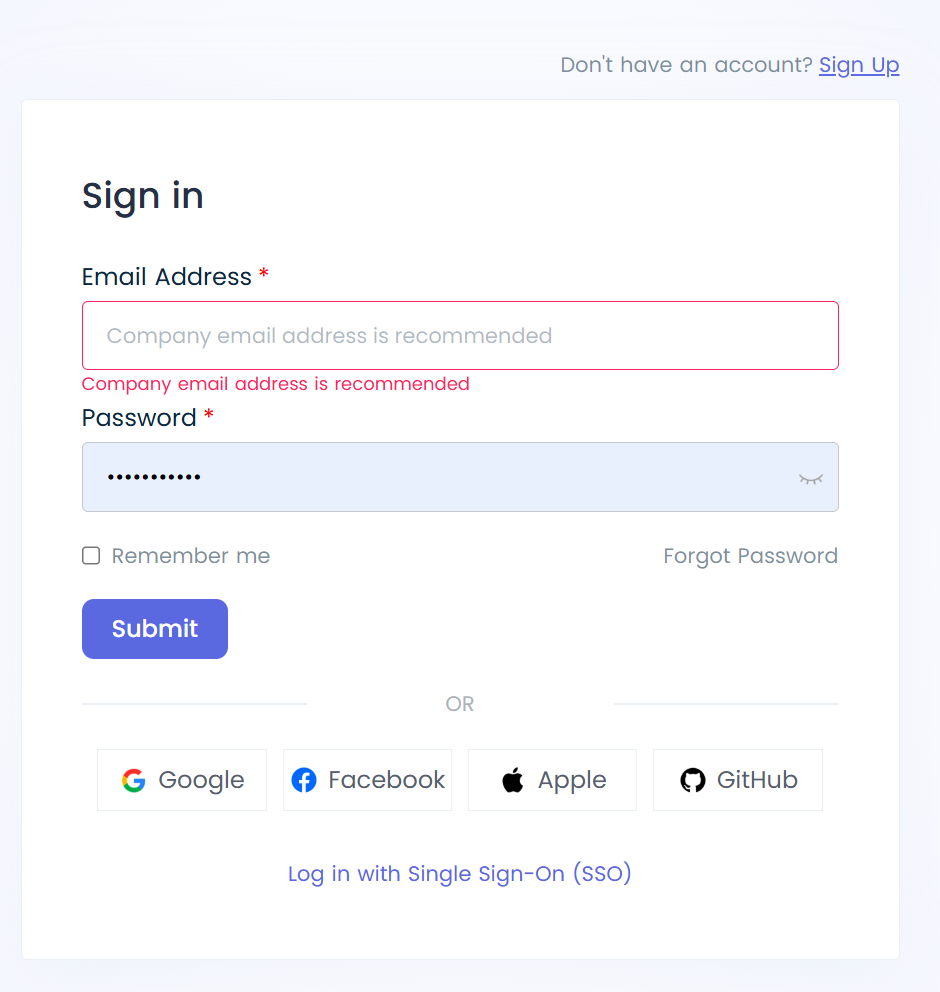
- Go to the EngageLab registration page, enter your email address and password, and click Create Account.
- Enter the email verification code, then enter your organization name and website name and select the organization's time zone.
Note: Once selected, the time zone cannot be changed.
Access the EngageLab Console
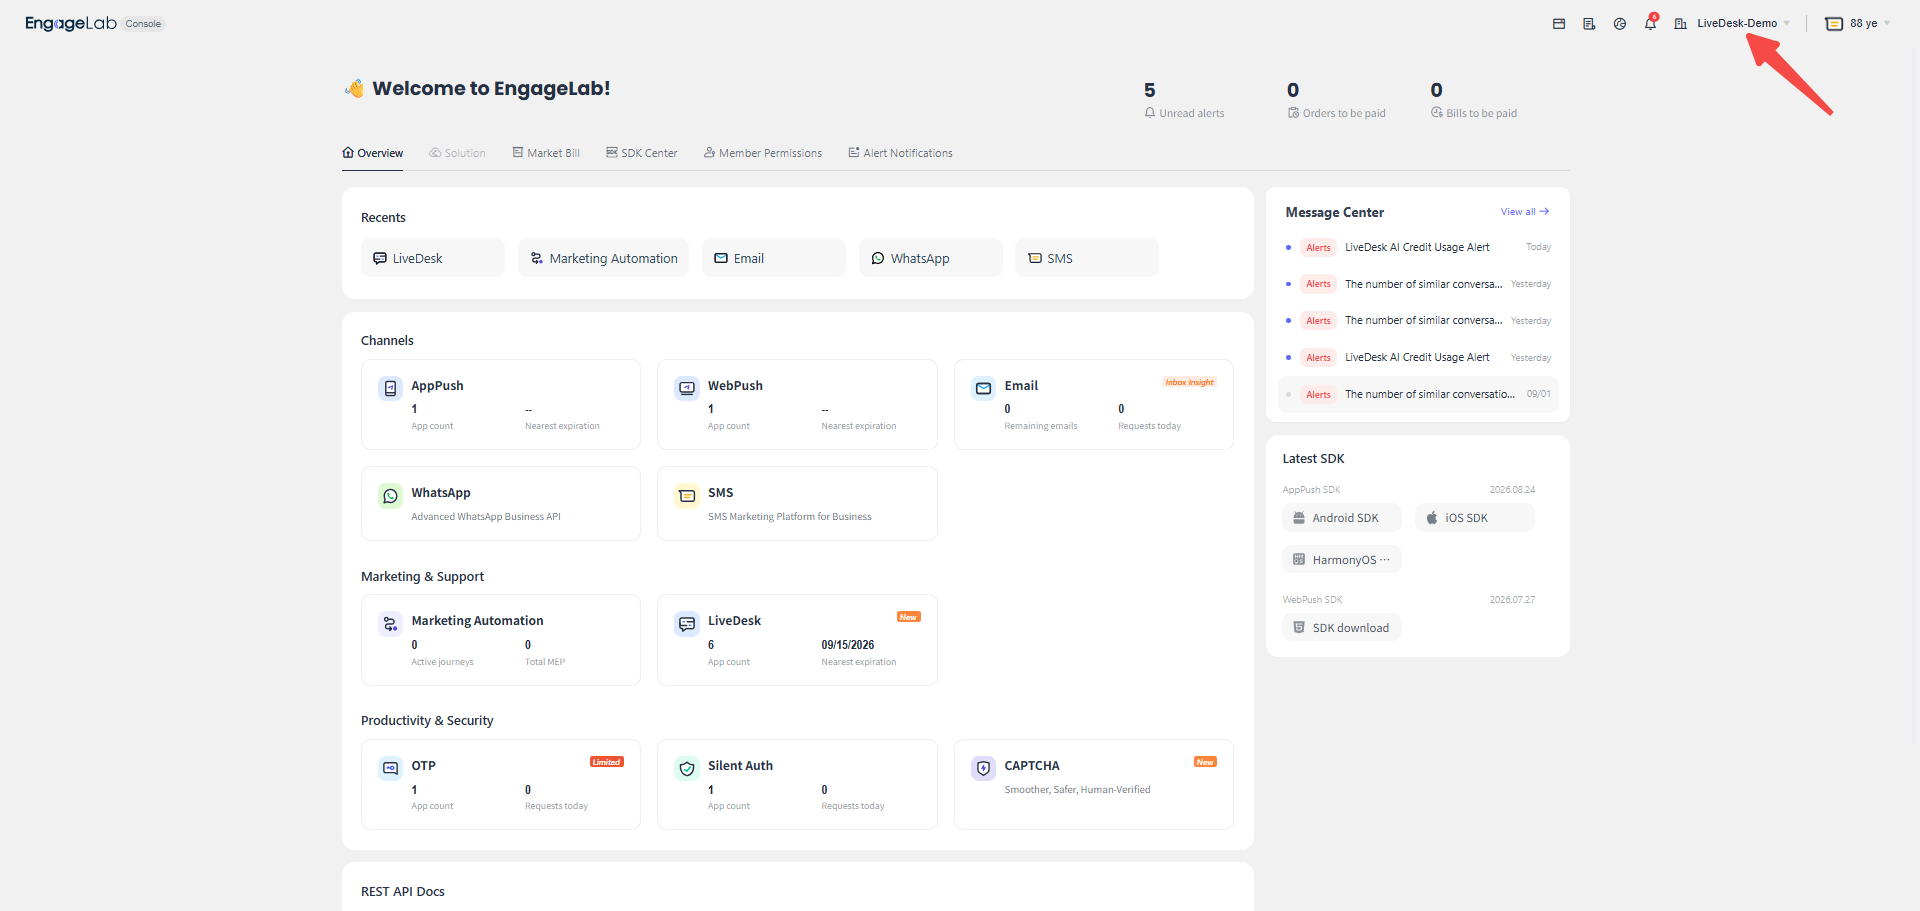
- After you create an organization, you are taken directly to the console for the new organization. If you are invited to join an existing organization, you are taken directly to that organization in the console after successfully registering your account. You can switch organizations in the upper-right corner.
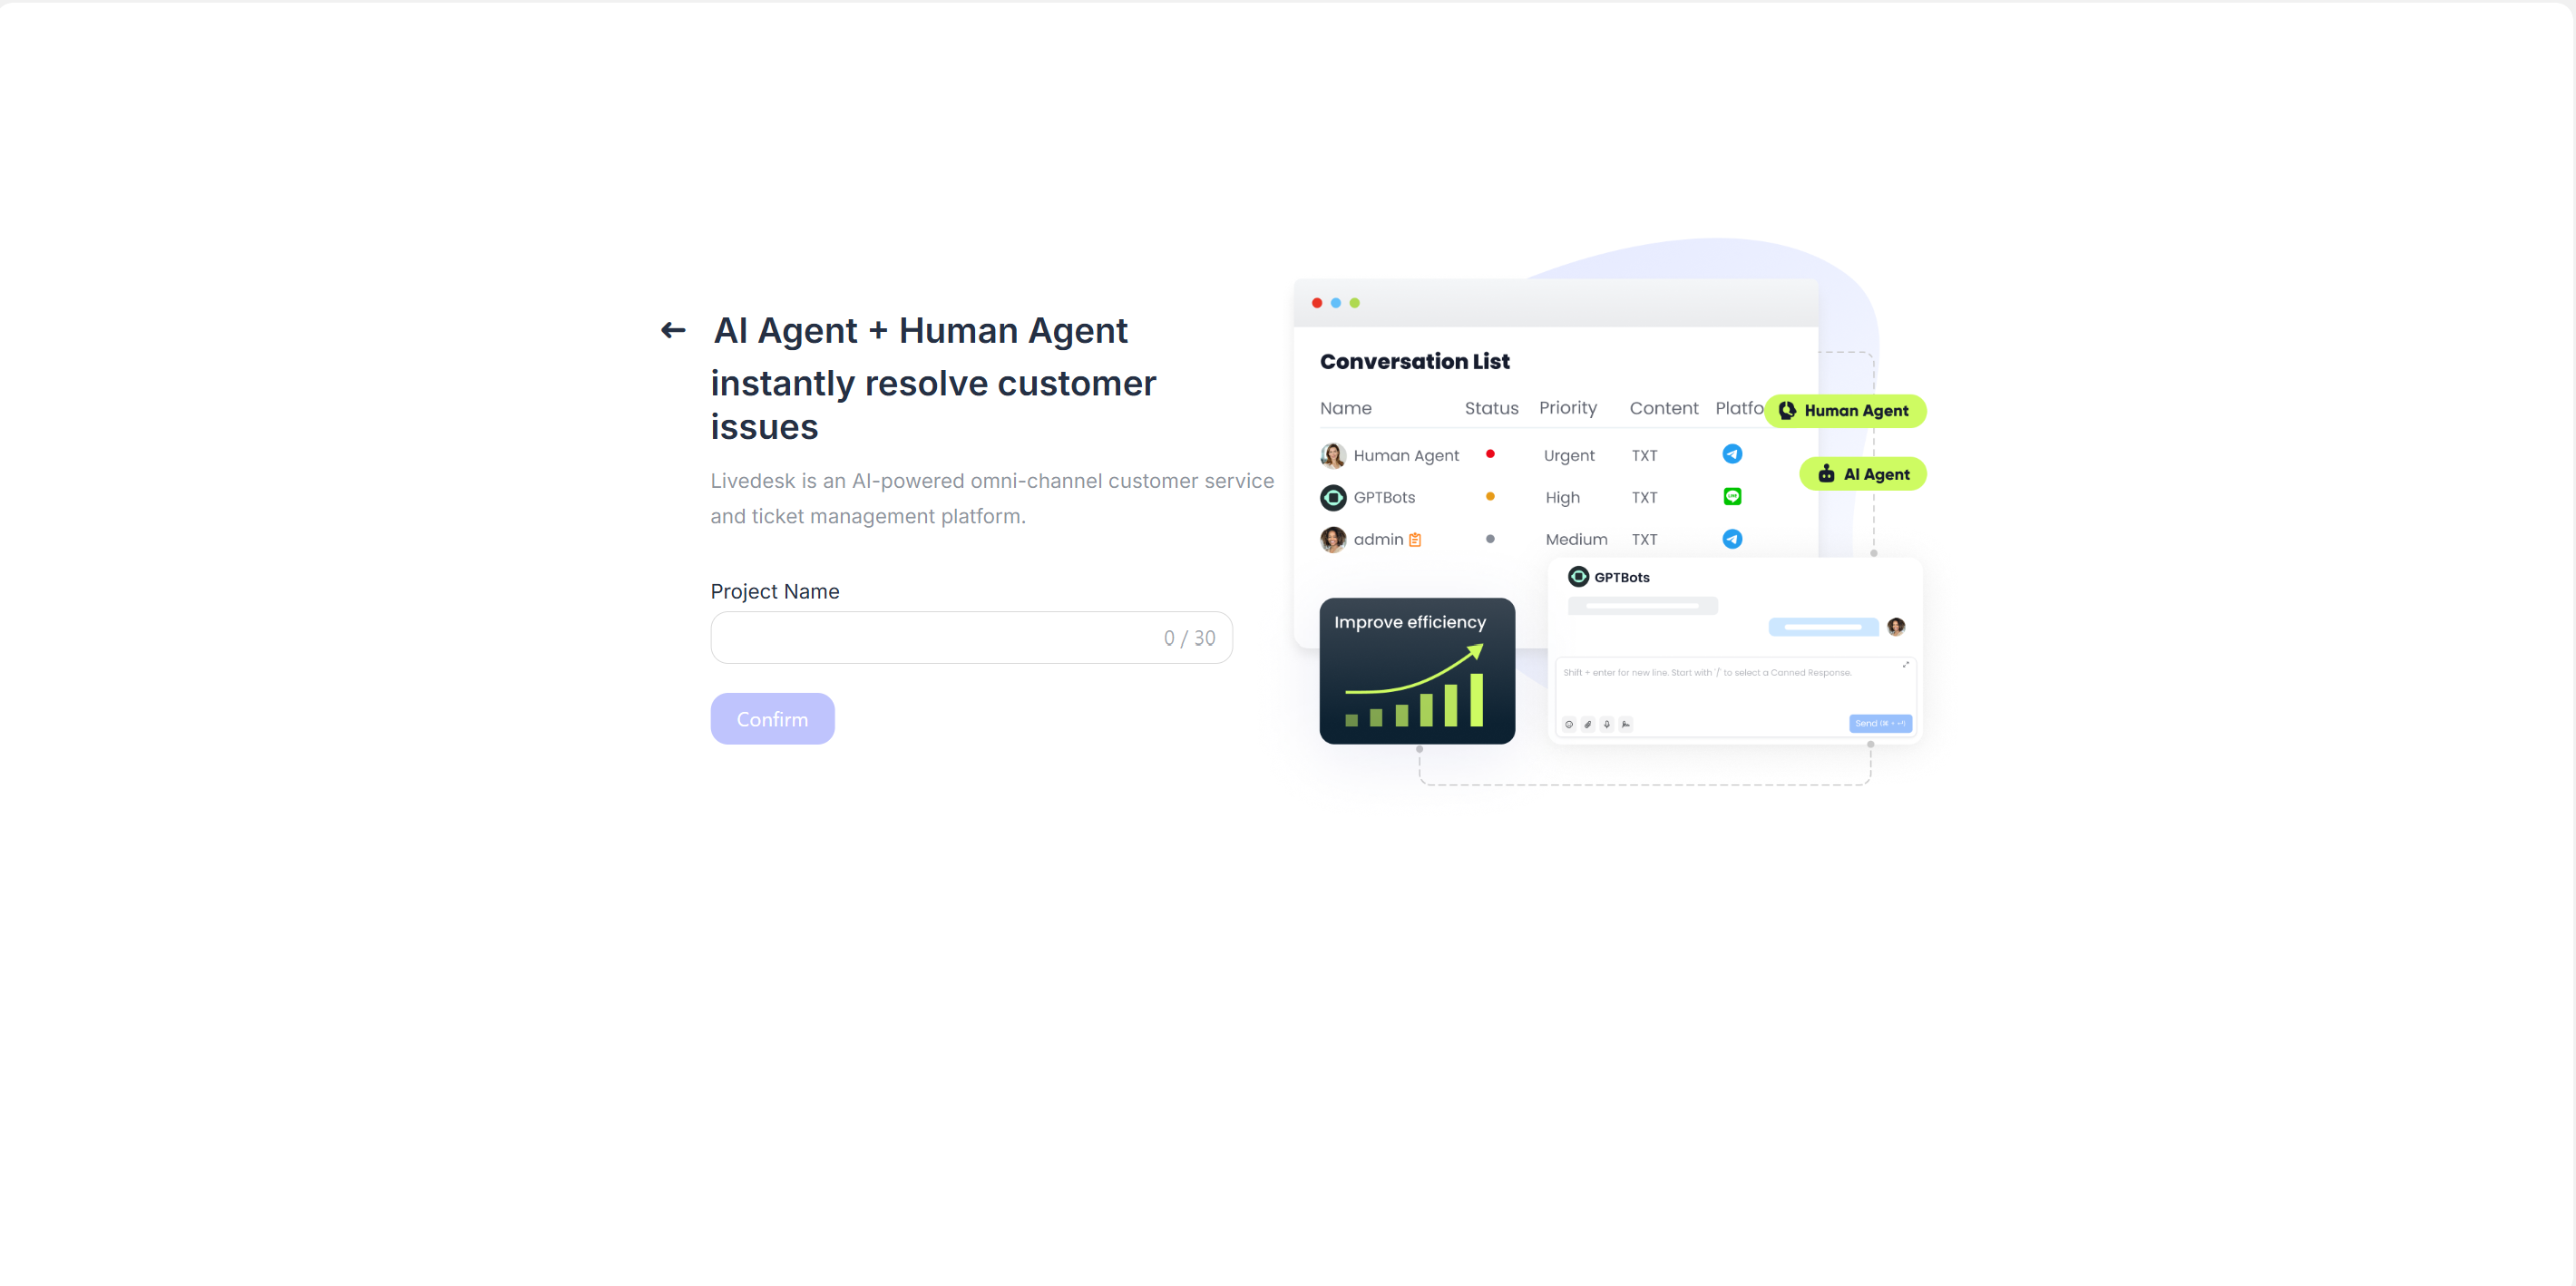
- Select the LiveDesk service to activate, then enter the project name.
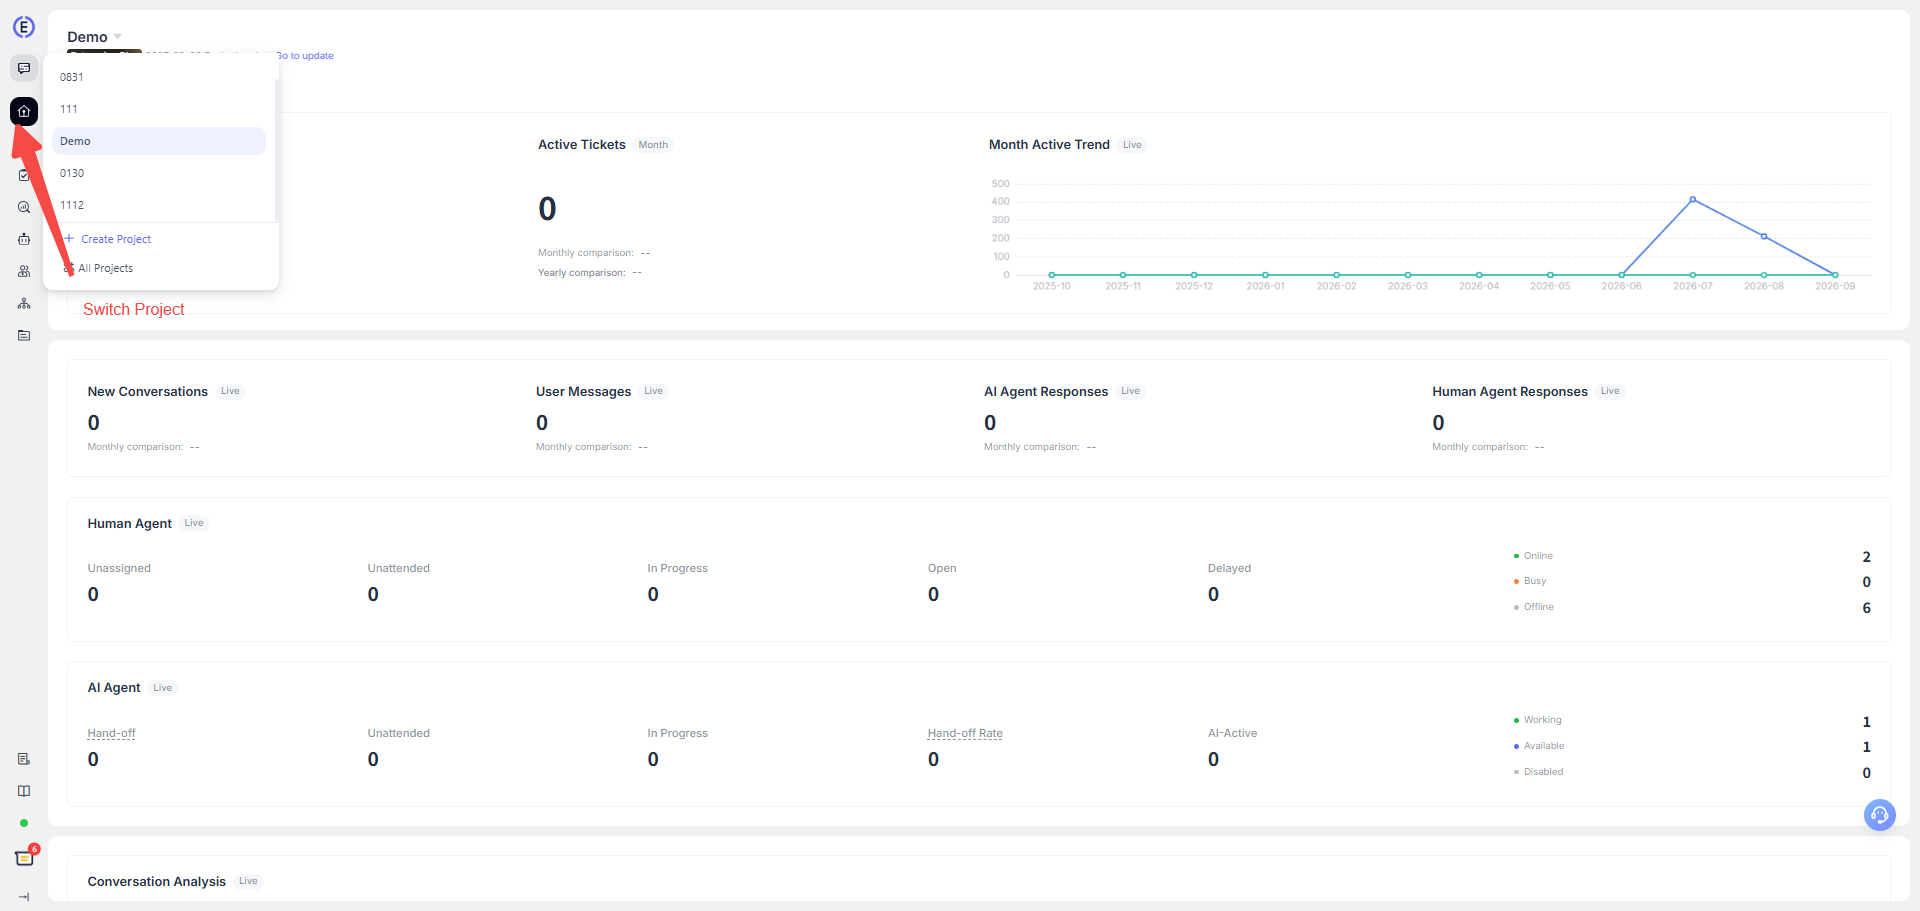
- If your account has joined an existing project, select LiveDesk to enter the LiveDesk project under that organization. After entering the project, you can switch between projects from the main menu on the left.
- After entering the LiveDesk console, first check whether you can see the conversations, channels, and teams for which you are responsible.
If you cannot enter the project or cannot see the conversations you are expected to handle, contact the project administrator to confirm your member invitation, role, and team assignment.
Configure Roles and Permissions in the Console
Project administrators can invite members on the Customer Service Agents page and assign roles when adding members. Roles determine the actions members can perform, while team assignments determine which conversations members should handle.
We recommend configuring permissions according to each member's responsibilities:
| Personnel Type | Recommended Permission Scope | Typical Responsibilities |
|---|---|---|
| Project Administrator | Manage members, teams, channels, automation, and project settings | Build the service system, maintain access scopes, and review configurations. |
| Customer Service Supervisor | View team conversations and operational data, and manage assignments and daily service processes | Scheduling, routing, quality assurance, and handling escalated issues. |
| Customer Service Agent | Handle conversations and tickets in authorized teams or inboxes | Reply to customers, add notes, update statuses, and maintain customer profiles. |
The roles and configurable options displayed in the console are subject to the current project's subscription and permission settings. To follow the principle of least privilege, grant members only the access they need to perform their work.
LiveDesk Permission Overview
LiveDesk member permissions are primarily divided into feature permissions and data permissions.
- Feature permissions: Control whether users can use a feature.
- Data permissions: Primarily apply to conversation data. Conversation-viewing permissions are controlled according to conversation assignments.
- Neither selected: The default status. Members can view only conversations assigned to them.
- All conversations: Members can view all conversations in the current project.
- Unassigned conversations: Members can view conversations assigned to them and conversations that have not been assigned.
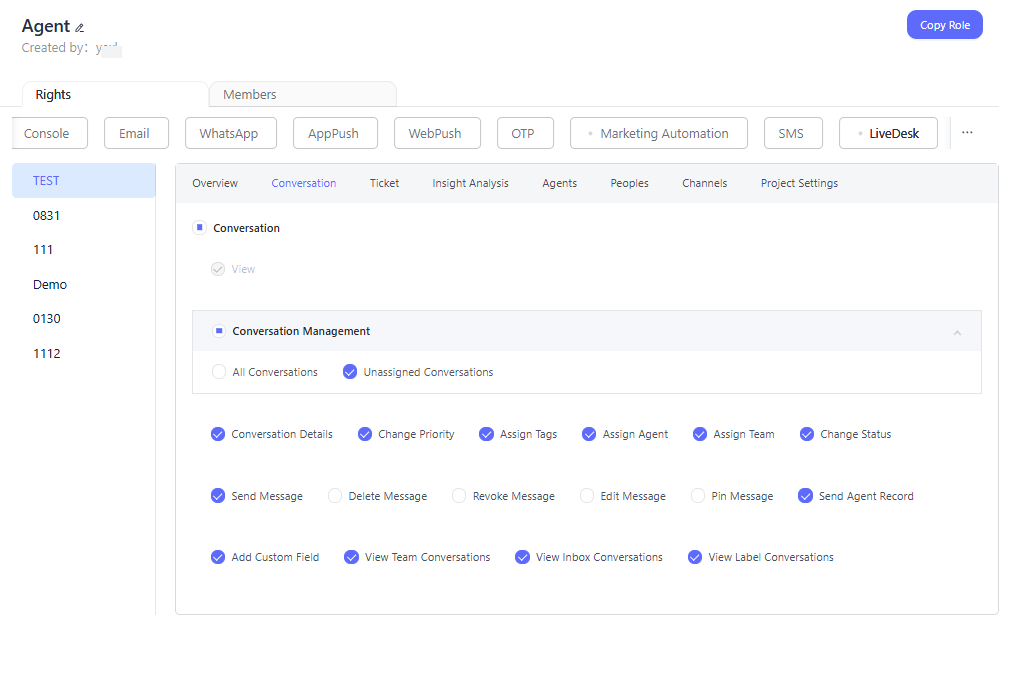
The same role can have different permissions in different projects. Configure permissions according to your specific requirements.
