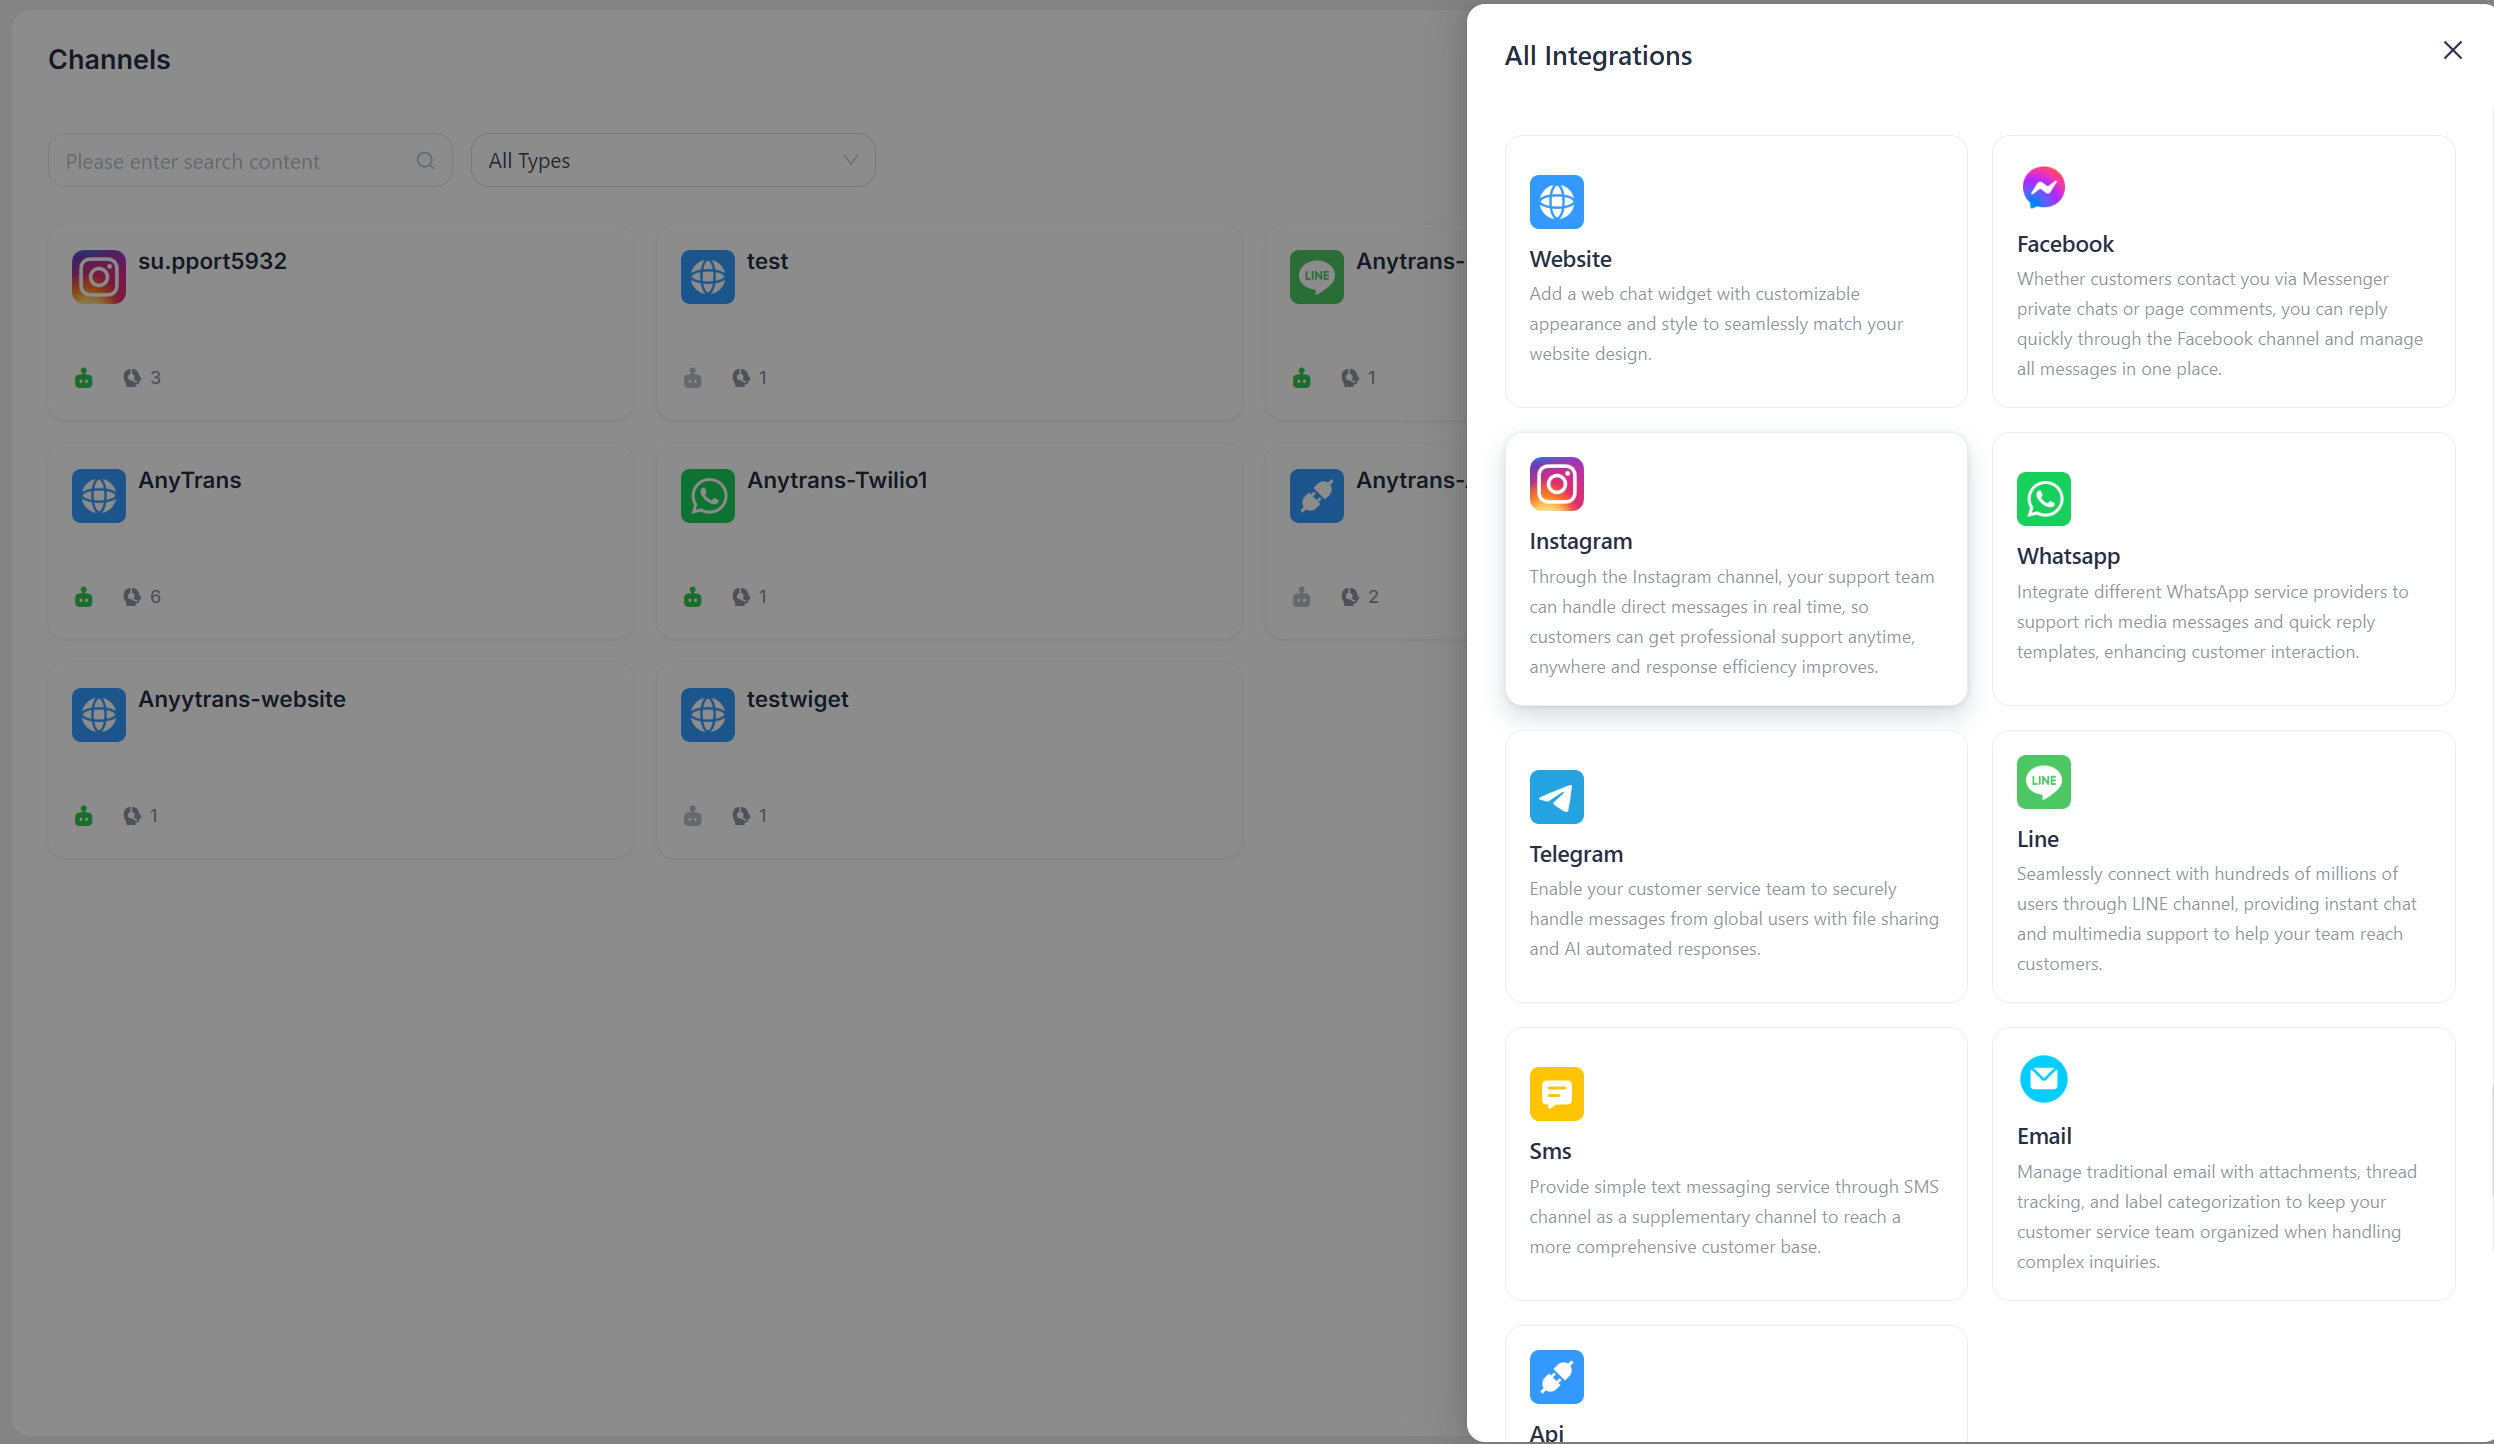
LiveDesk supports adding an Instagram channel so users can converse with customers. With this feature, you can:
- Automatically receive messages from Instagram and assign them to the corresponding team or customer service agent.
- View profile details of users who send messages.
- View, manage, and reply to all messages in the conversation or ticket list.
Below, we will explain how to add an Instagram channel.
Preparation
LiveDesk connects to the Instagram channel by accessing your authorized Instagram business account, receiving messages sent to that account, creating corresponding conversations in LiveDesk, and assigning them to agents for response. Before doing this, you need to create your Instagram business account.
"Add Channel" - "Instagram"
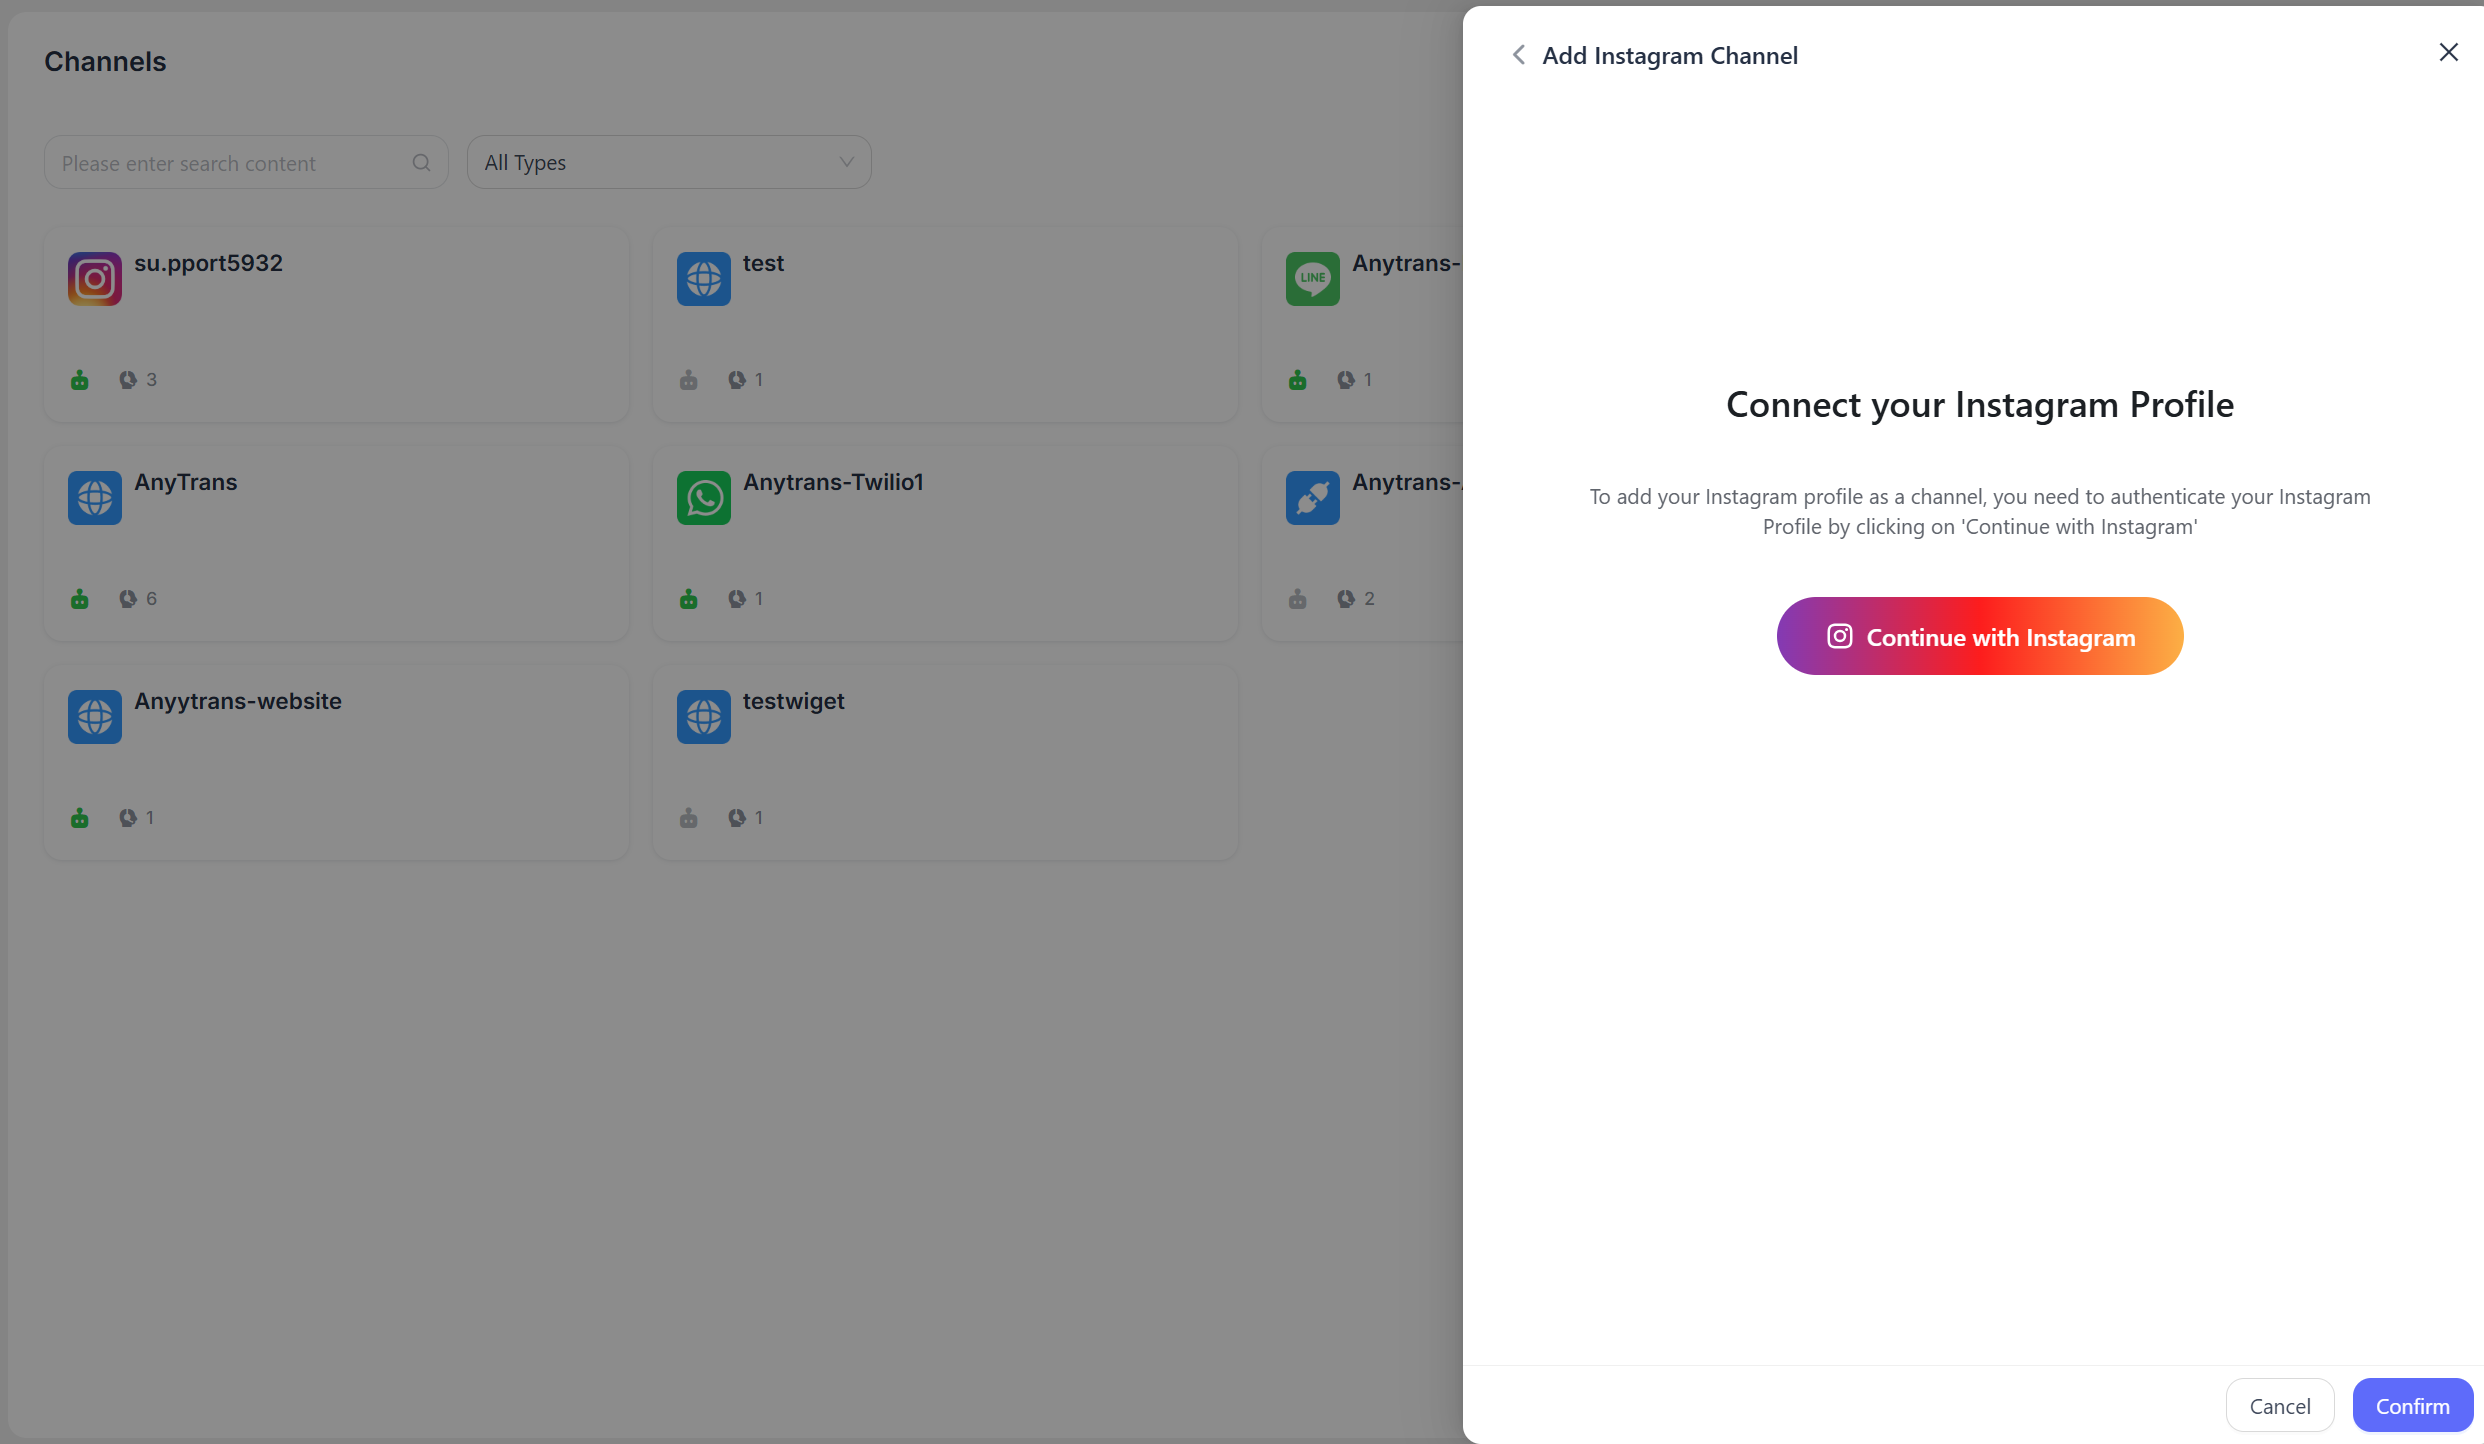
Authorize LiveDesk
You need to authorize LiveDesk to access your Instagram business account.
- Click "Connect with Instagram," and the page will redirect to the Instagram login screen.
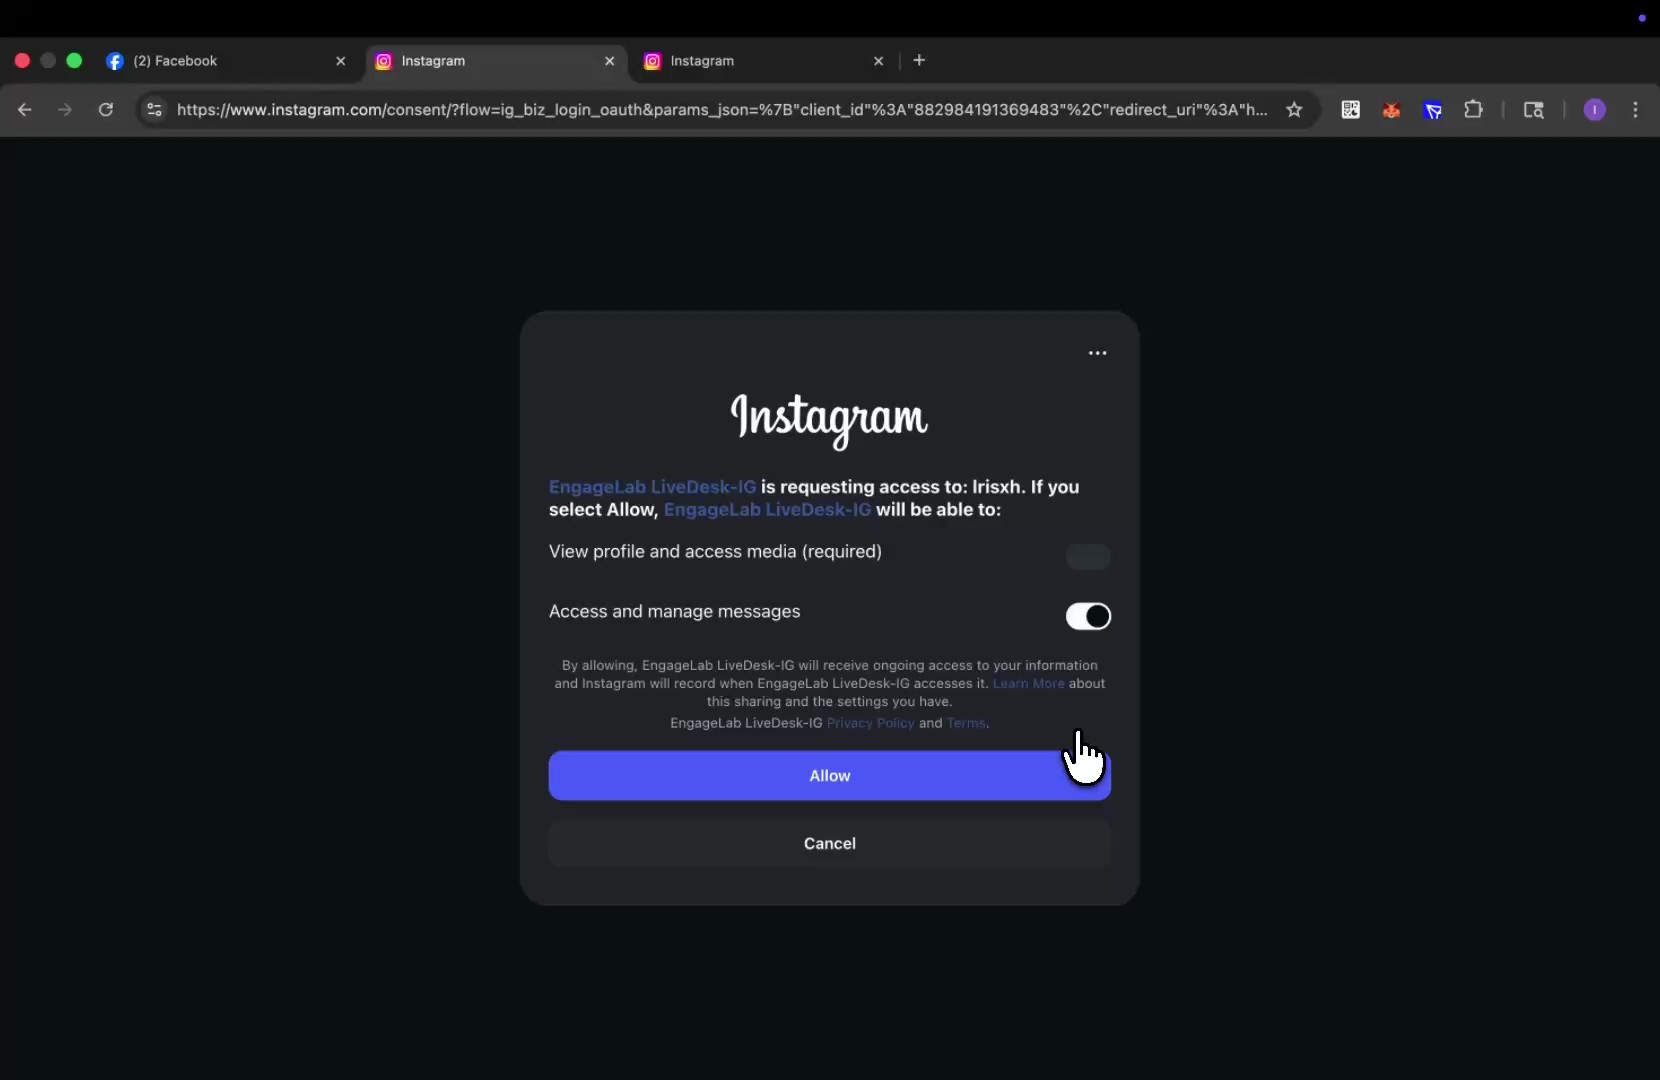
- Log in to your Instagram account for authentication. Agree to grant LiveDesk the necessary permissions so it can successfully perform all required operations.
Complete Creation
After successful authorization, you will be redirected back to the LiveDesk interface, where you can set the channel name and assign customer service agents to complete setup.
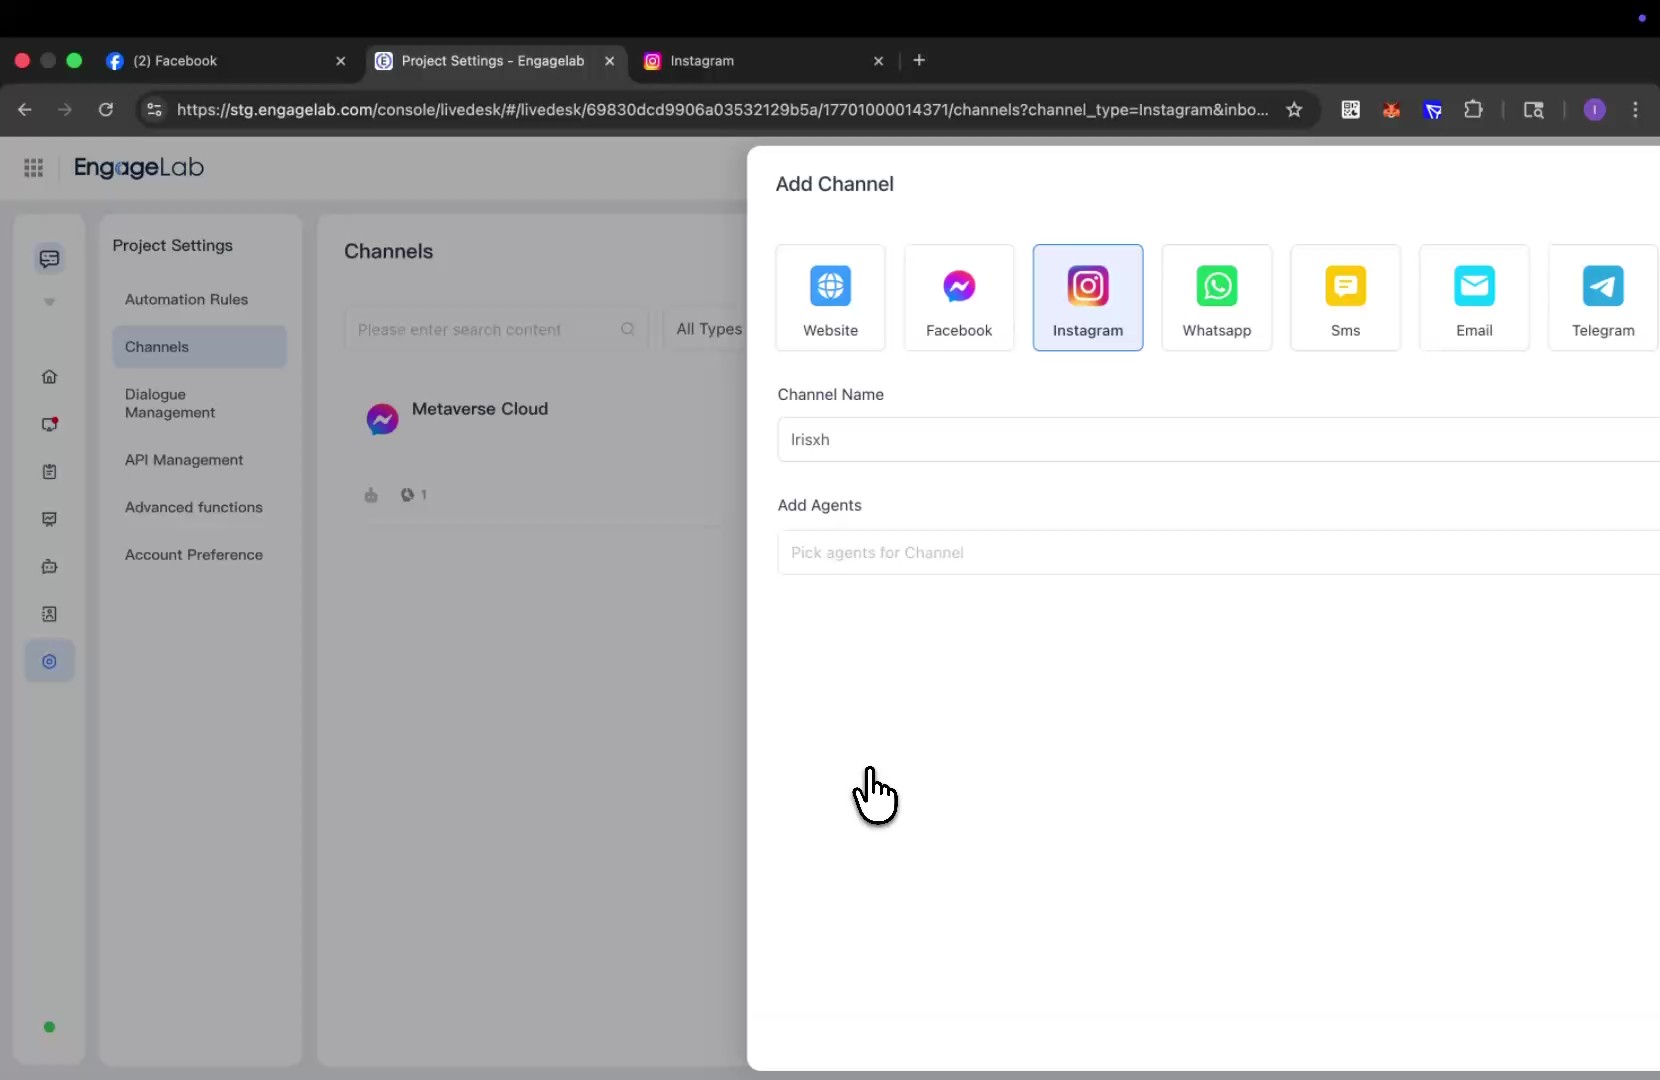
Detailed Settings
After the channel is created, you can configure detailed settings in the corresponding channel.
Settings
Set channel greeting message
Disabled by default. Enter a custom greeting message, which will be automatically sent to the customer when they start a conversation.
Enable CSAT
After this feature is enabled, a customer satisfaction survey will automatically start each time an issue is resolved. CSAT scores can be viewed later in the Reports section.
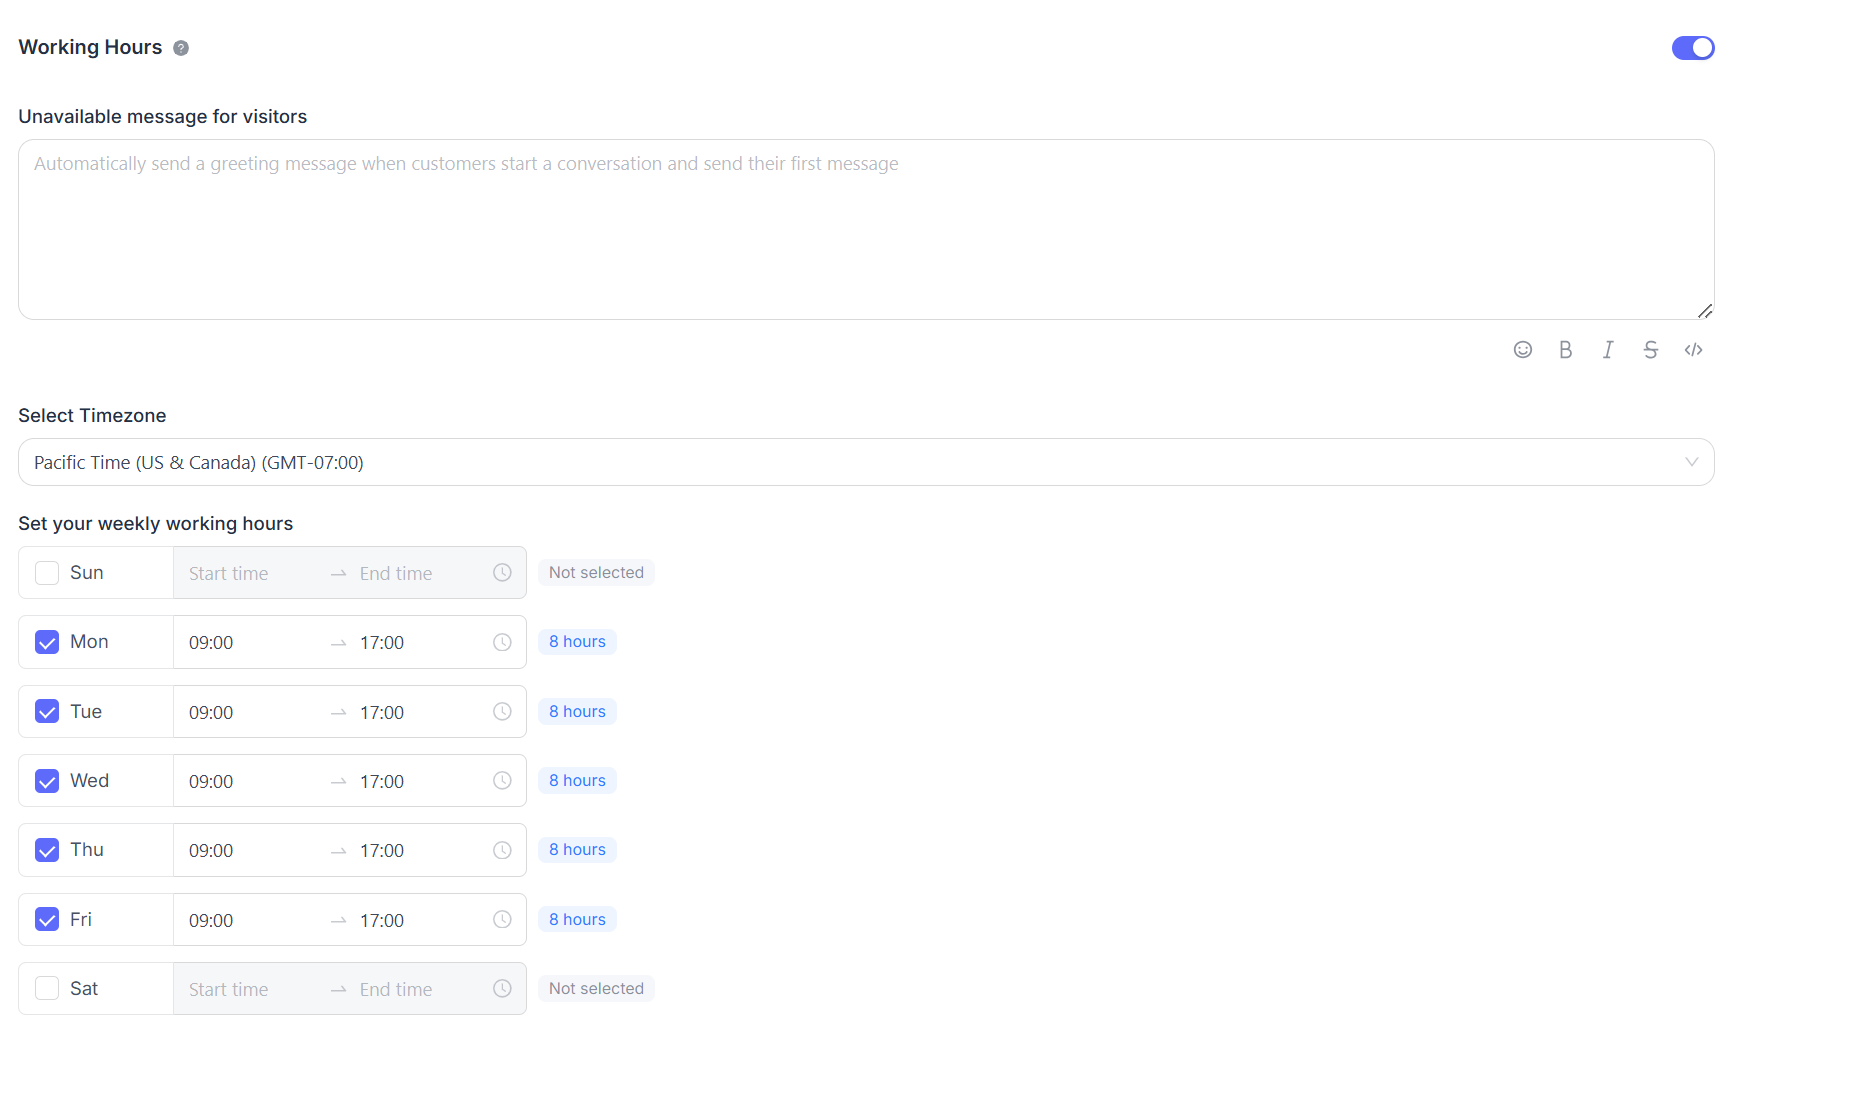
Business Hours
You can set the team's business hours.
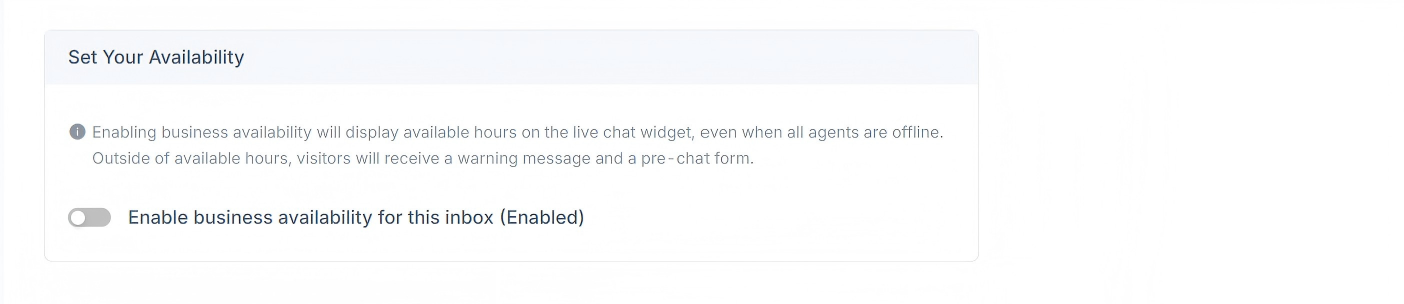
If business hours are clearly defined, select the "Enable business availability for this inbox (enabled)" checkbox. After selecting this checkbox, the corresponding parameter settings will be displayed below. You can set an unavailable message for visitors during off-hours. You can also choose business hour ranges for each day and the corresponding time zone.