


EngageLab WhatsApp
LiveDesk supports adding a WhatsApp channel so users can communicate with customers. Three API provider options are available: WhatsApp Cloud Service, Twilio, and EngageLab WhatsApp. The following explains how to add EngageLab WhatsApp.
Prerequisites
- You need an EngageLab WhatsApp account to set up the WhatsApp API. If you do not yet have an account, you can create one by following the Quick Access guide.
- A valid phone number.
- After activating the WhatsApp service, follow the Overview Guide to register a business account, add a sender number, and create an API key.
Add a Channel in LiveDesk
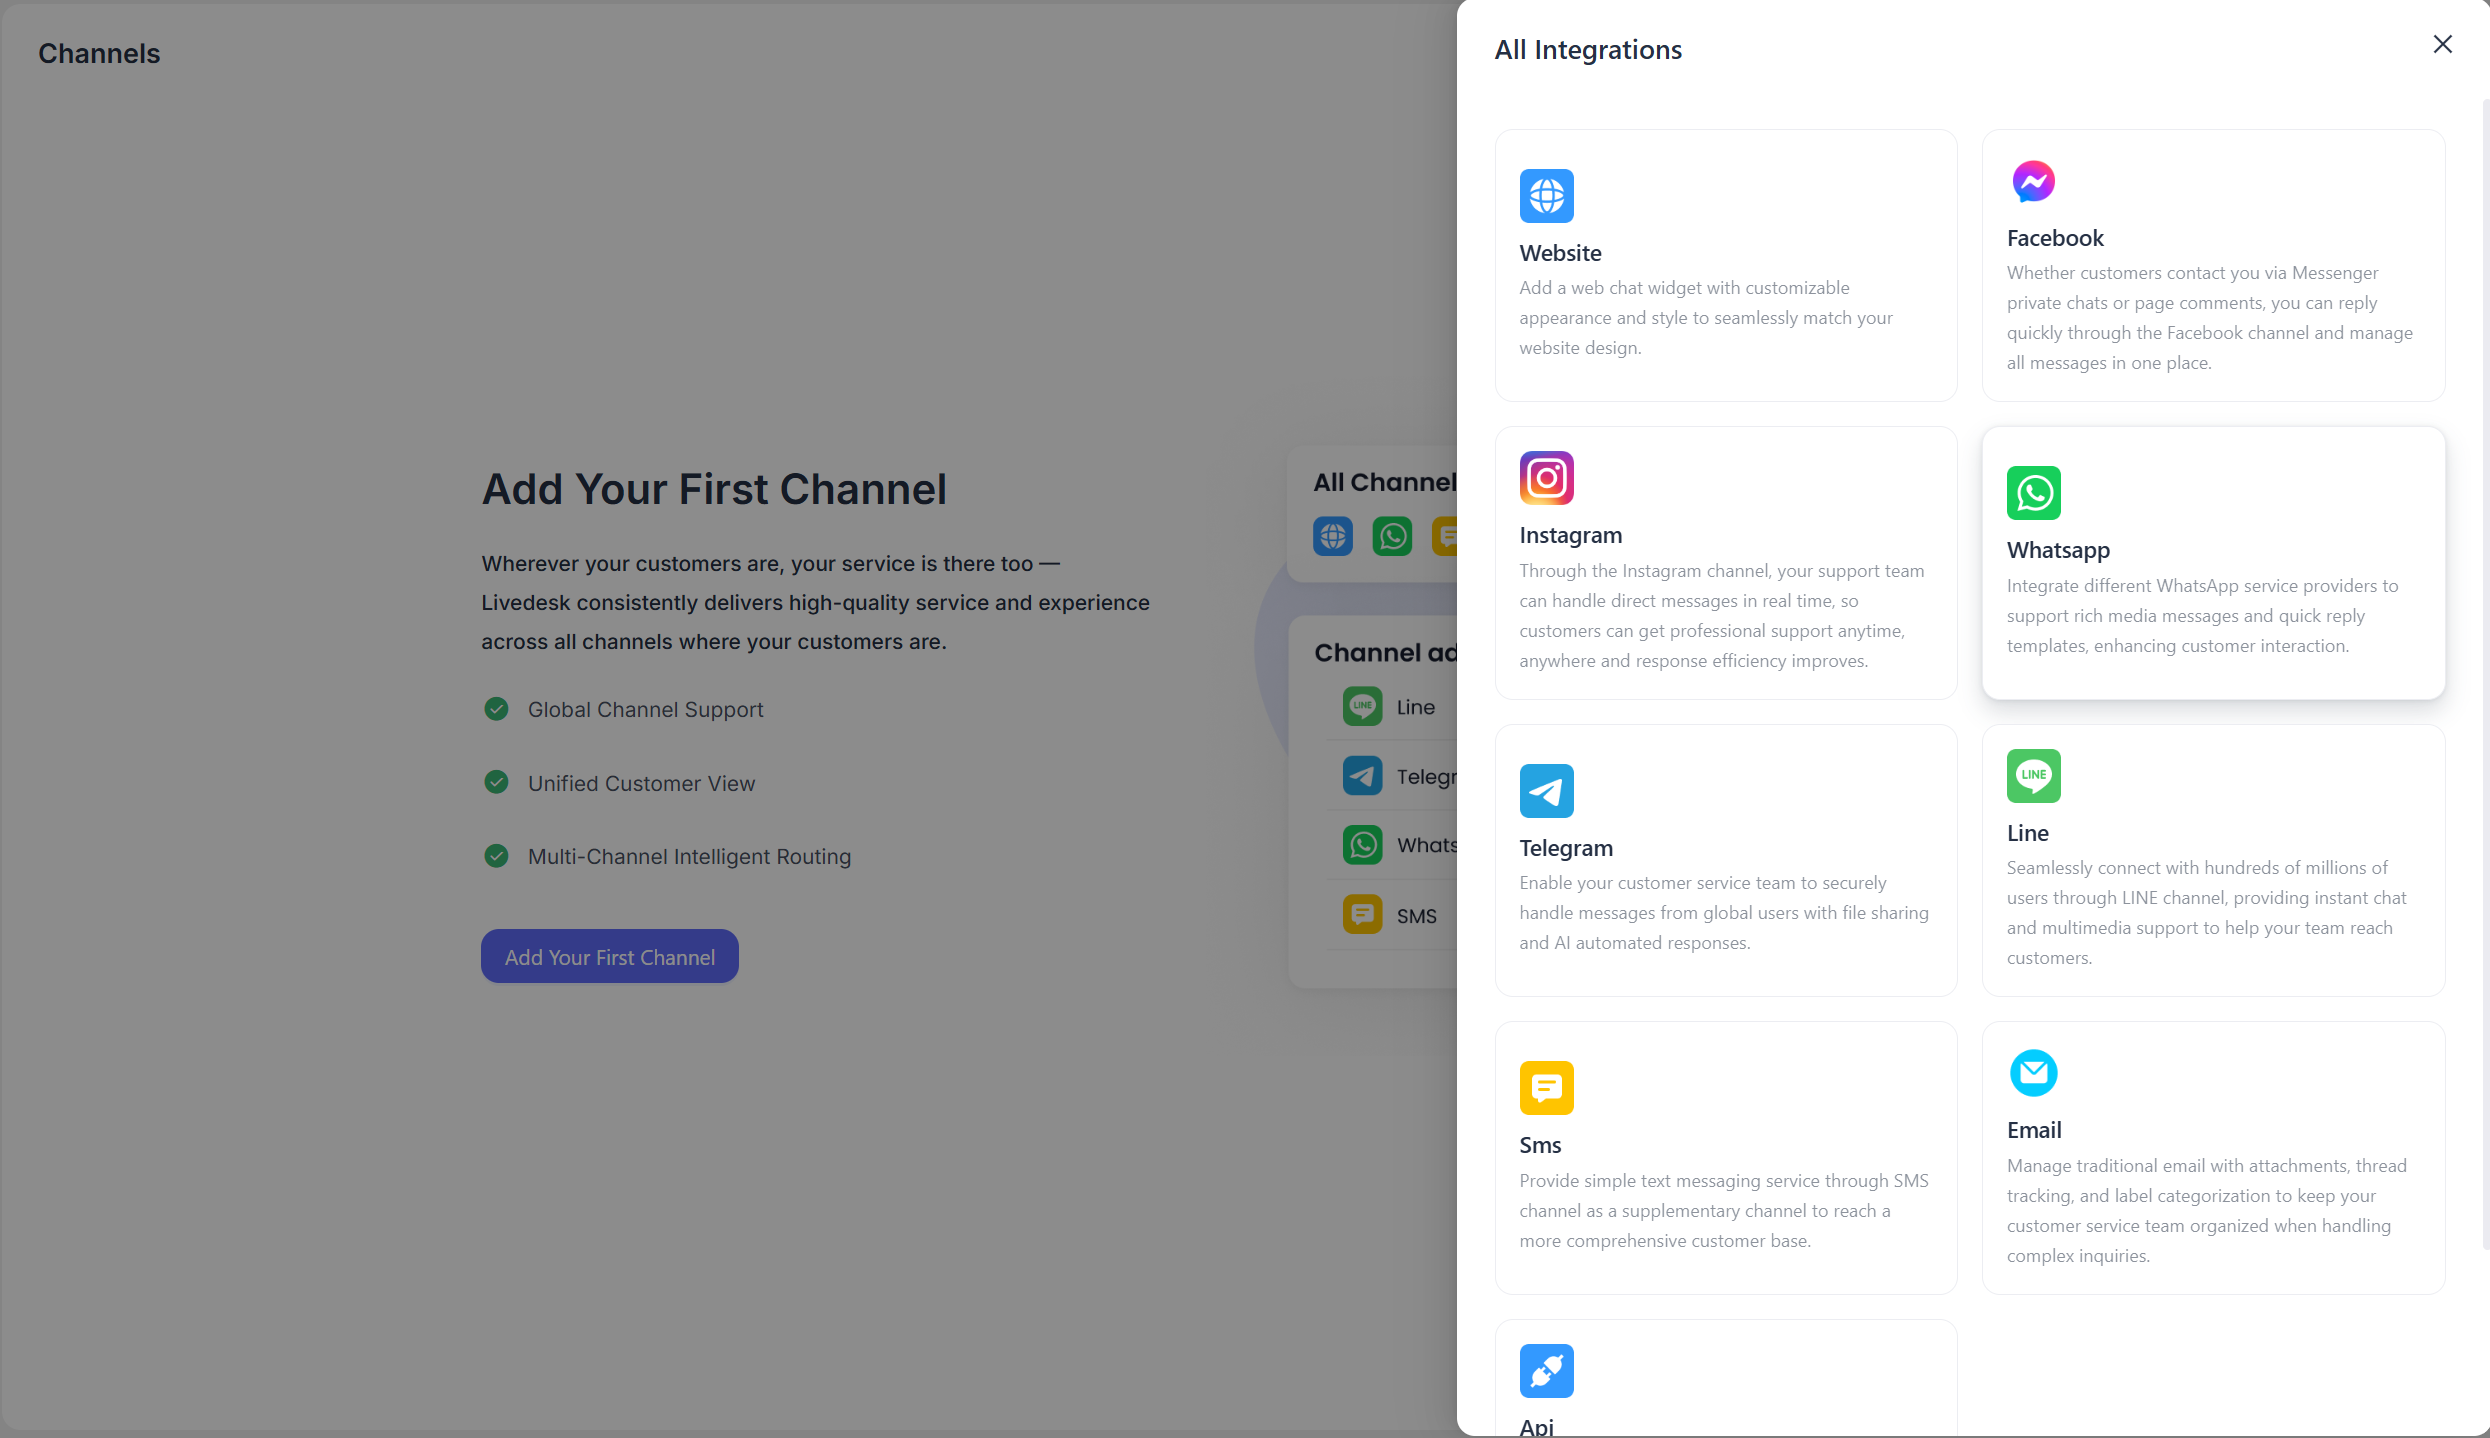
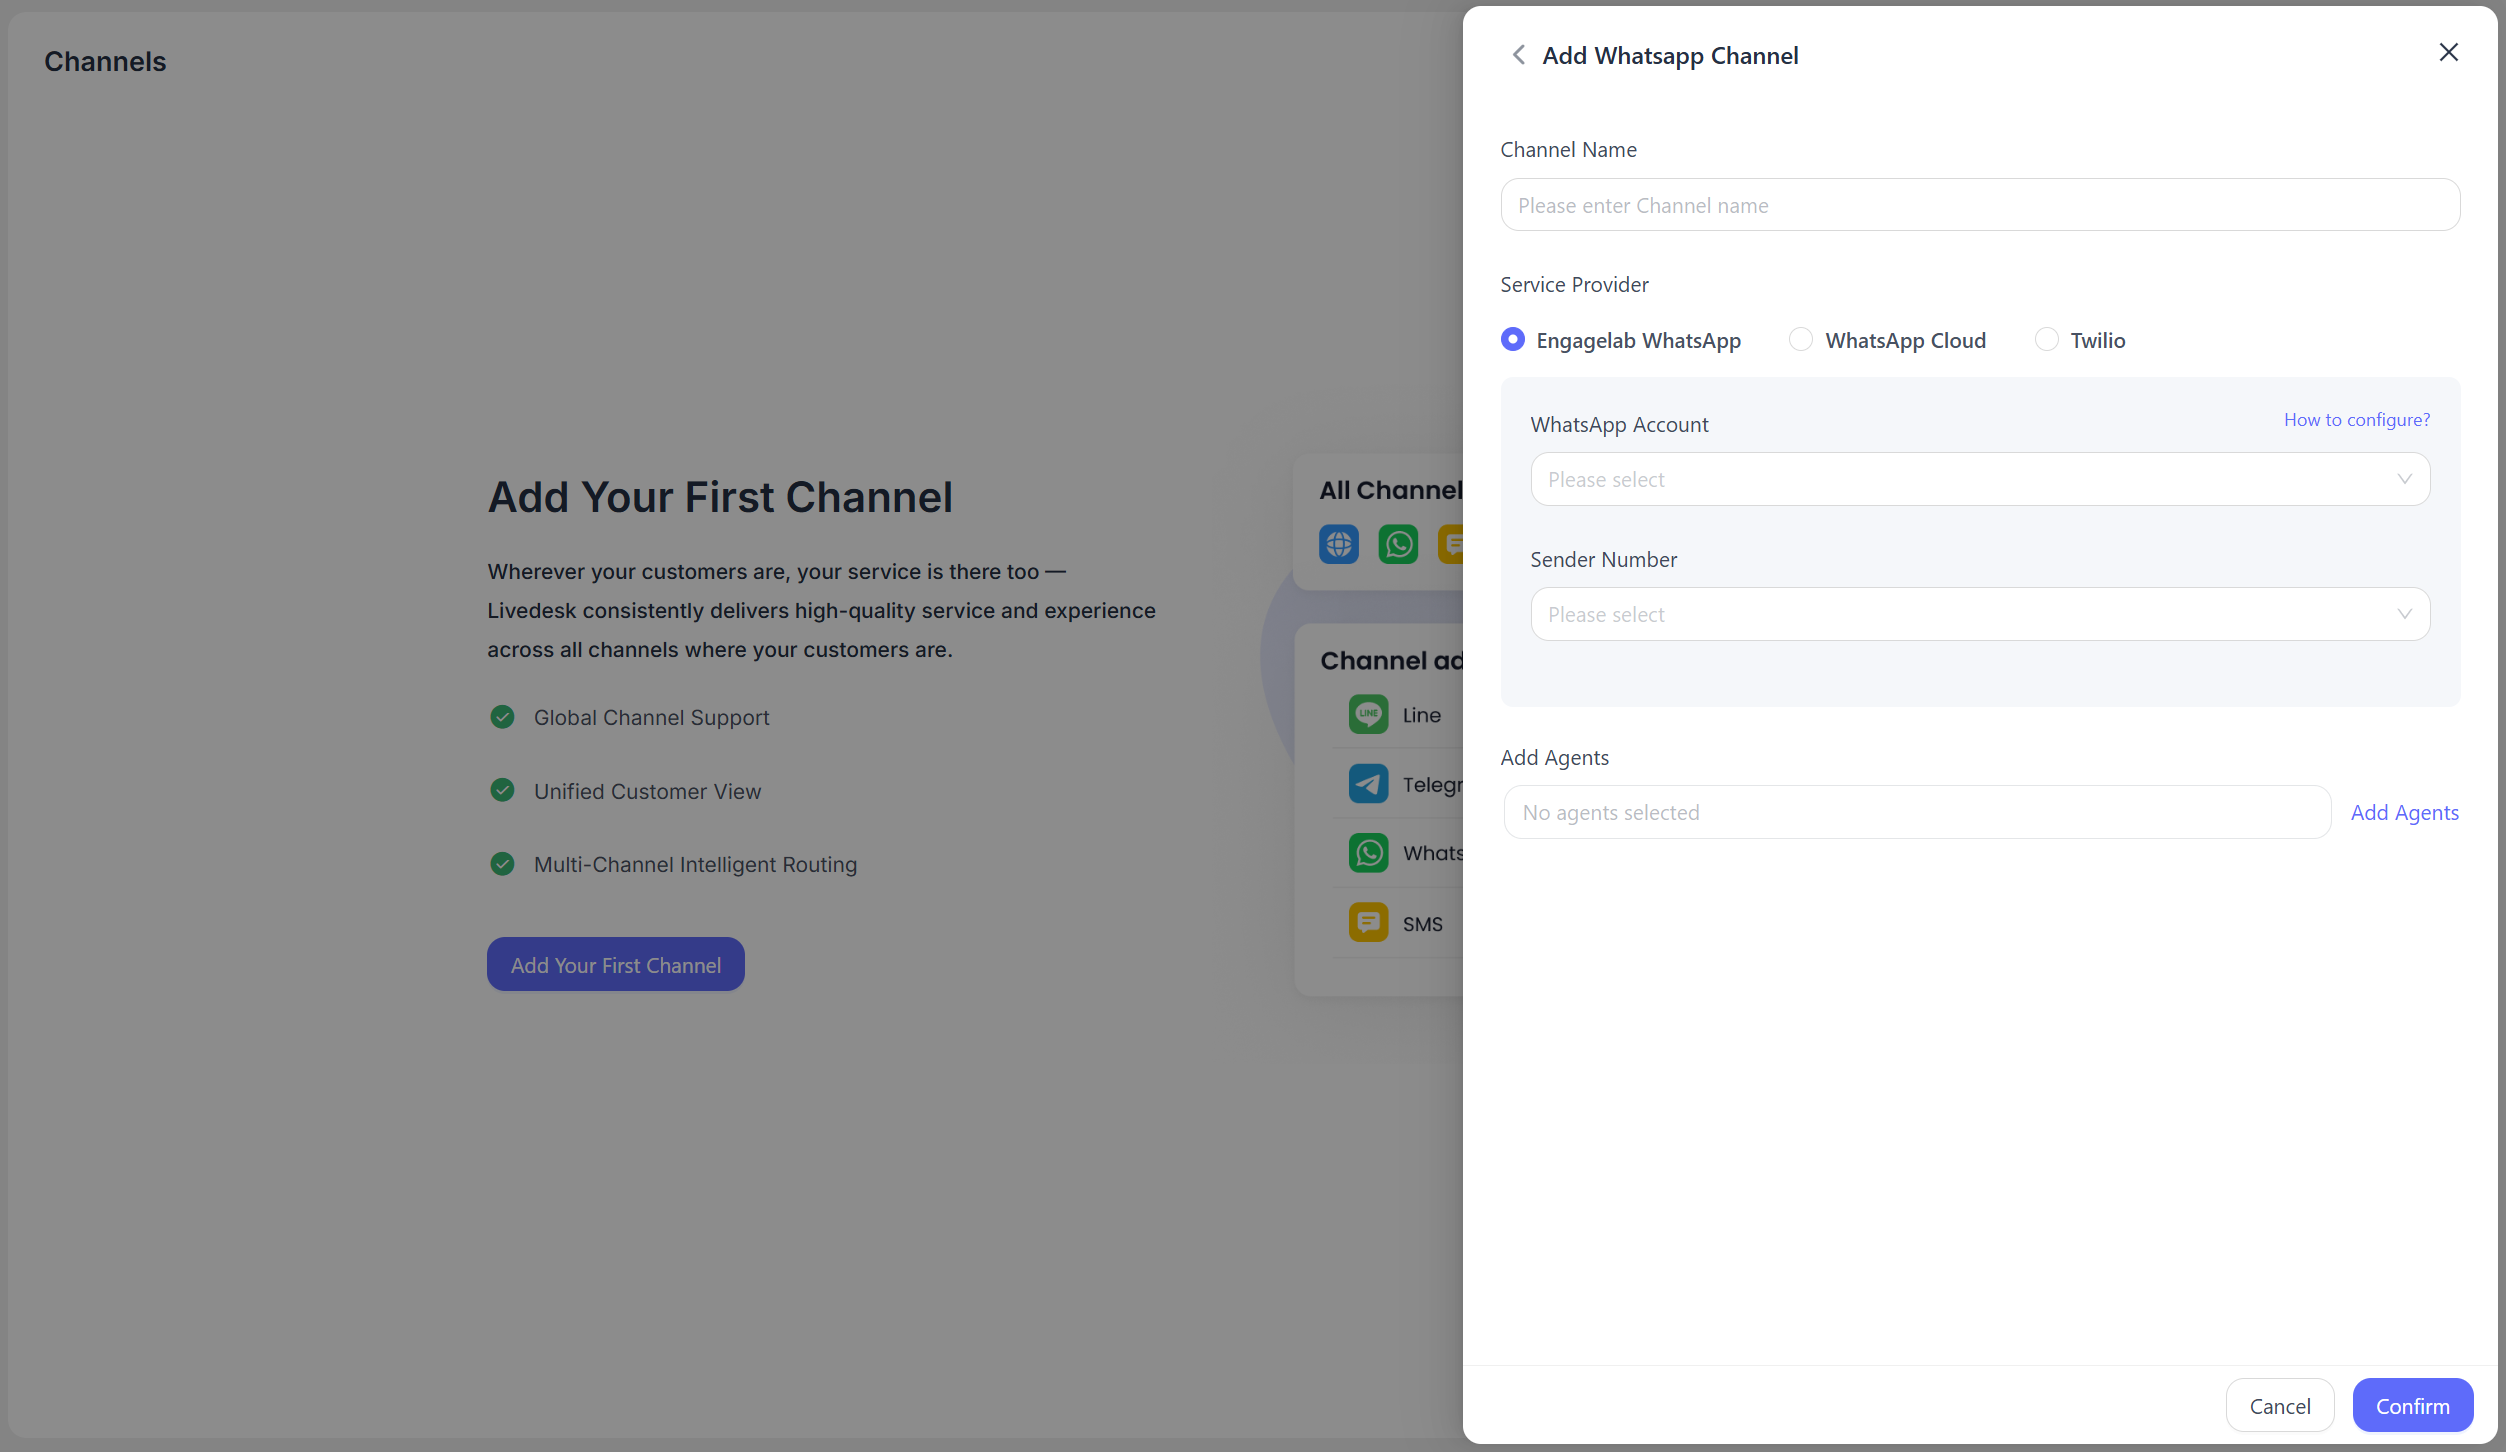
Fill in the configuration information as prompted in the interface, then click "Confirm" when finished.
Channel Name
Customize and enter the channel name.
Service Provider
Select EngageLab WhatsApp.
WhatsApp Account
Select the corresponding WhatsApp account from the drop-down list. The system will read the corresponding business account ID under the EngageLab WhatsApp product within the same organization. If the corresponding EngageLab WhatsApp product has not been activated in the current organization, you can follow the guidance to create and configure it.
Sender Number
Displays the sender numbers under the corresponding WhatsApp account. Select one from the drop-down list.
Add Customer Service Agents
Specify the customer service agents who need to participate in handling messages for the current channel.
After entering the above configuration information, if verification is successful, a message will indicate that the EngageLab WhatsApp channel has been created successfully.
Detailed Settings
After the channel is created, you can configure detailed settings for the corresponding channel.
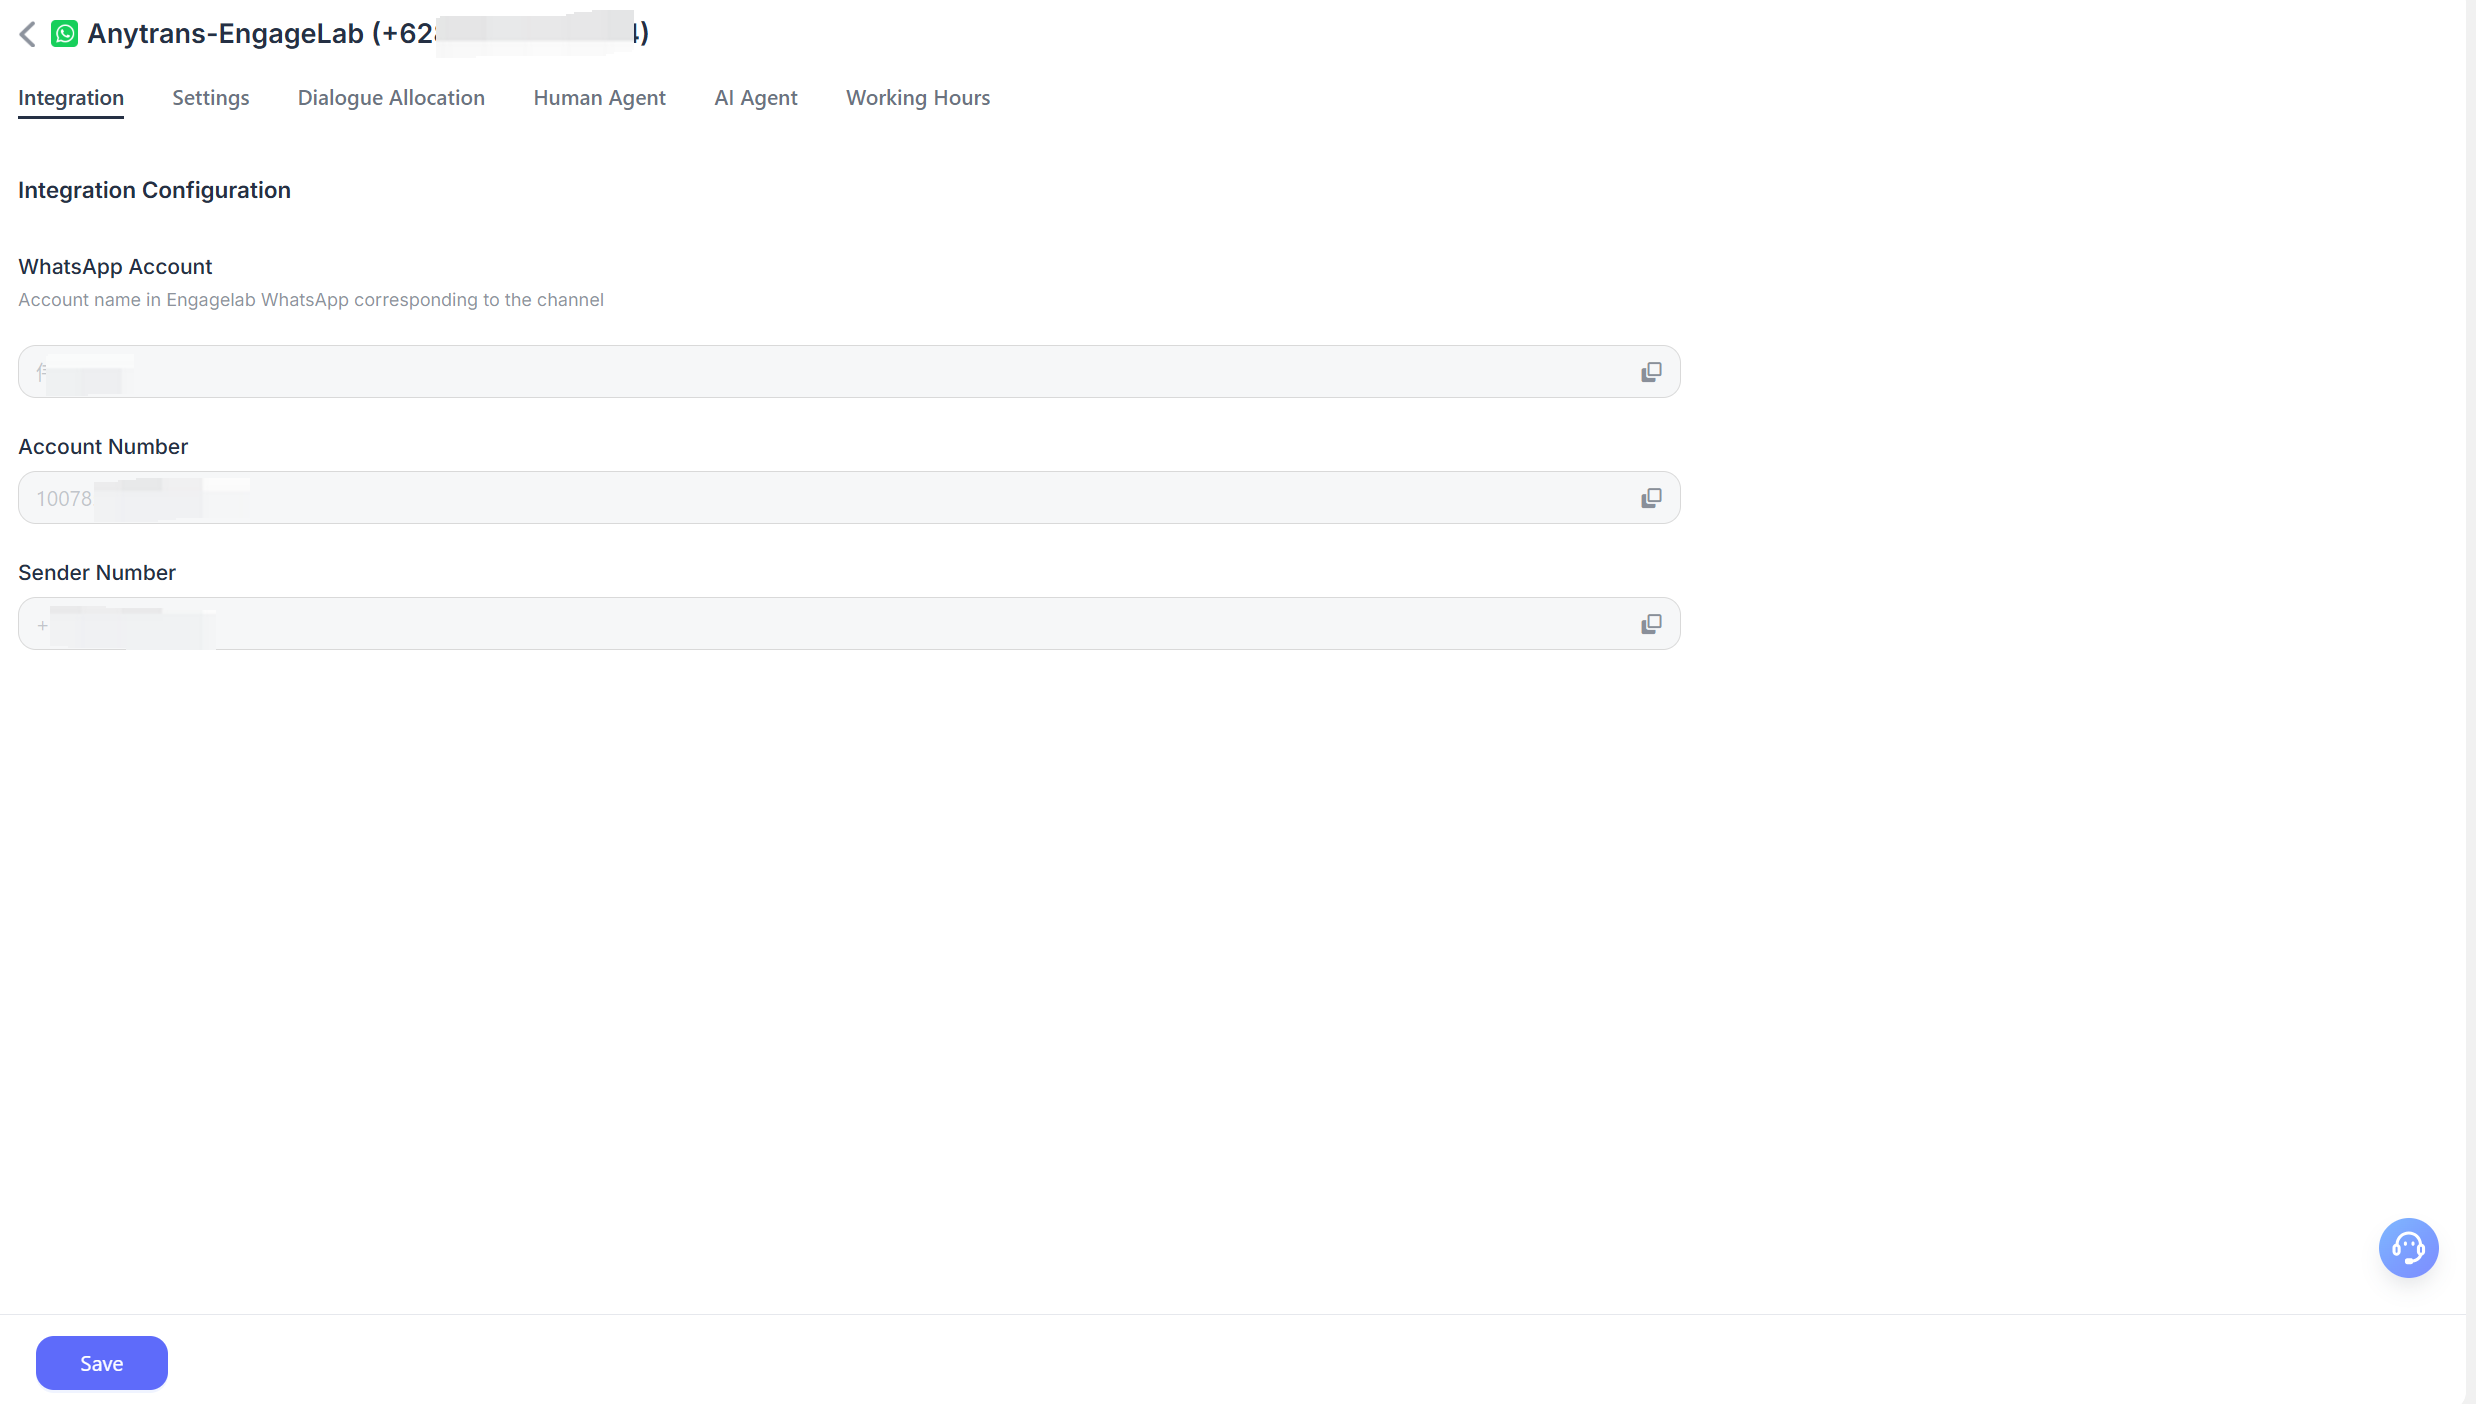
Integration
WhatsApp Account
Displays the name of the EngageLab WhatsApp business account selected when creating the channel. It can be copied but cannot be modified.
Account ID
The corresponding EngageLab WhatsApp business account ID.
Sender Number
The sender number selected when creating the channel.
Settings
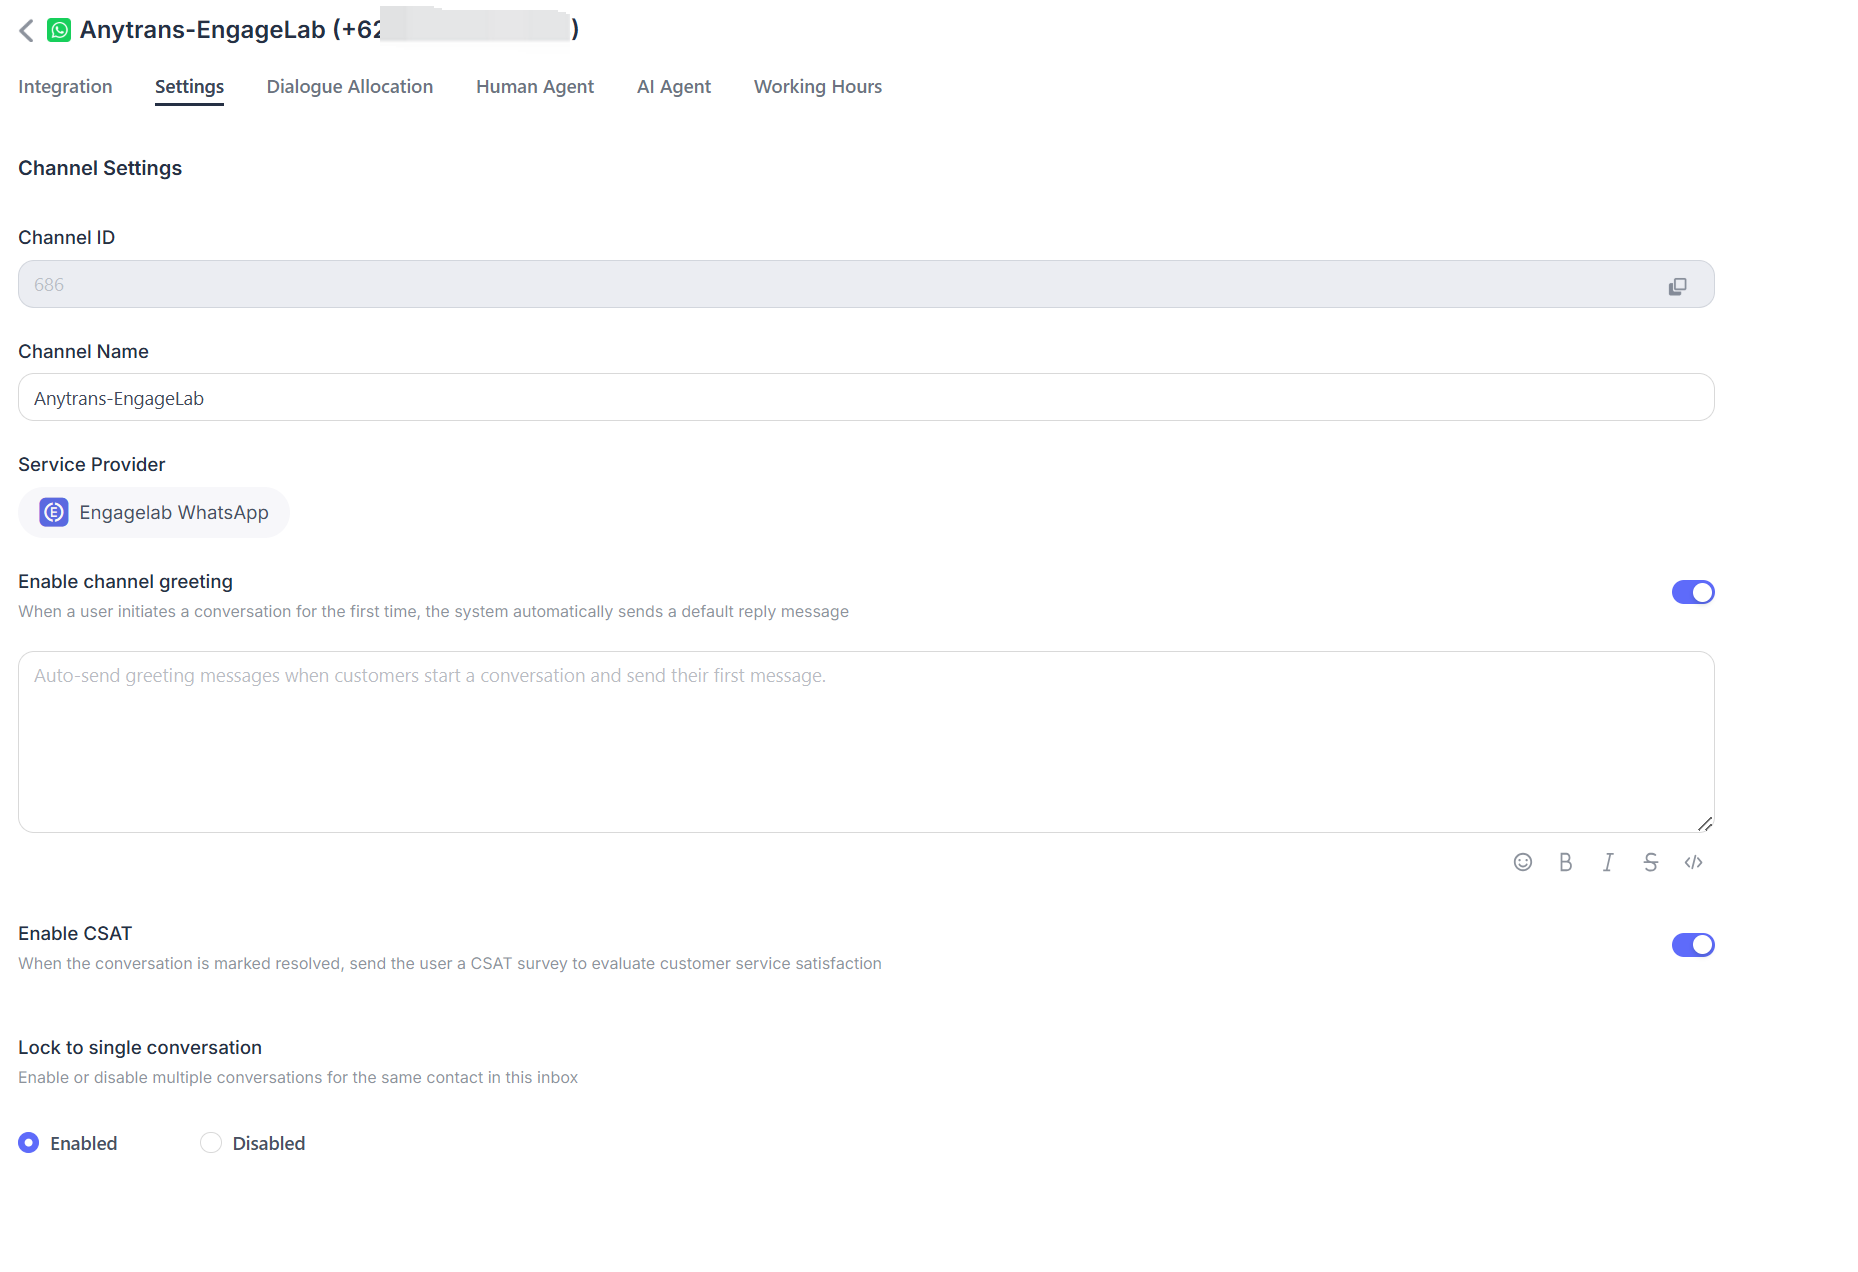
Set Channel Greeting Message
Disabled by default. Enter a custom greeting message, which will be sent automatically to the customer when they start a conversation.
Enable CSAT
After this feature is enabled, a customer satisfaction survey will be triggered automatically each time an issue is resolved. CSAT scores can be viewed later in the reports section.
Conversation Assignment
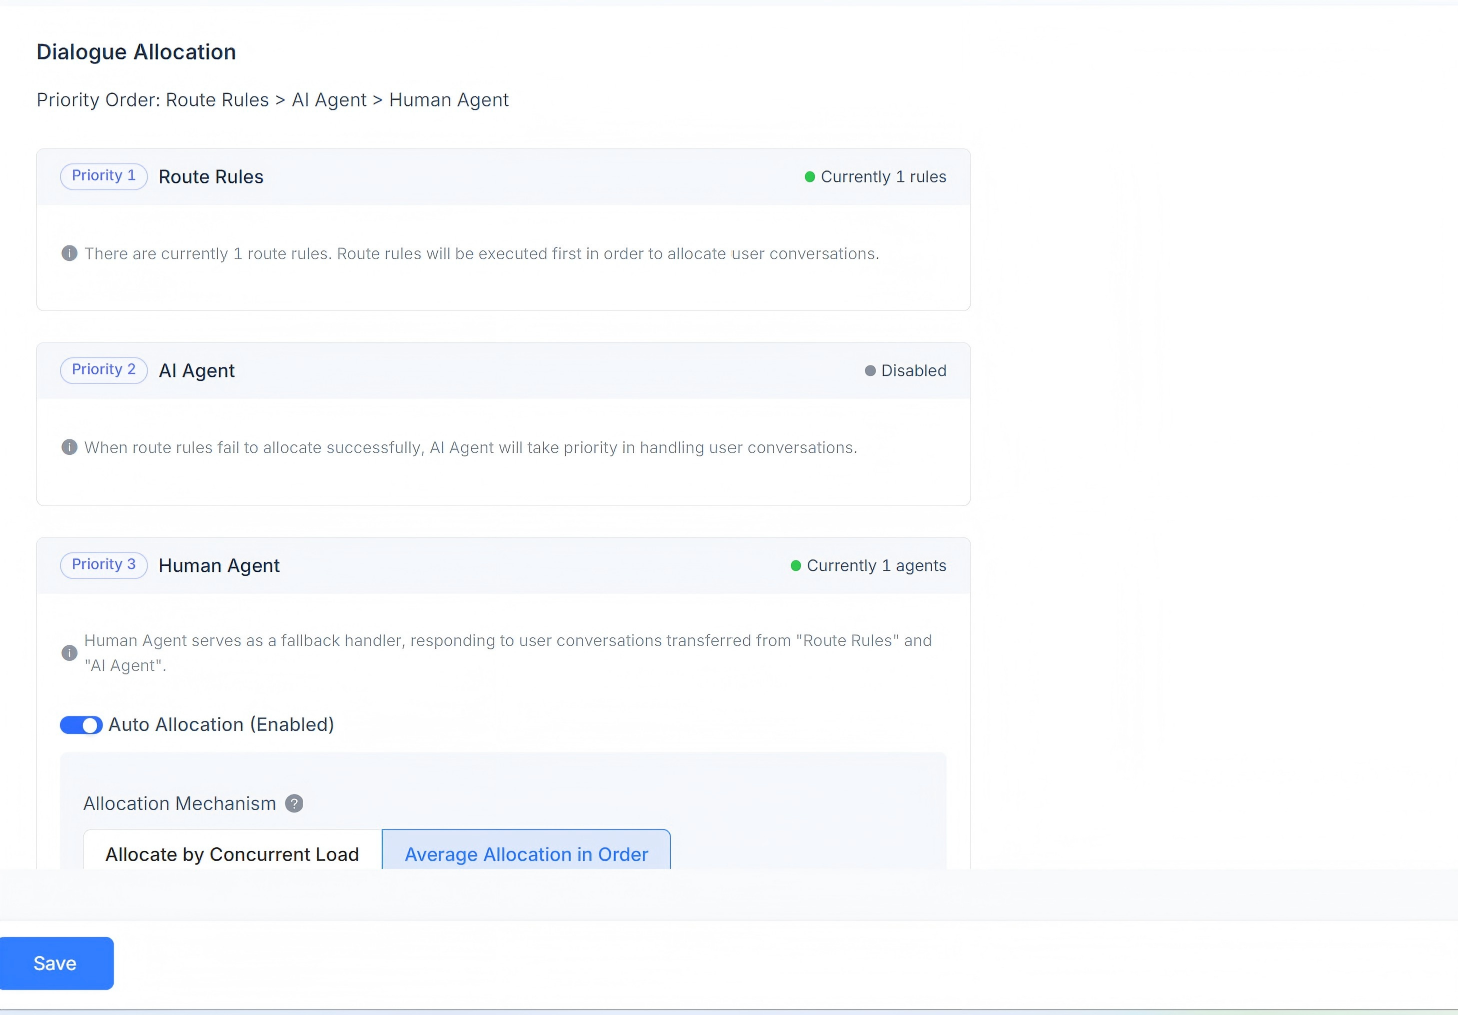
Displays the conversation assignment rules for the current channel. It supports routing rules, AI Agent, and Human Agent responses. Conversation assignment priority: routing rules > AI Agent > Human Agent.
When routing rules exist, the system first determines whether the routing rule requirements are met. If multiple routing rules exist at the same time, they are evaluated in order, and conversations that meet a rule are assigned according to that rule.
If the current scenario does not satisfy the routing rules, the conversation is assigned to the AI Agent first.
If there is no AI Agent, the conversation will be assigned to the corresponding Human Agent. Automatic assignment is supported, with both concurrent load-based assignment and sequential average assignment mechanisms available.
Load-Based Assignment Mechanism
Conversations are assigned based on the defined load quantity, with priority given to customer service agents with lower concurrent loads.
Sequential Average Assignment Mechanism
Regardless of each customer service agent's load settings, conversations are assigned evenly to each agent in sequence.
Custom Agent Load Assignment Mechanism
Set a custom load value for each customer service agent individually, with priority given to agents with lower concurrent loads.
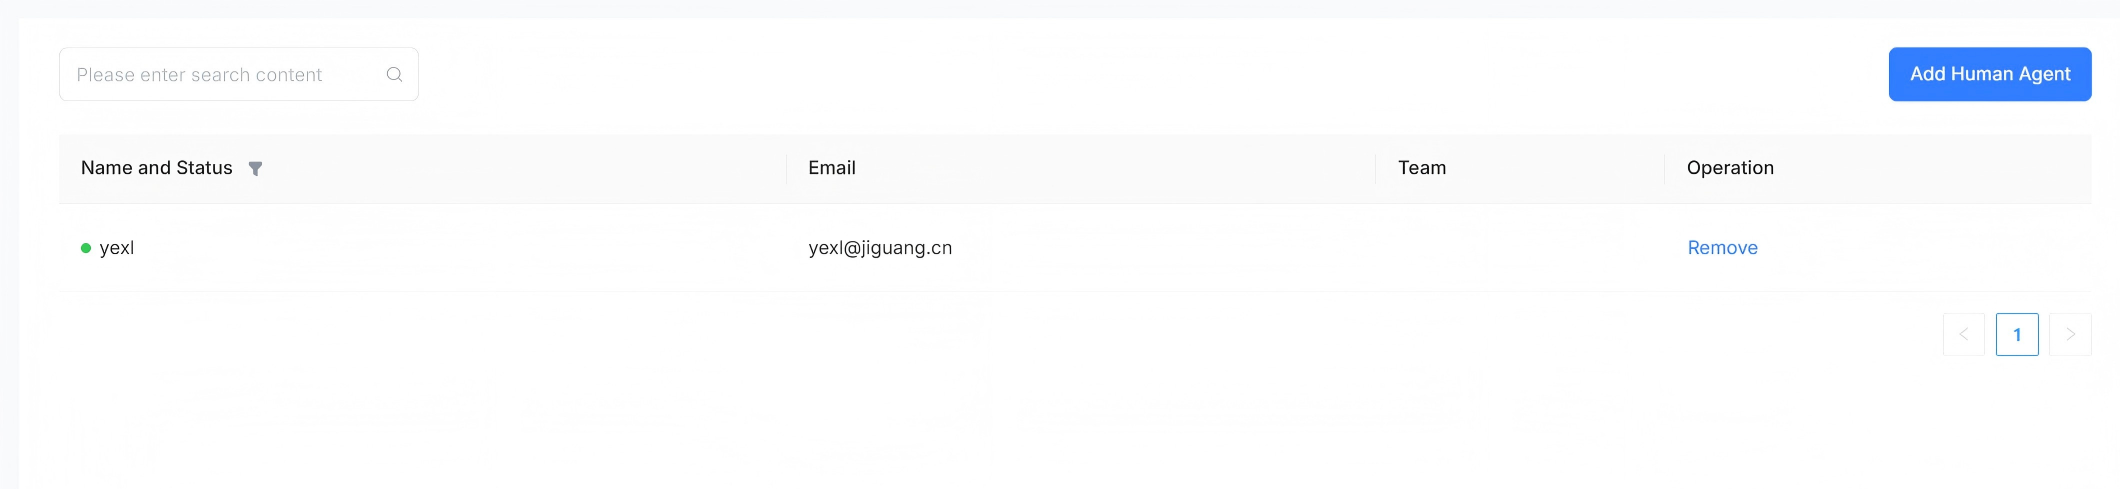
Human Agent
Supports setting the human agents who handle conversation messages for this channel. Agents can be added or removed.
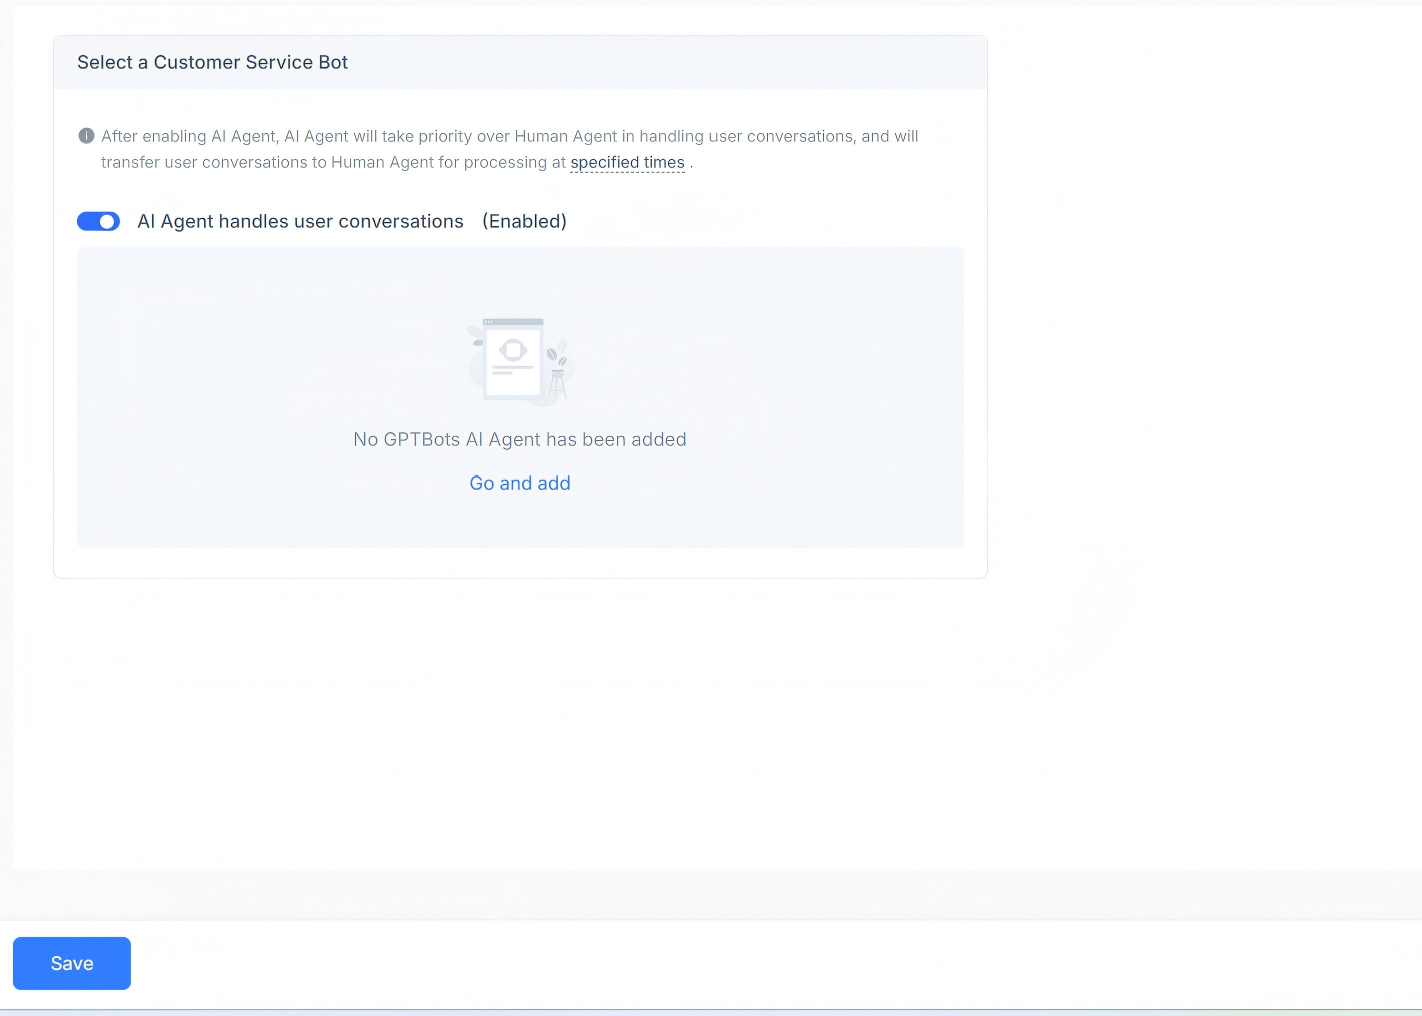
AI Agent
Supports setting the AI agents that handle conversation messages for this channel. You can enable or disable their use, and a GPT AI Agent can be added.
Business Hours
You can set the team's business hours.
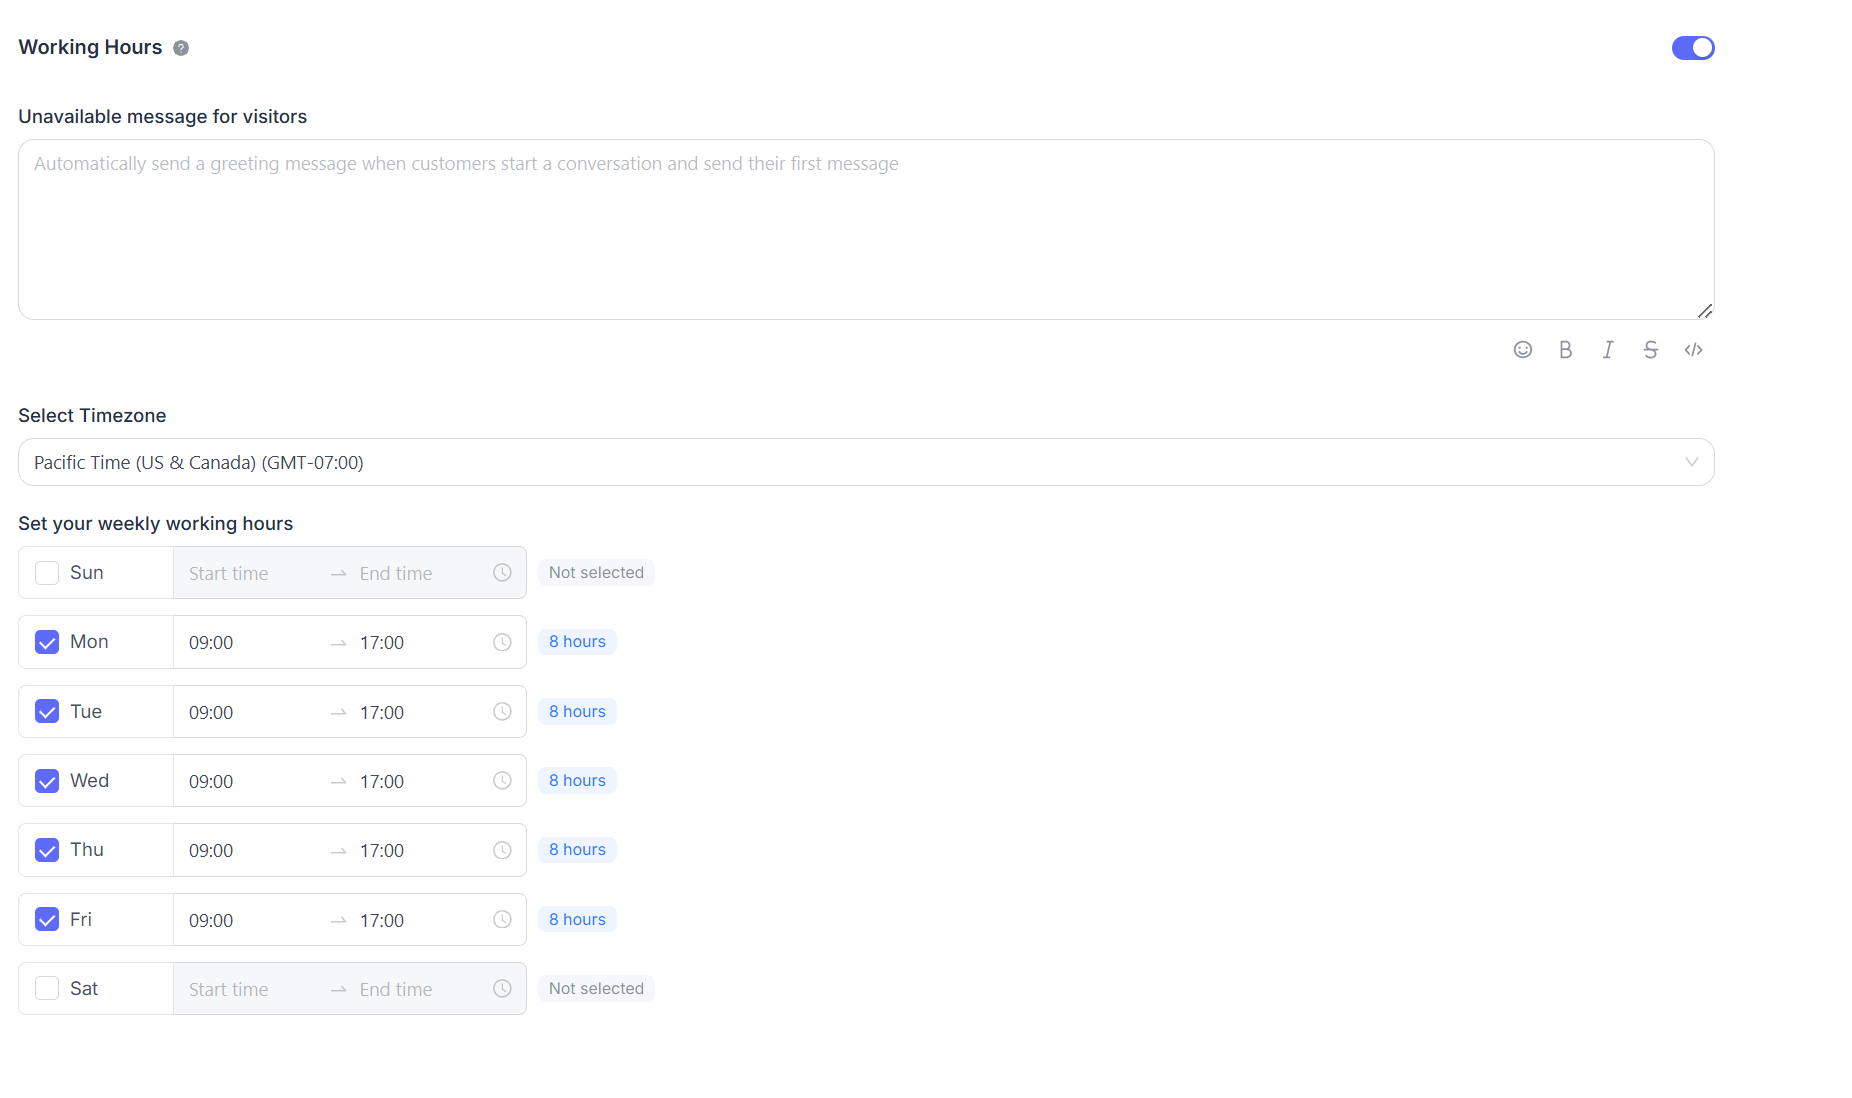
If business hours are clearly defined, select the "Enable business availability for this inbox (enabled)" checkbox. After selecting this checkbox, the corresponding parameter settings will be displayed below. You can set an unavailable message for visitors outside business hours. Business hour ranges and the corresponding time zone can be set for each day.
